> ## Documentation Index
> Fetch the complete documentation index at: https://docs.tenderly.co/llms.txt
> Use this file to discover all available pages before exploring further.
# Alerting के लिए Webhooks का उपयोग कैसे करें
> अपना पहला webhook बनाना और alerting events प्राप्त करना शुरू करना सीखें।
एक alerting service से events प्राप्त करने के लिए alert destination के रूप में webhook बनाने पर इस गाइड में आपका स्वागत है। इस गाइड में, आप सीखेंगे कि webhook को कैसे सेट अप करें और इसका execution देखें।
### alert destination के रूप में webhook जोड़ना
जारी रखने के लिए, [अपने account में log in करें](https://dashboard.tenderly.co/) या यदि आपके पास एक नहीं है तो [एक निःशुल्क account बनाएँ](https://dashboard.tenderly.co/register)।
log in करने के बाद, एक नया [Tenderly project](/platform/account/projects/overview) बनाएँ या मौजूदा एक का चयन करें जहाँ आप अपना Webhook बनाना चाहते हैं।
बाईं ओर के मेनू से, **Alerts → Destinations** tab पर जाएँ, जहाँ आपको [सभी उपलब्ध destinations](/monitoring/alerts/destinations/overview) की एक सूची दिखाई देगी।
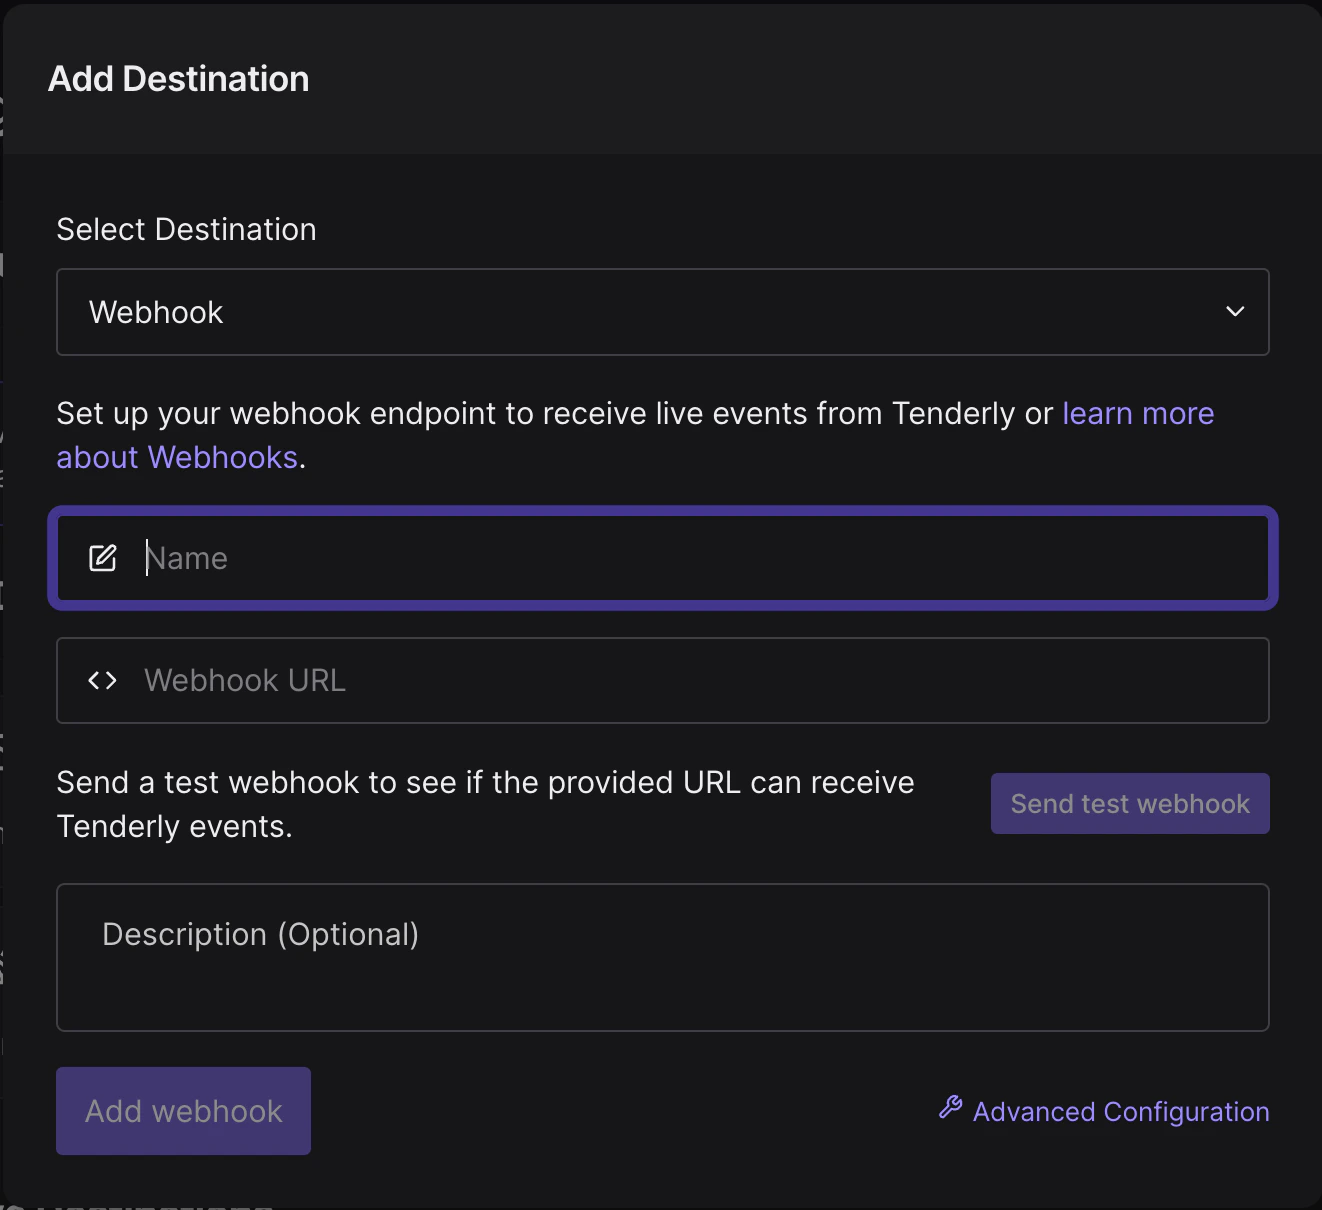
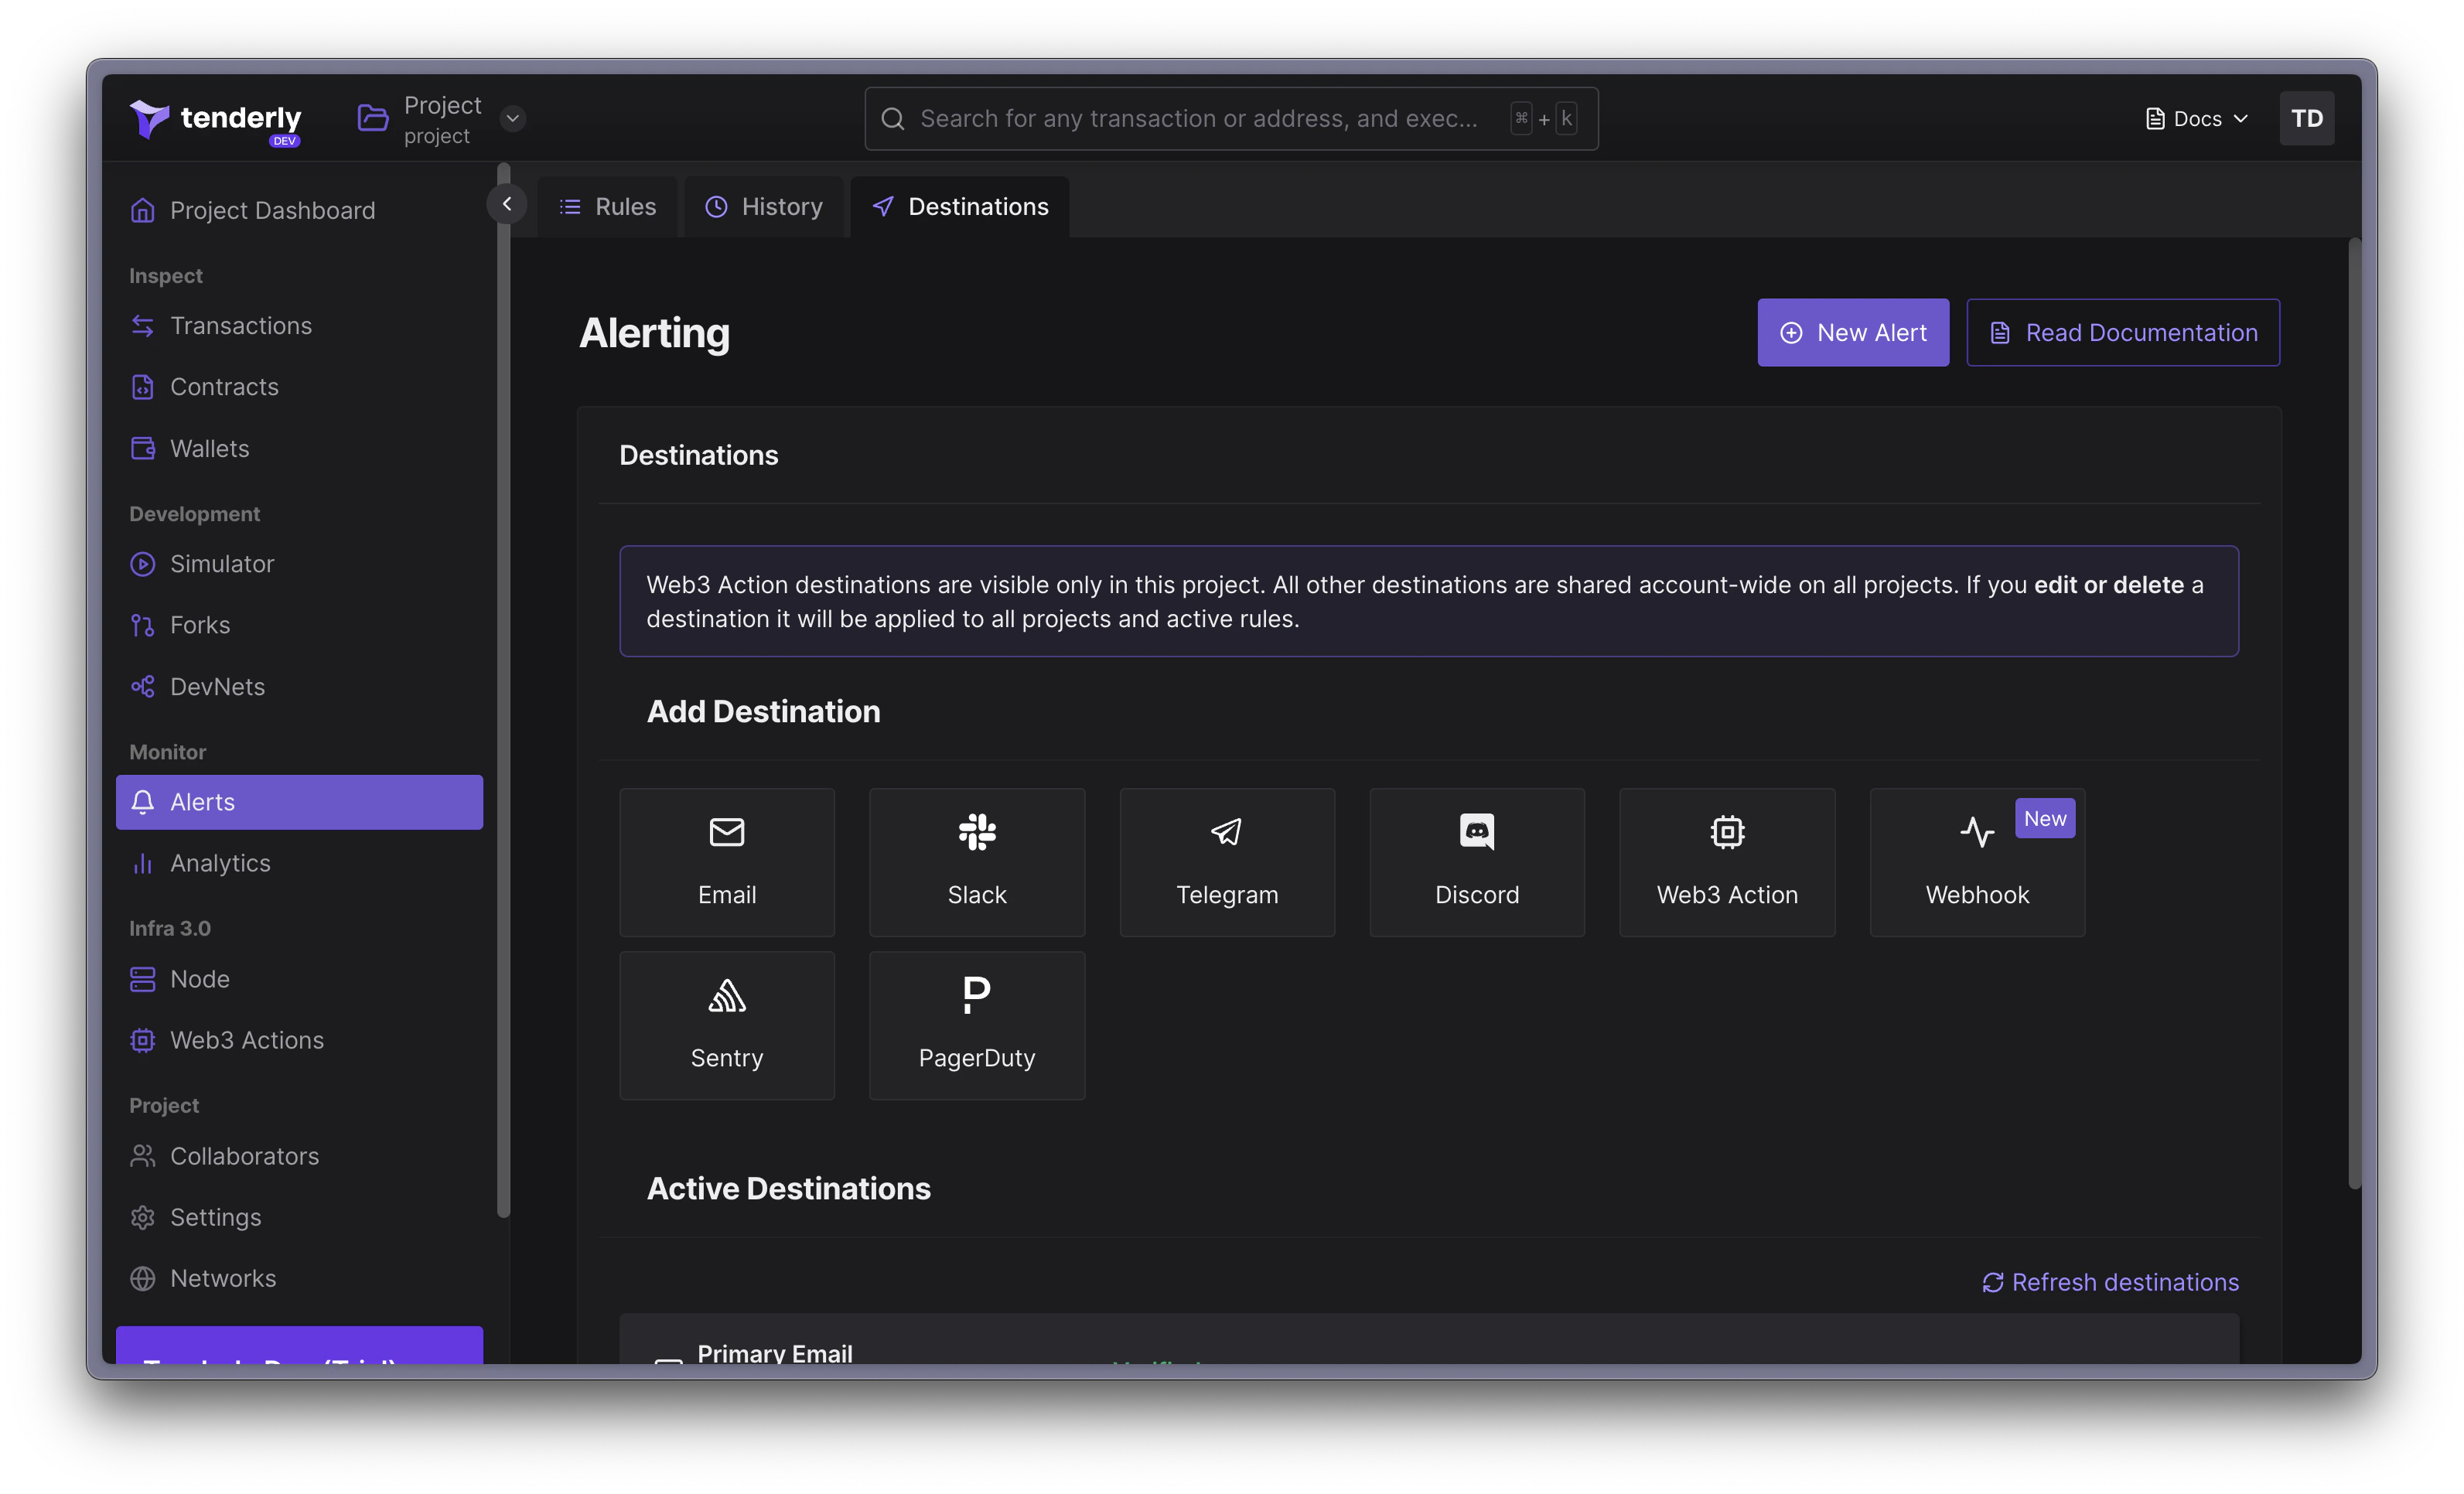 webhook alert destination बनाने के लिए, Webhook कार्ड पर क्लिक करें, जो configuration modal खोलेगा। आपसे निम्न विकल्पों को कॉन्फ़िगर करने के लिए कहा जाएगा:
* **Webhook name** - अद्वितीय होना चाहिए और बाद में बदला नहीं जा सकता
* **Webhook URL** - URL जहाँ आप Tenderly से live events प्राप्त करेंगे
* **Description** - वैकल्पिक parameter, लेकिन आप इसका उपयोग webhook configuration के बारे में अधिक जानकारी प्रदान करने के लिए कर सकते हैं
webhook alert destination बनाने के लिए, Webhook कार्ड पर क्लिक करें, जो configuration modal खोलेगा। आपसे निम्न विकल्पों को कॉन्फ़िगर करने के लिए कहा जाएगा:
* **Webhook name** - अद्वितीय होना चाहिए और बाद में बदला नहीं जा सकता
* **Webhook URL** - URL जहाँ आप Tenderly से live events प्राप्त करेंगे
* **Description** - वैकल्पिक parameter, लेकिन आप इसका उपयोग webhook configuration के बारे में अधिक जानकारी प्रदान करने के लिए कर सकते हैं
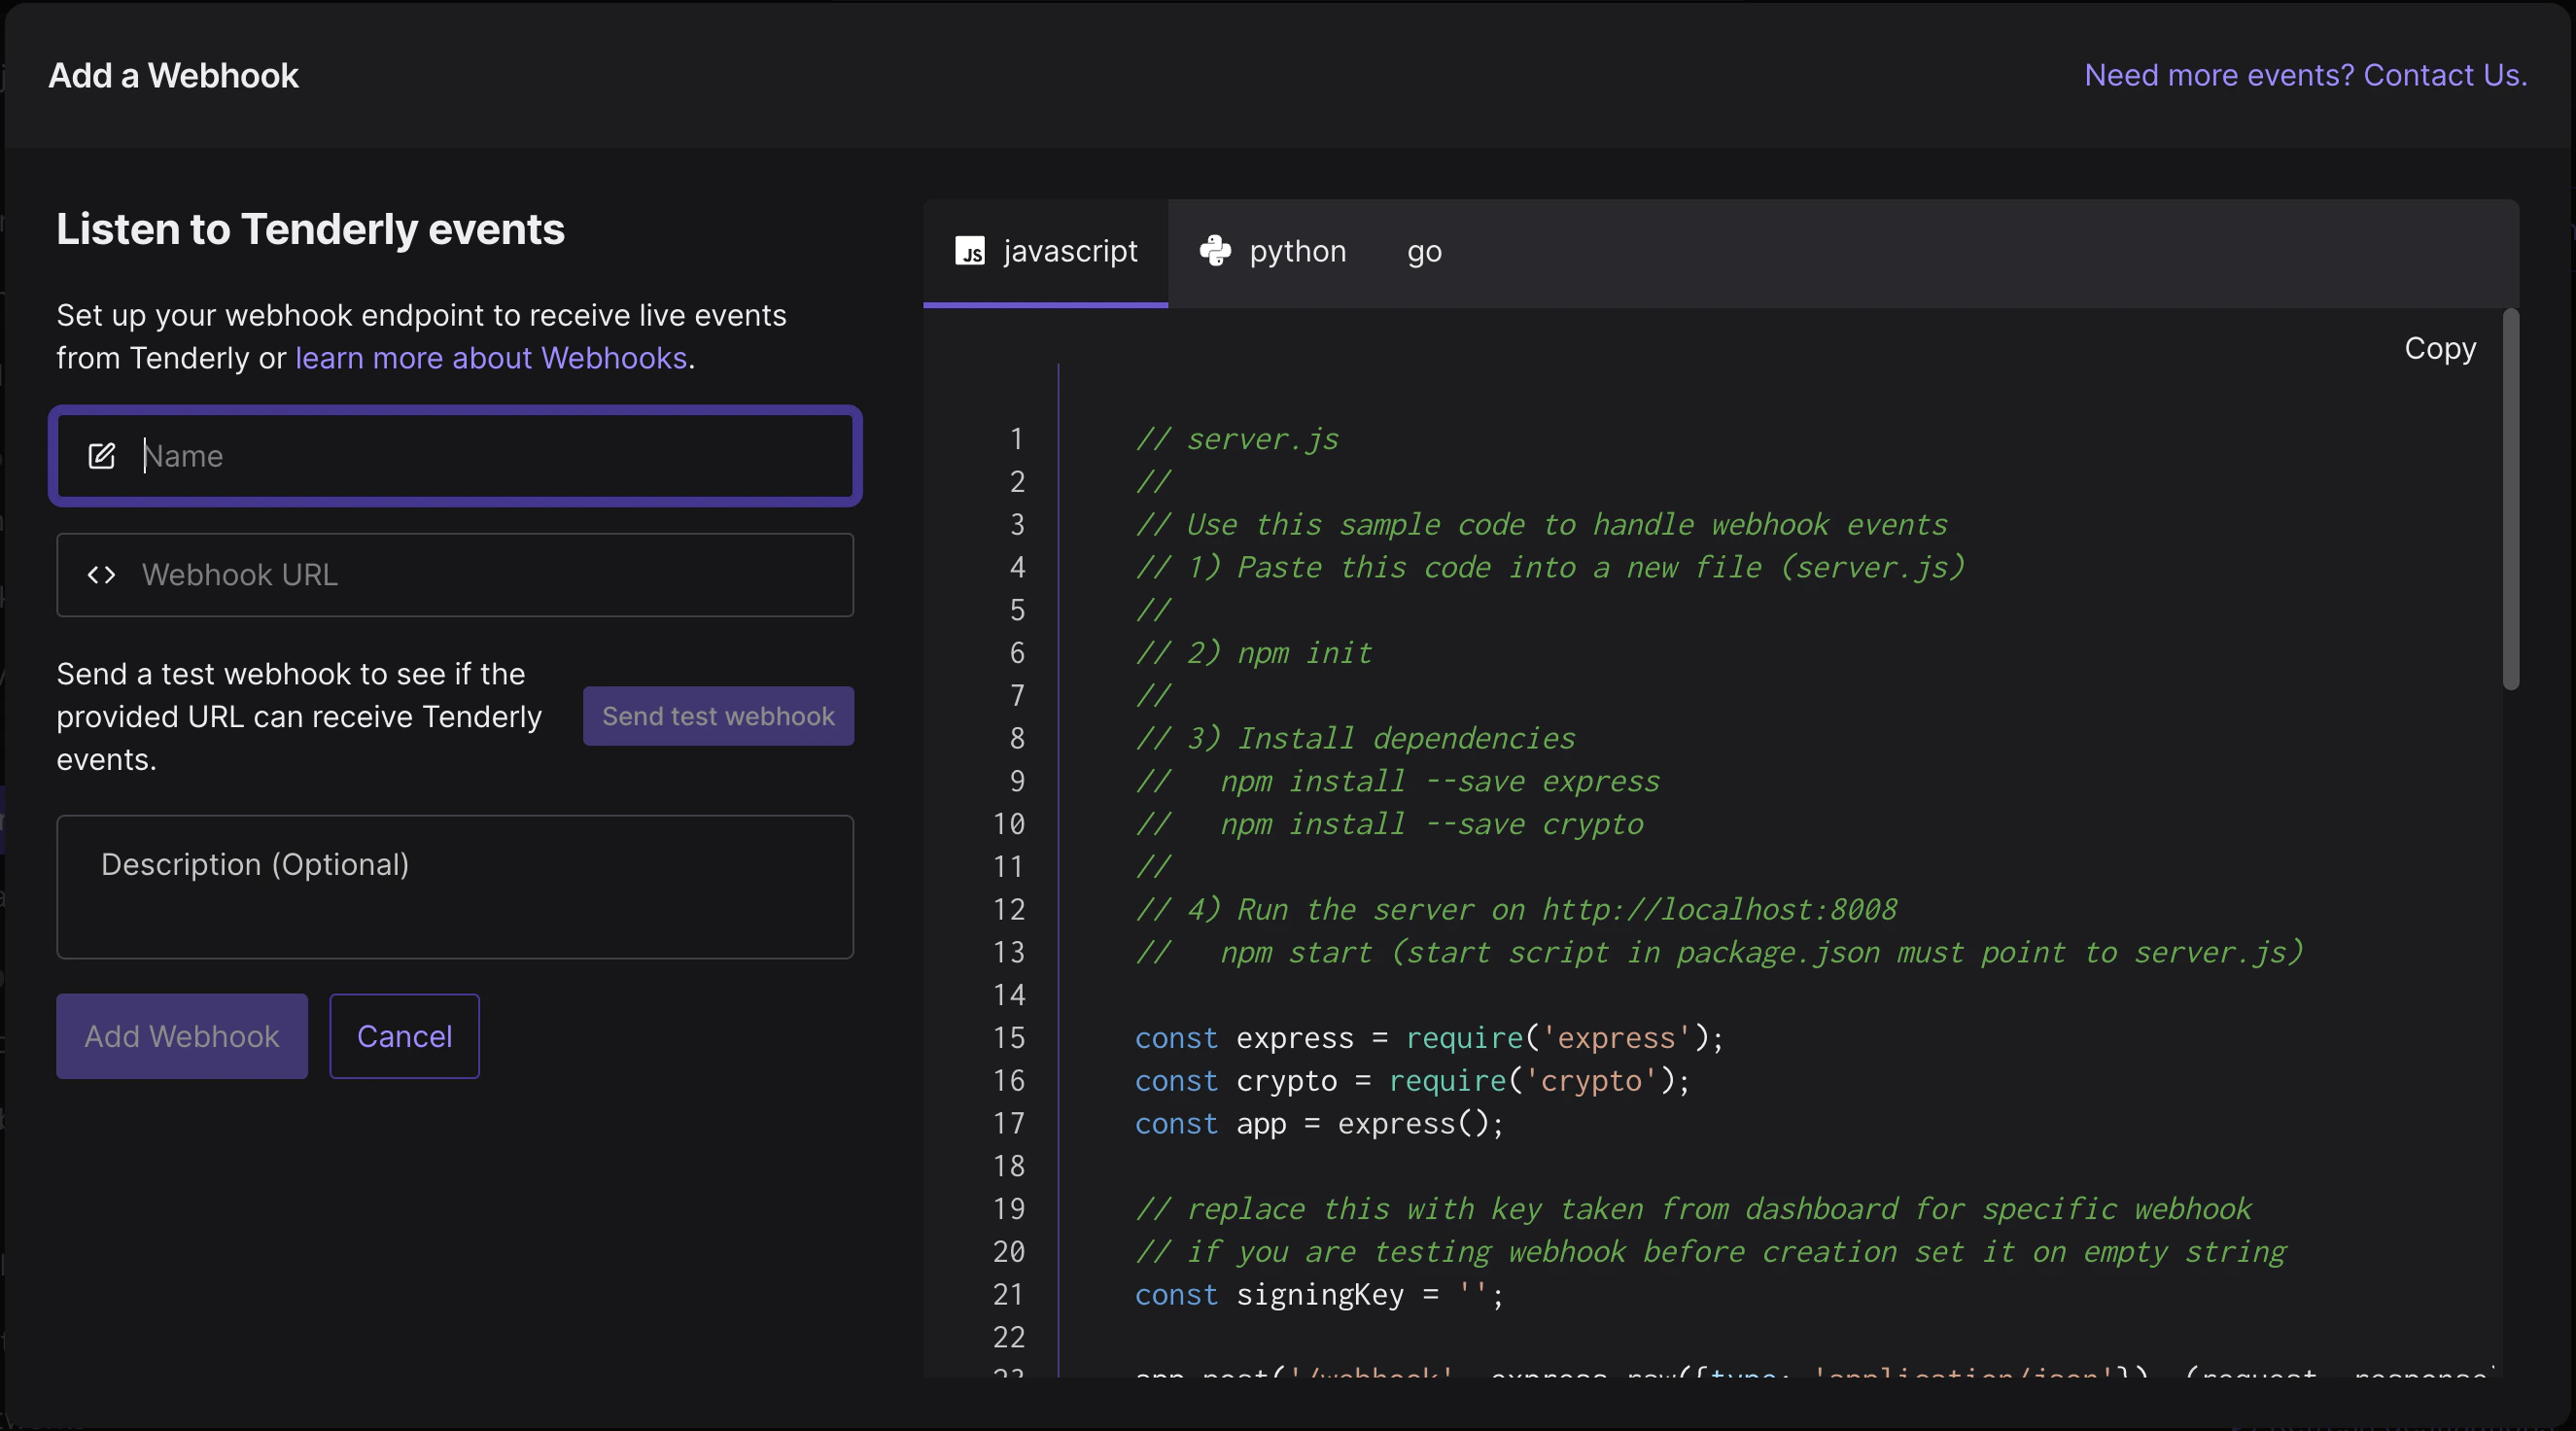
 यदि आप **Advanced Configuration** link पर क्लिक करते हैं, तो JavaScript, Python, या Go code snippets के साथ एक modal खुलेगा जिसका उपयोग आप अपना custom webhook सेट अप करने के लिए कर सकते हैं।
 यह परीक्षण करने के लिए कि प्रदान किया गया URL Tenderly से events प्राप्त करने में सक्षम है या नहीं, **Send test webhook** बटन पर क्लिक करें, और पूर्वनिर्धारित test payload आपके endpoint पर भेजा जाएगा।
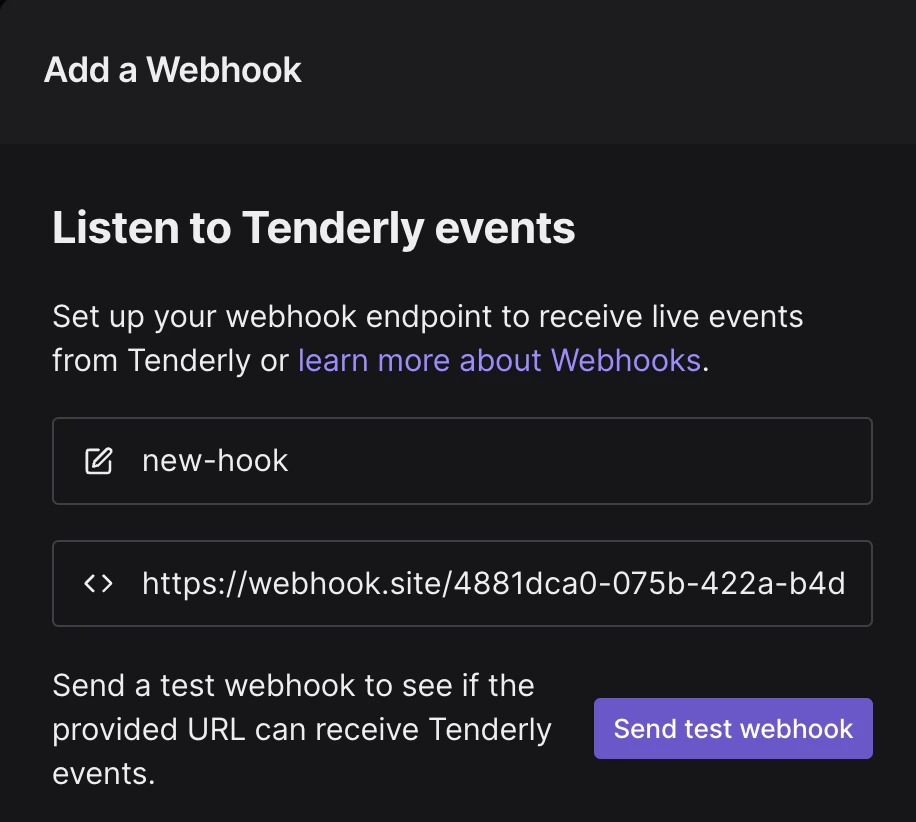 यदि सब कुछ अपेक्षा के अनुसार काम करता है और आपको event प्राप्त हुआ है, तो **Add Webhook** बटन पर क्लिक करें। यह क्रिया **Active Destinations** सूची में नए webhook destination को जोड़ देगी।
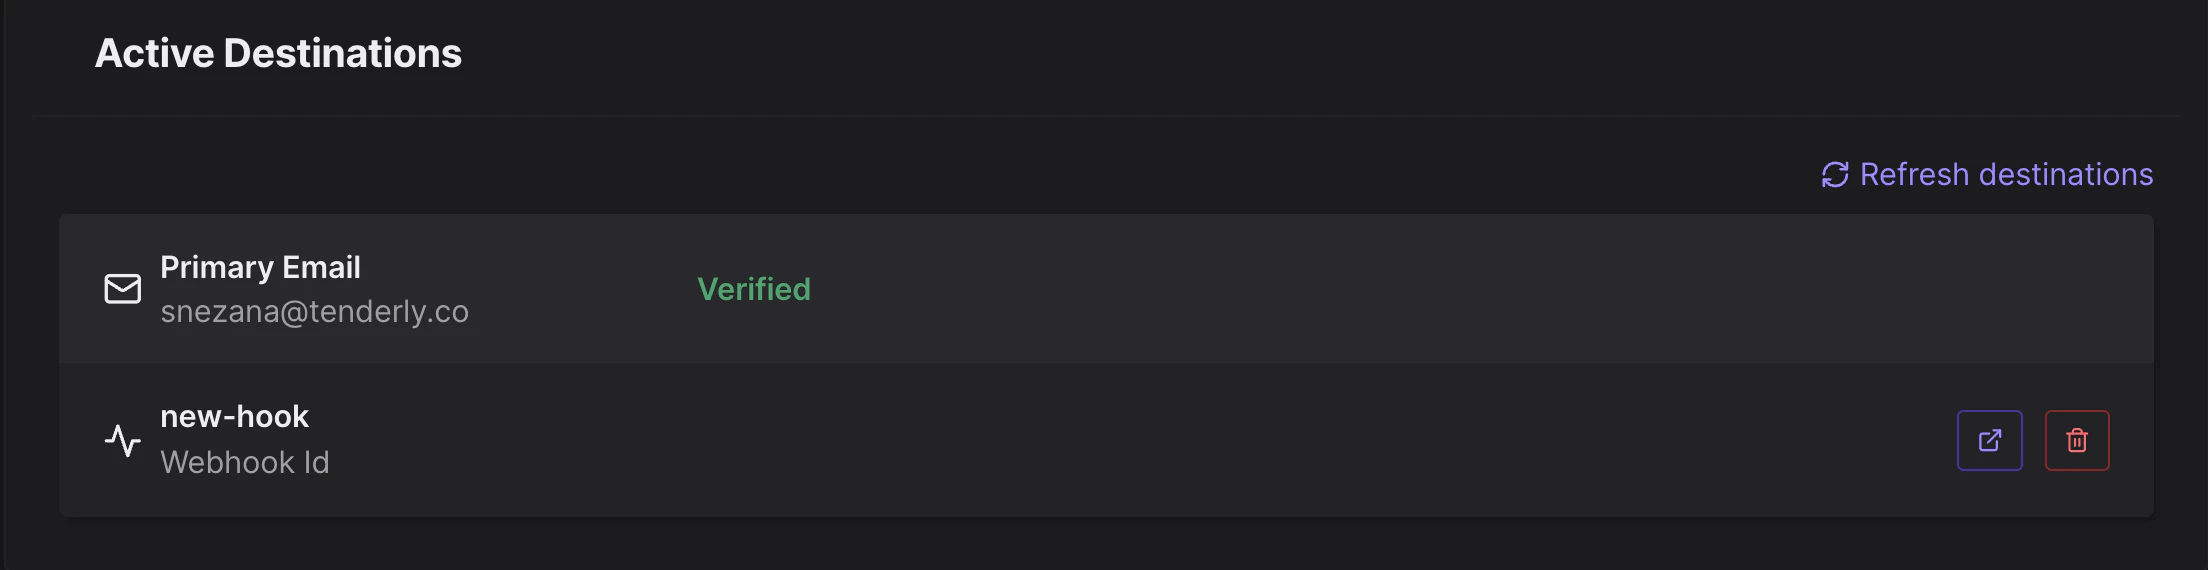 दाईं ओर के बटन पर क्लिक करने से Webhook overview पेज खुलेगा। यहाँ आप webhook status, URL, निर्माण तिथि, signing secrets, आदि के बारे में जानकारी पा सकते हैं।
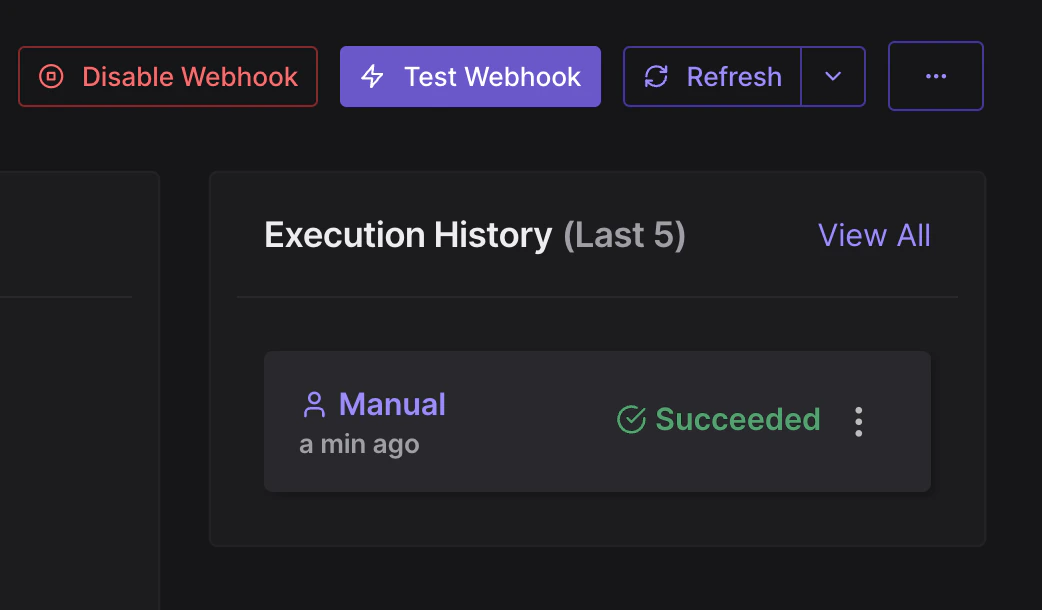
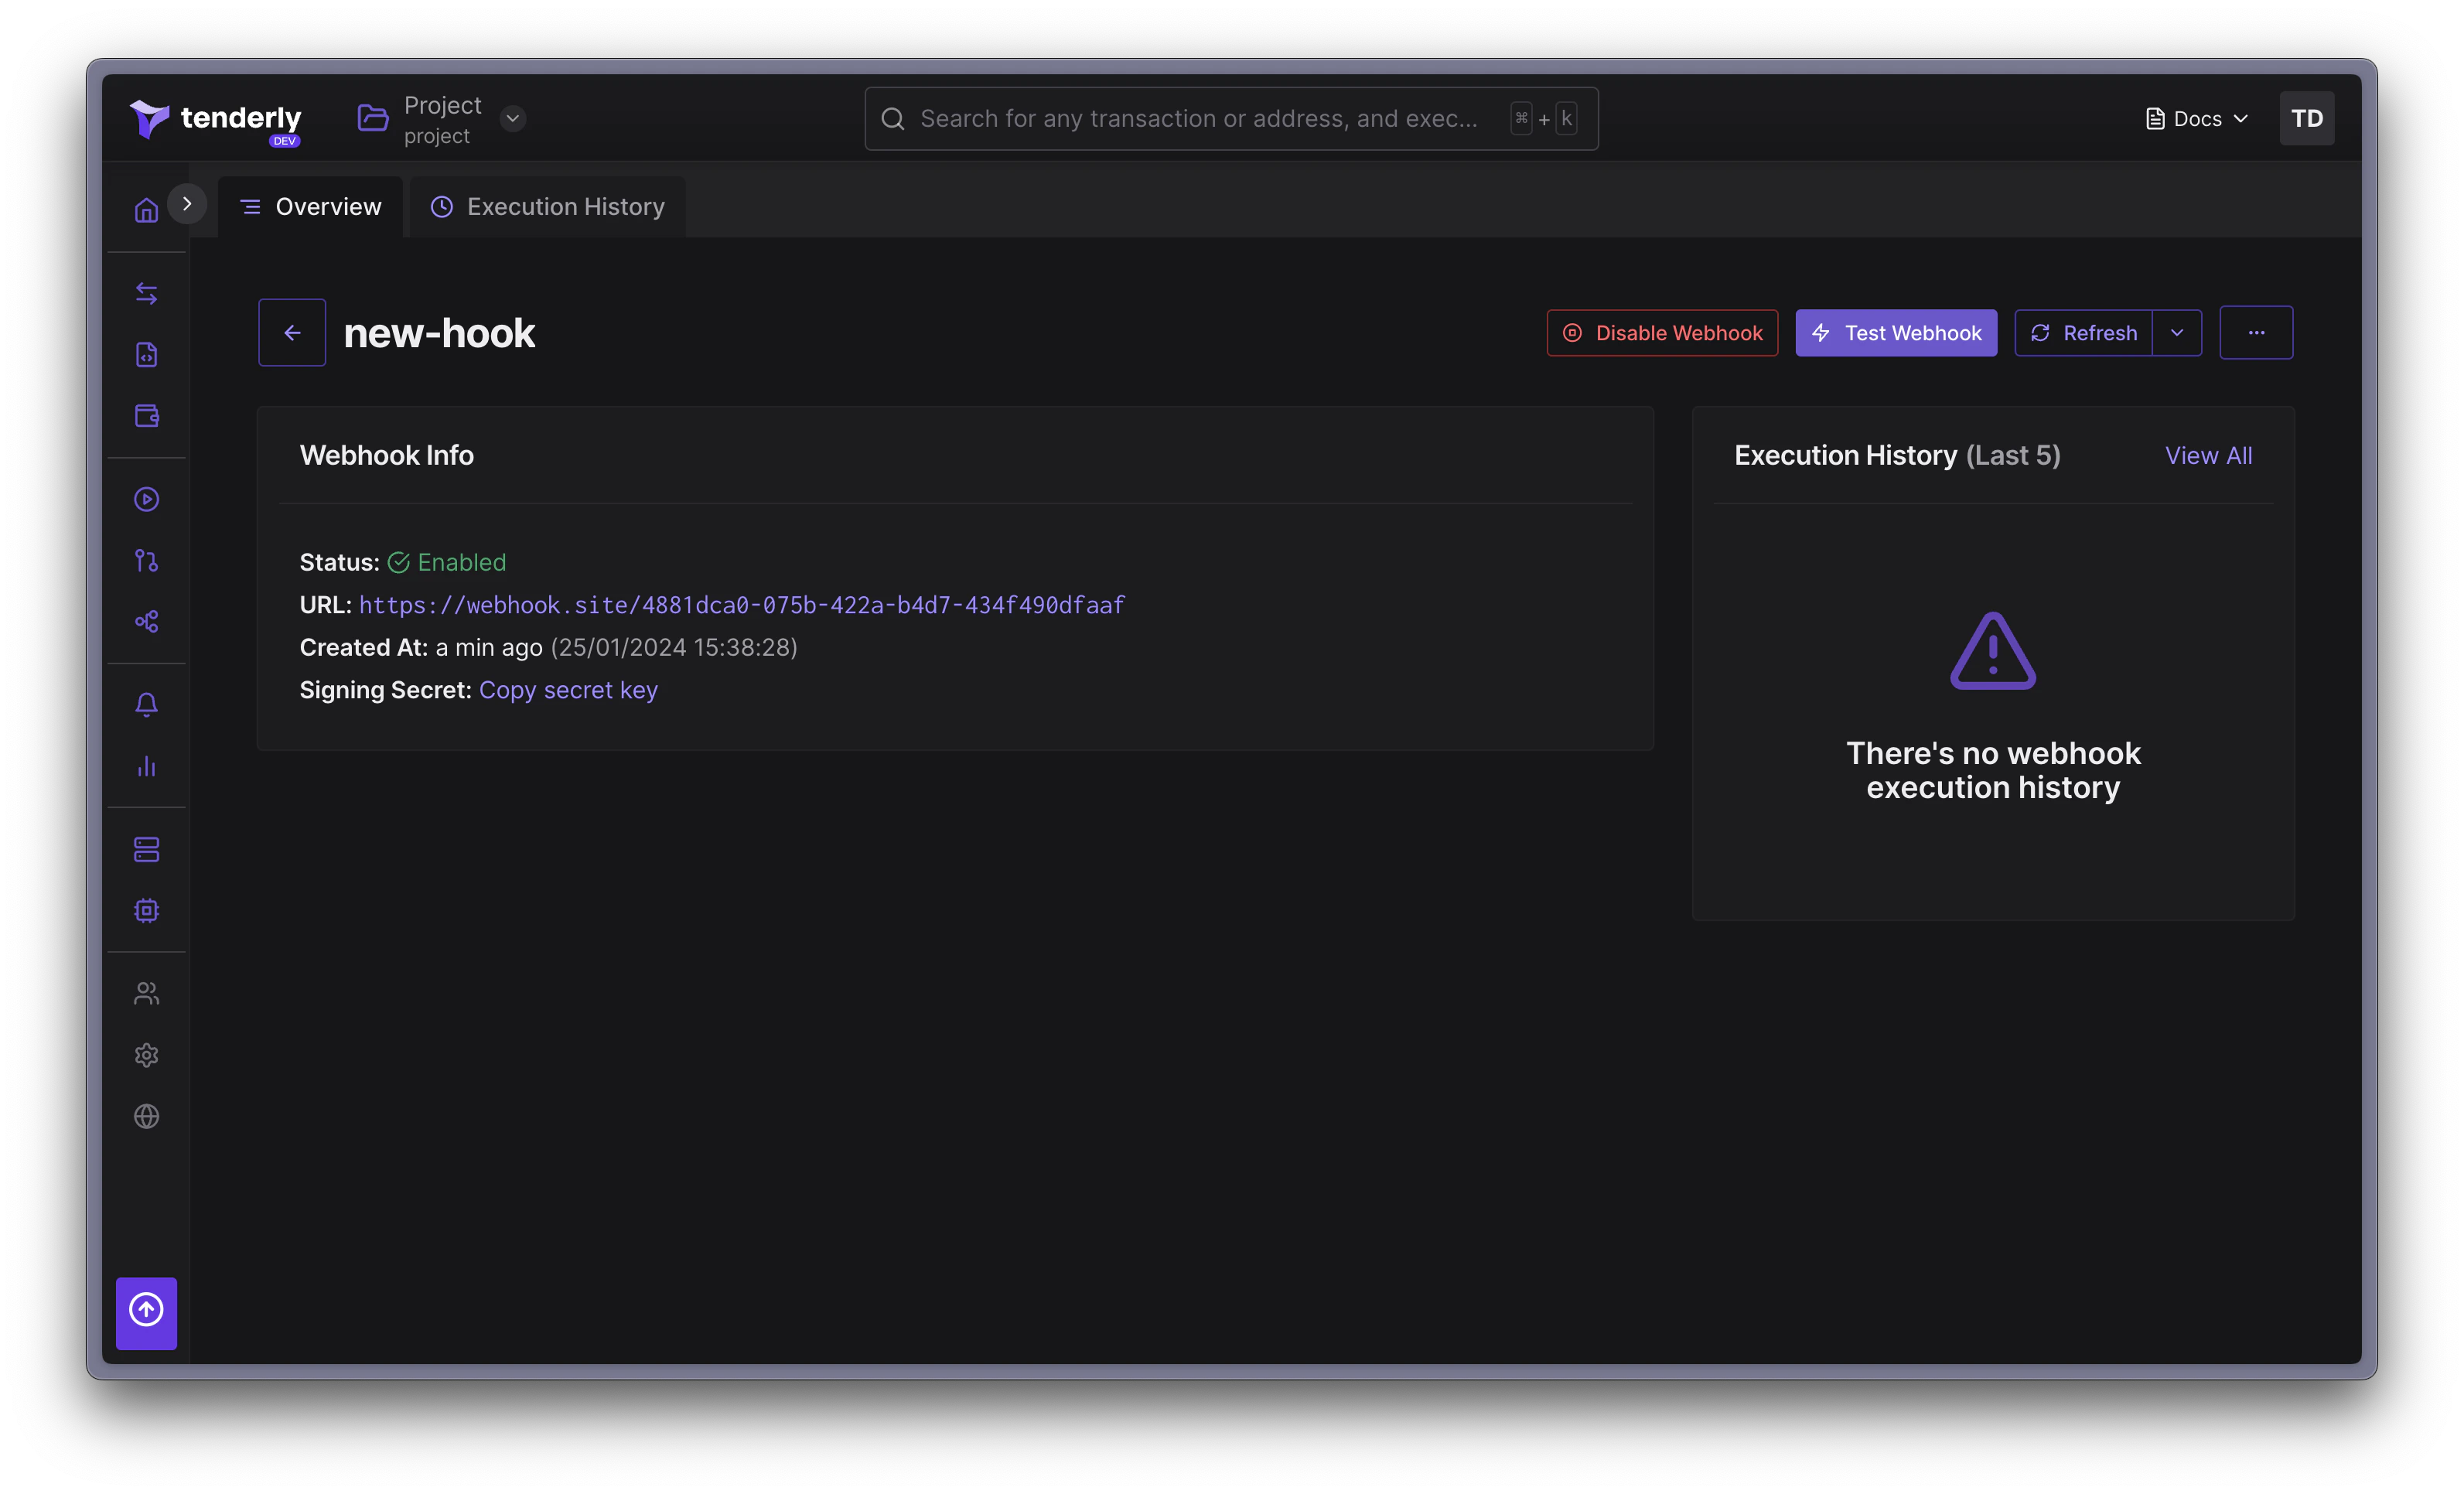 आप अपने webhooks पर अन्य actions भी कर सकते हैं, जैसे webhook को enabling/disabling करना, या मौजूदा configuration में परिवर्तन करना।
**Webhook सक्षम/अक्षम करें:** एक webhook की स्थिति को active और inactive के बीच toggle करें।
**Webhook हटाएँ**: अपने Tenderly project से एक webhook हटाएँ। webhook को delete करना एक स्थायी क्रिया है और इसे पूर्ववत नहीं किया जा सकता।
आप अपने webhooks पर अन्य actions भी कर सकते हैं, जैसे webhook को enabling/disabling करना, या मौजूदा configuration में परिवर्तन करना।
**Webhook सक्षम/अक्षम करें:** एक webhook की स्थिति को active और inactive के बीच toggle करें।
**Webhook हटाएँ**: अपने Tenderly project से एक webhook हटाएँ। webhook को delete करना एक स्थायी क्रिया है और इसे पूर्ववत नहीं किया जा सकता।
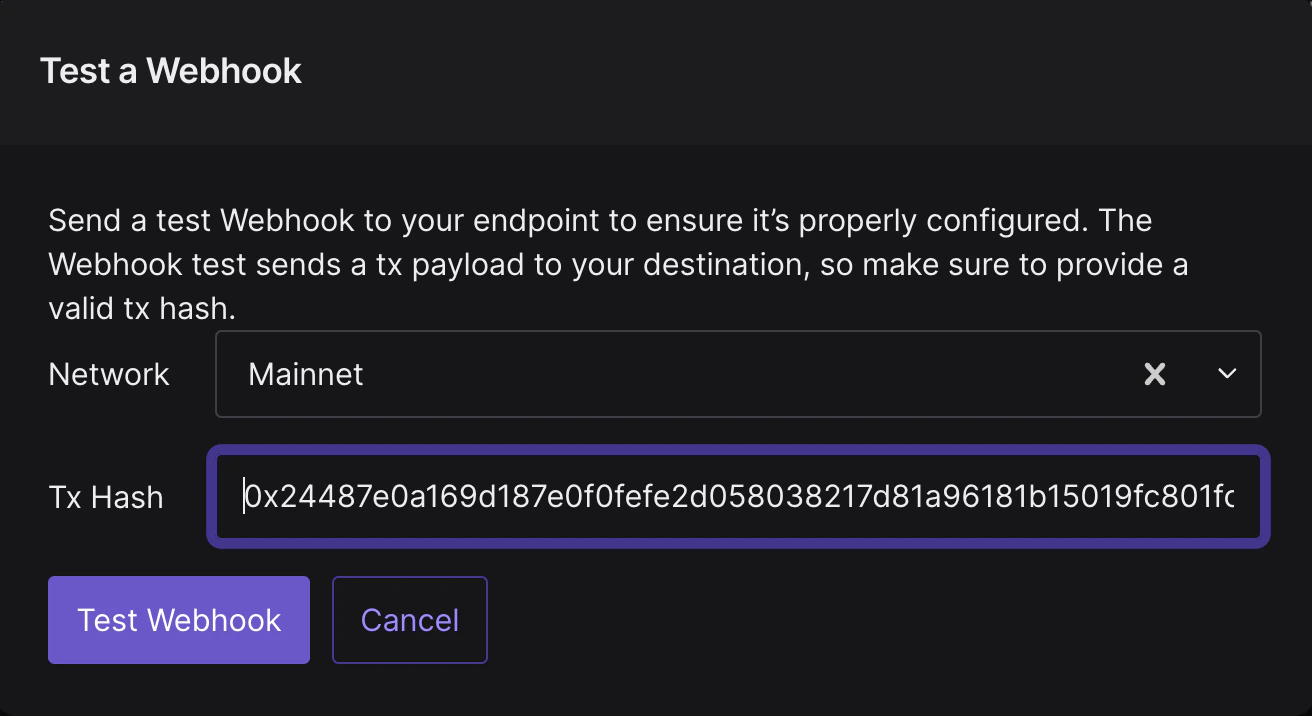
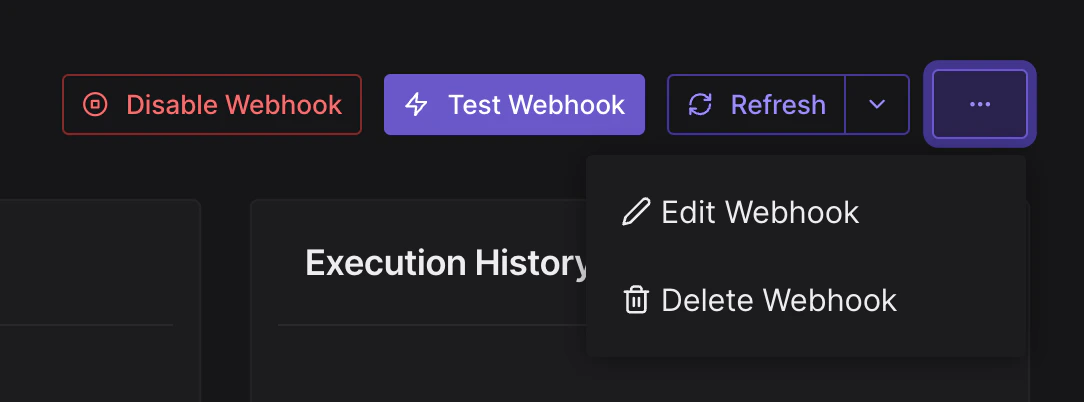 **Test Request भेजें:** transaction hash को उसके network के साथ प्रदान करके प्रदान किए गए URL पर test event भेजकर अपने webhook की कार्यक्षमता का परीक्षण करें।
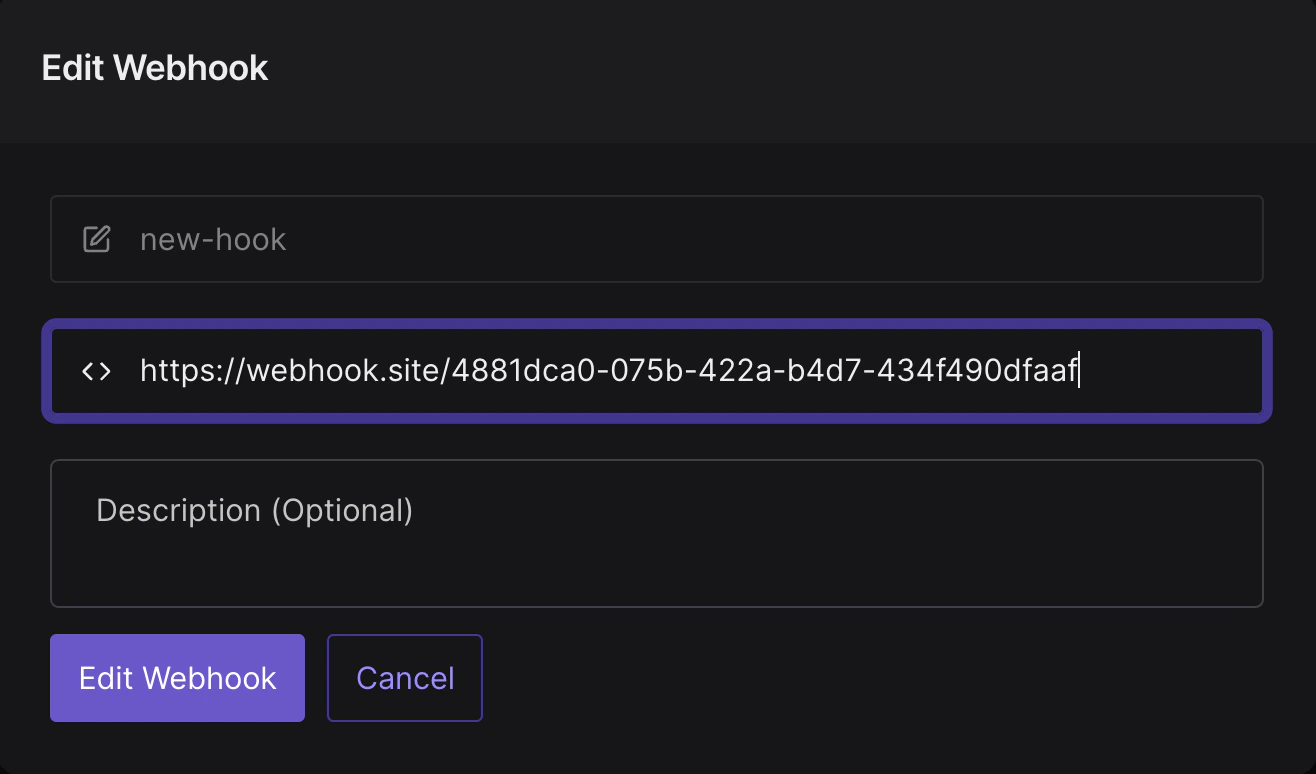
 **Webhook Edit करें**: किसी मौजूदा webhook के configuration को modify करें, जैसे URL या description।
 ### Webhook execution history
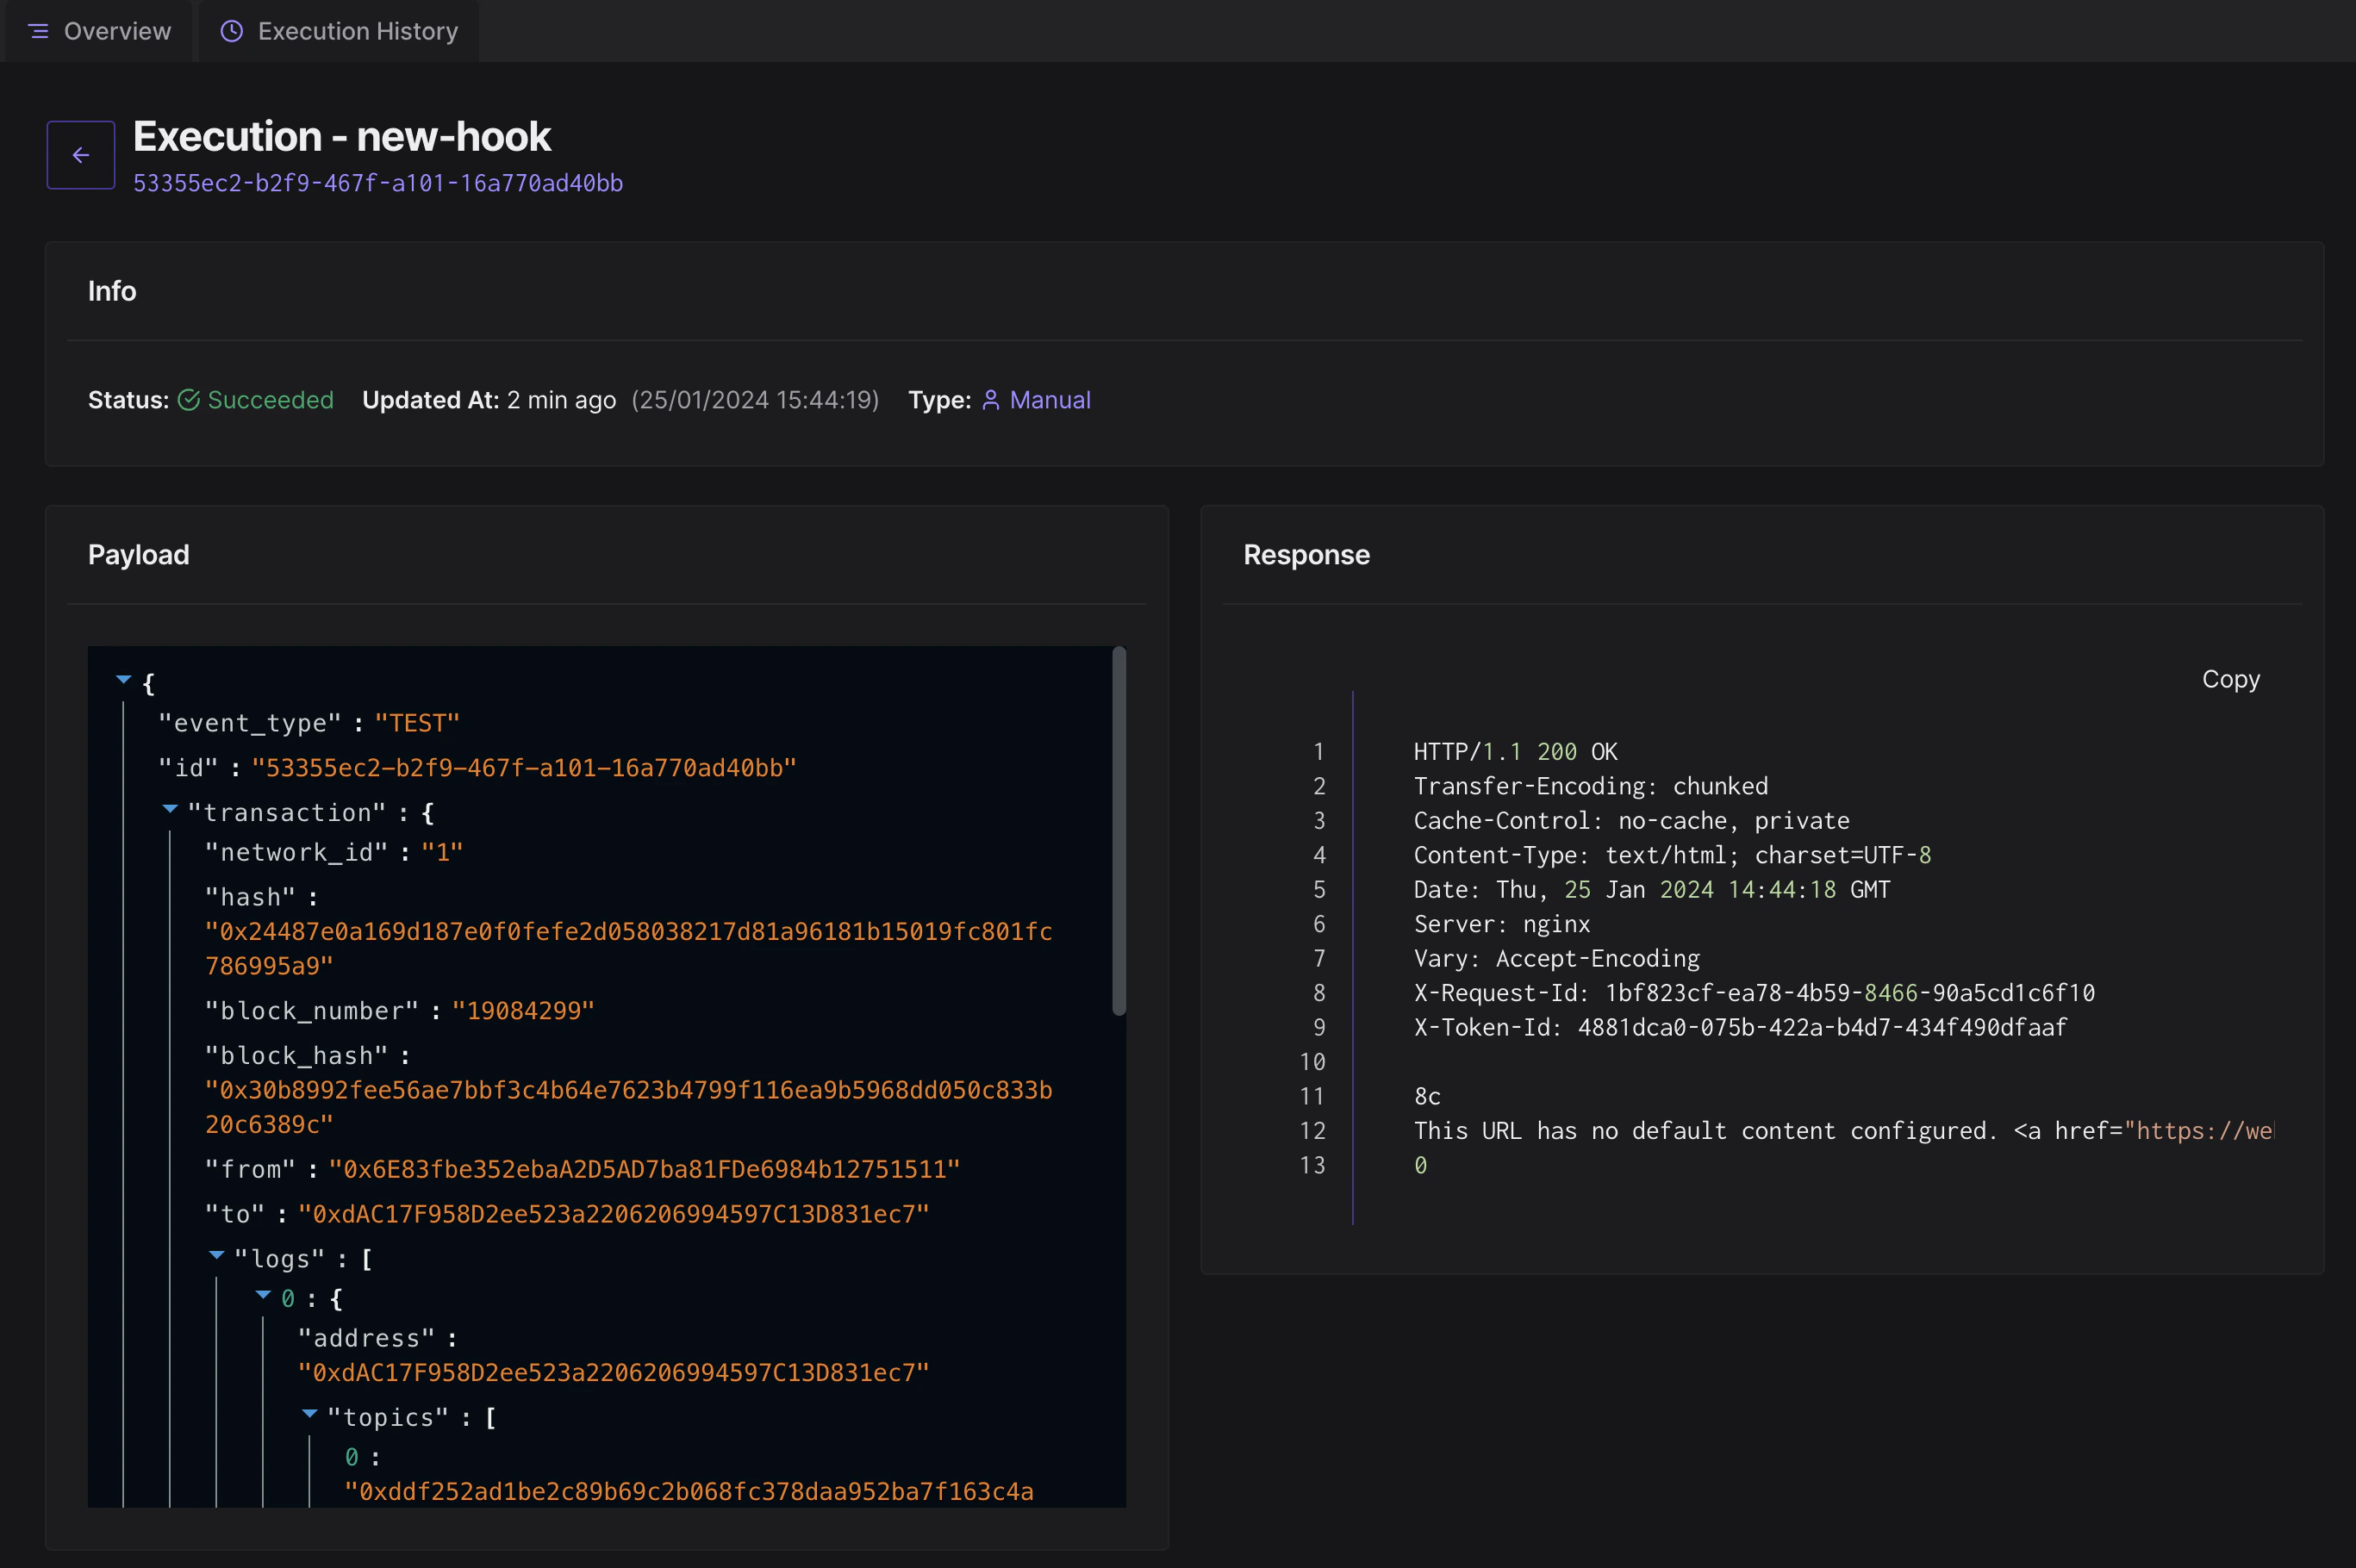
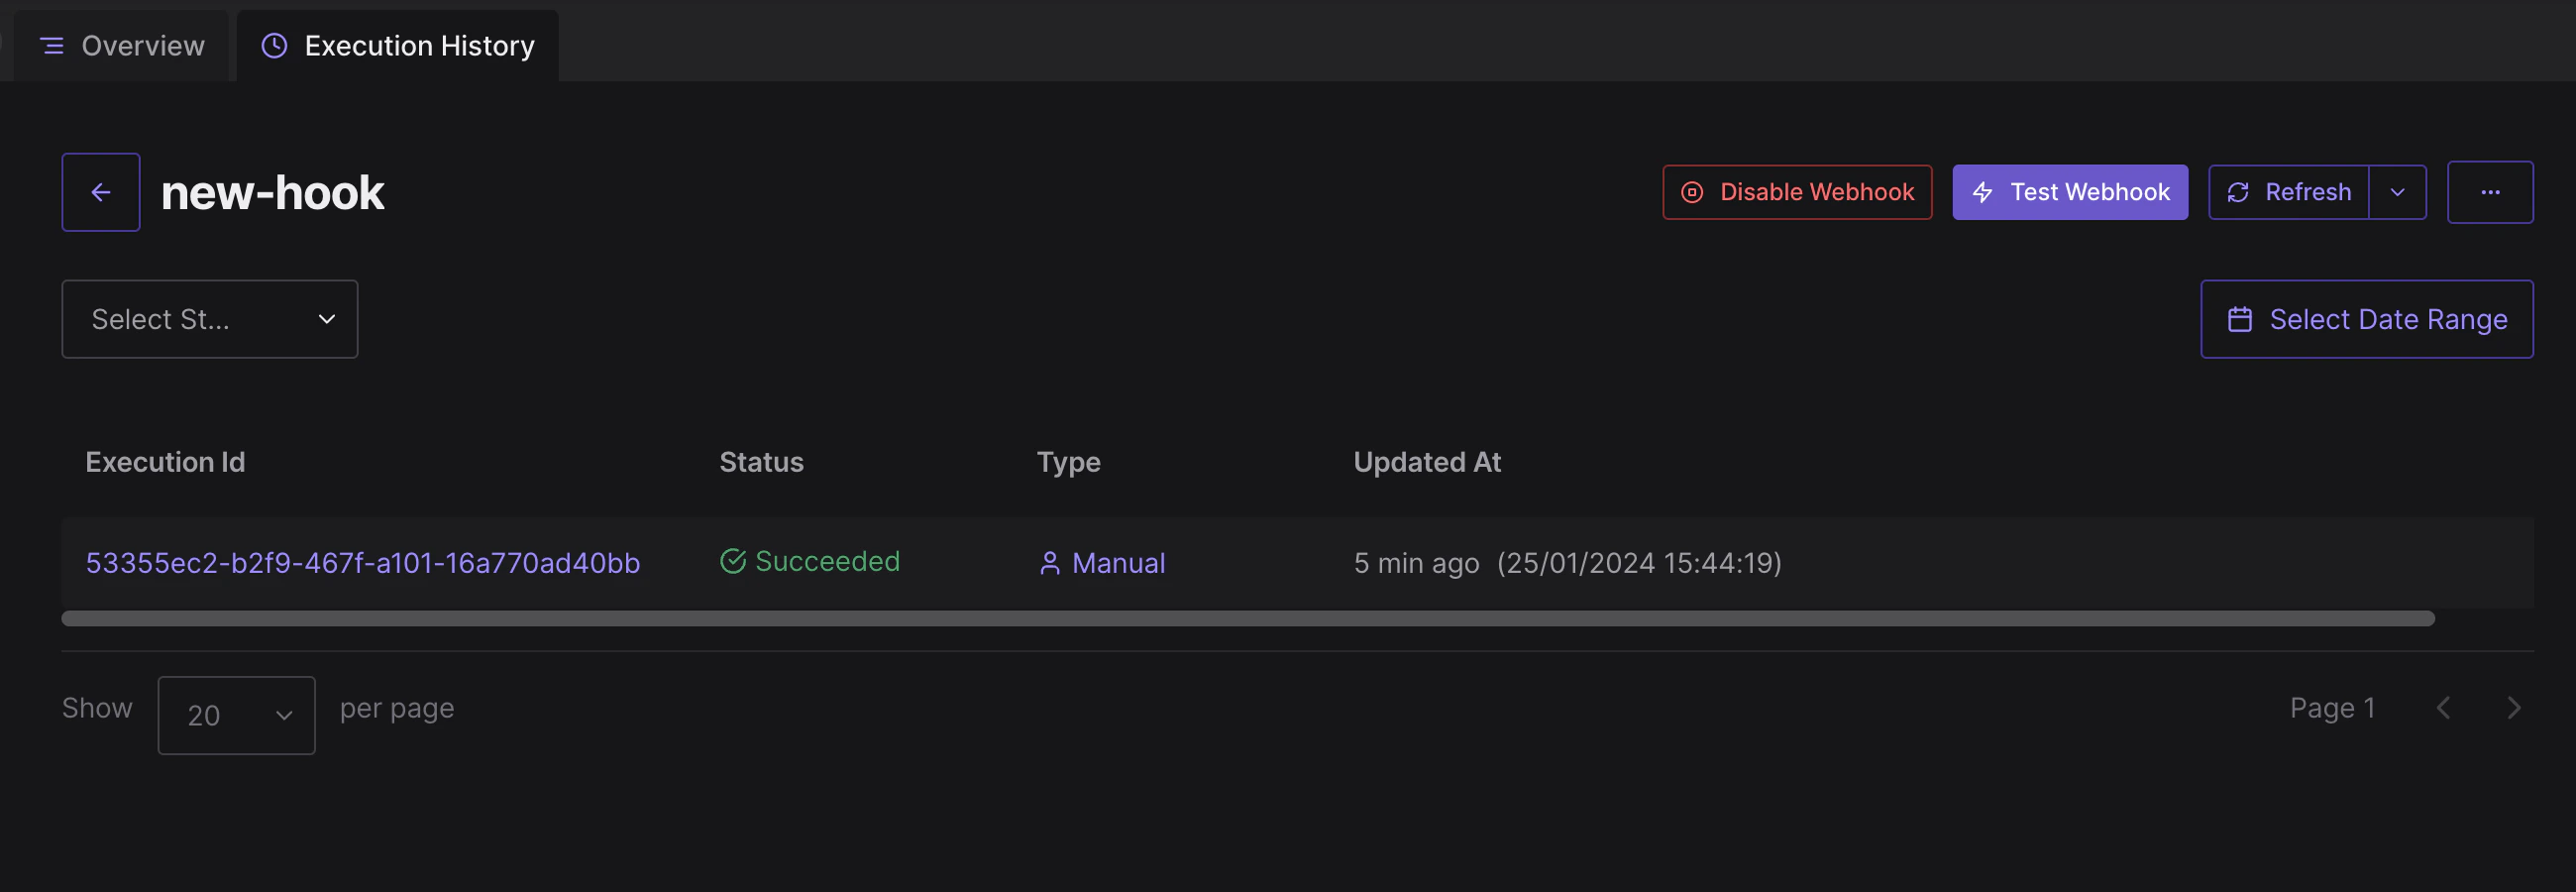
webhook overview पेज से, Execution History पर क्लिक करें ताकि उस transaction payload को देखा जा सके जो प्रदान किए गए webhook URL पर भेजा गया है और webhook endpoint से response देखा जा सके।
### Webhook execution history
webhook overview पेज से, Execution History पर क्लिक करें ताकि उस transaction payload को देखा जा सके जो प्रदान किए गए webhook URL पर भेजा गया है और webhook endpoint से response देखा जा सके।
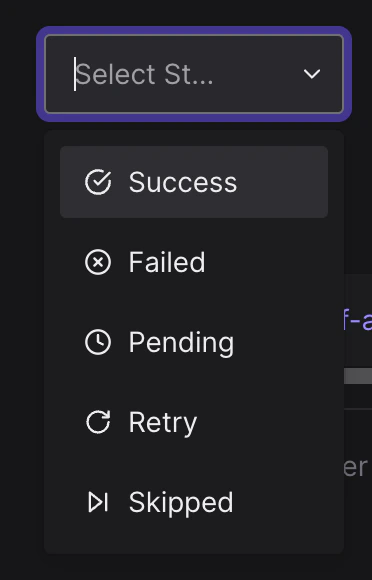
 Webhook execution के कई statuses हो सकते हैं:
* **Success:** Webhook सफलतापूर्वक निष्पादित हुआ, और event को निर्दिष्ट URL पर deliver किया गया।
* **Failed**: Webhook किसी error के कारण निष्पादित नहीं हो सका, जैसे connectivity समस्या, URL के साथ समस्या, या कुछ और। यह देखने के लिए कि error का कारण क्या था, response content जाँचें, या हमारे support से संपर्क करें।
* **Pending**: Webhook निष्पादित होने की प्रक्रिया में है और अभी तक पूरा नहीं हुआ है।
* **Retry**: Webhook execution विफल हो गया लेकिन Success या Failed status में बदलने तक 5 से अधिक बार पुनः प्रयास नहीं किया जाएगा।
* **Skipped**: Webhook निष्पादित नहीं किया गया क्योंकि यह disabled था।
Webhook execution के कई statuses हो सकते हैं:
* **Success:** Webhook सफलतापूर्वक निष्पादित हुआ, और event को निर्दिष्ट URL पर deliver किया गया।
* **Failed**: Webhook किसी error के कारण निष्पादित नहीं हो सका, जैसे connectivity समस्या, URL के साथ समस्या, या कुछ और। यह देखने के लिए कि error का कारण क्या था, response content जाँचें, या हमारे support से संपर्क करें।
* **Pending**: Webhook निष्पादित होने की प्रक्रिया में है और अभी तक पूरा नहीं हुआ है।
* **Retry**: Webhook execution विफल हो गया लेकिन Success या Failed status में बदलने तक 5 से अधिक बार पुनः प्रयास नहीं किया जाएगा।
* **Skipped**: Webhook निष्पादित नहीं किया गया क्योंकि यह disabled था।
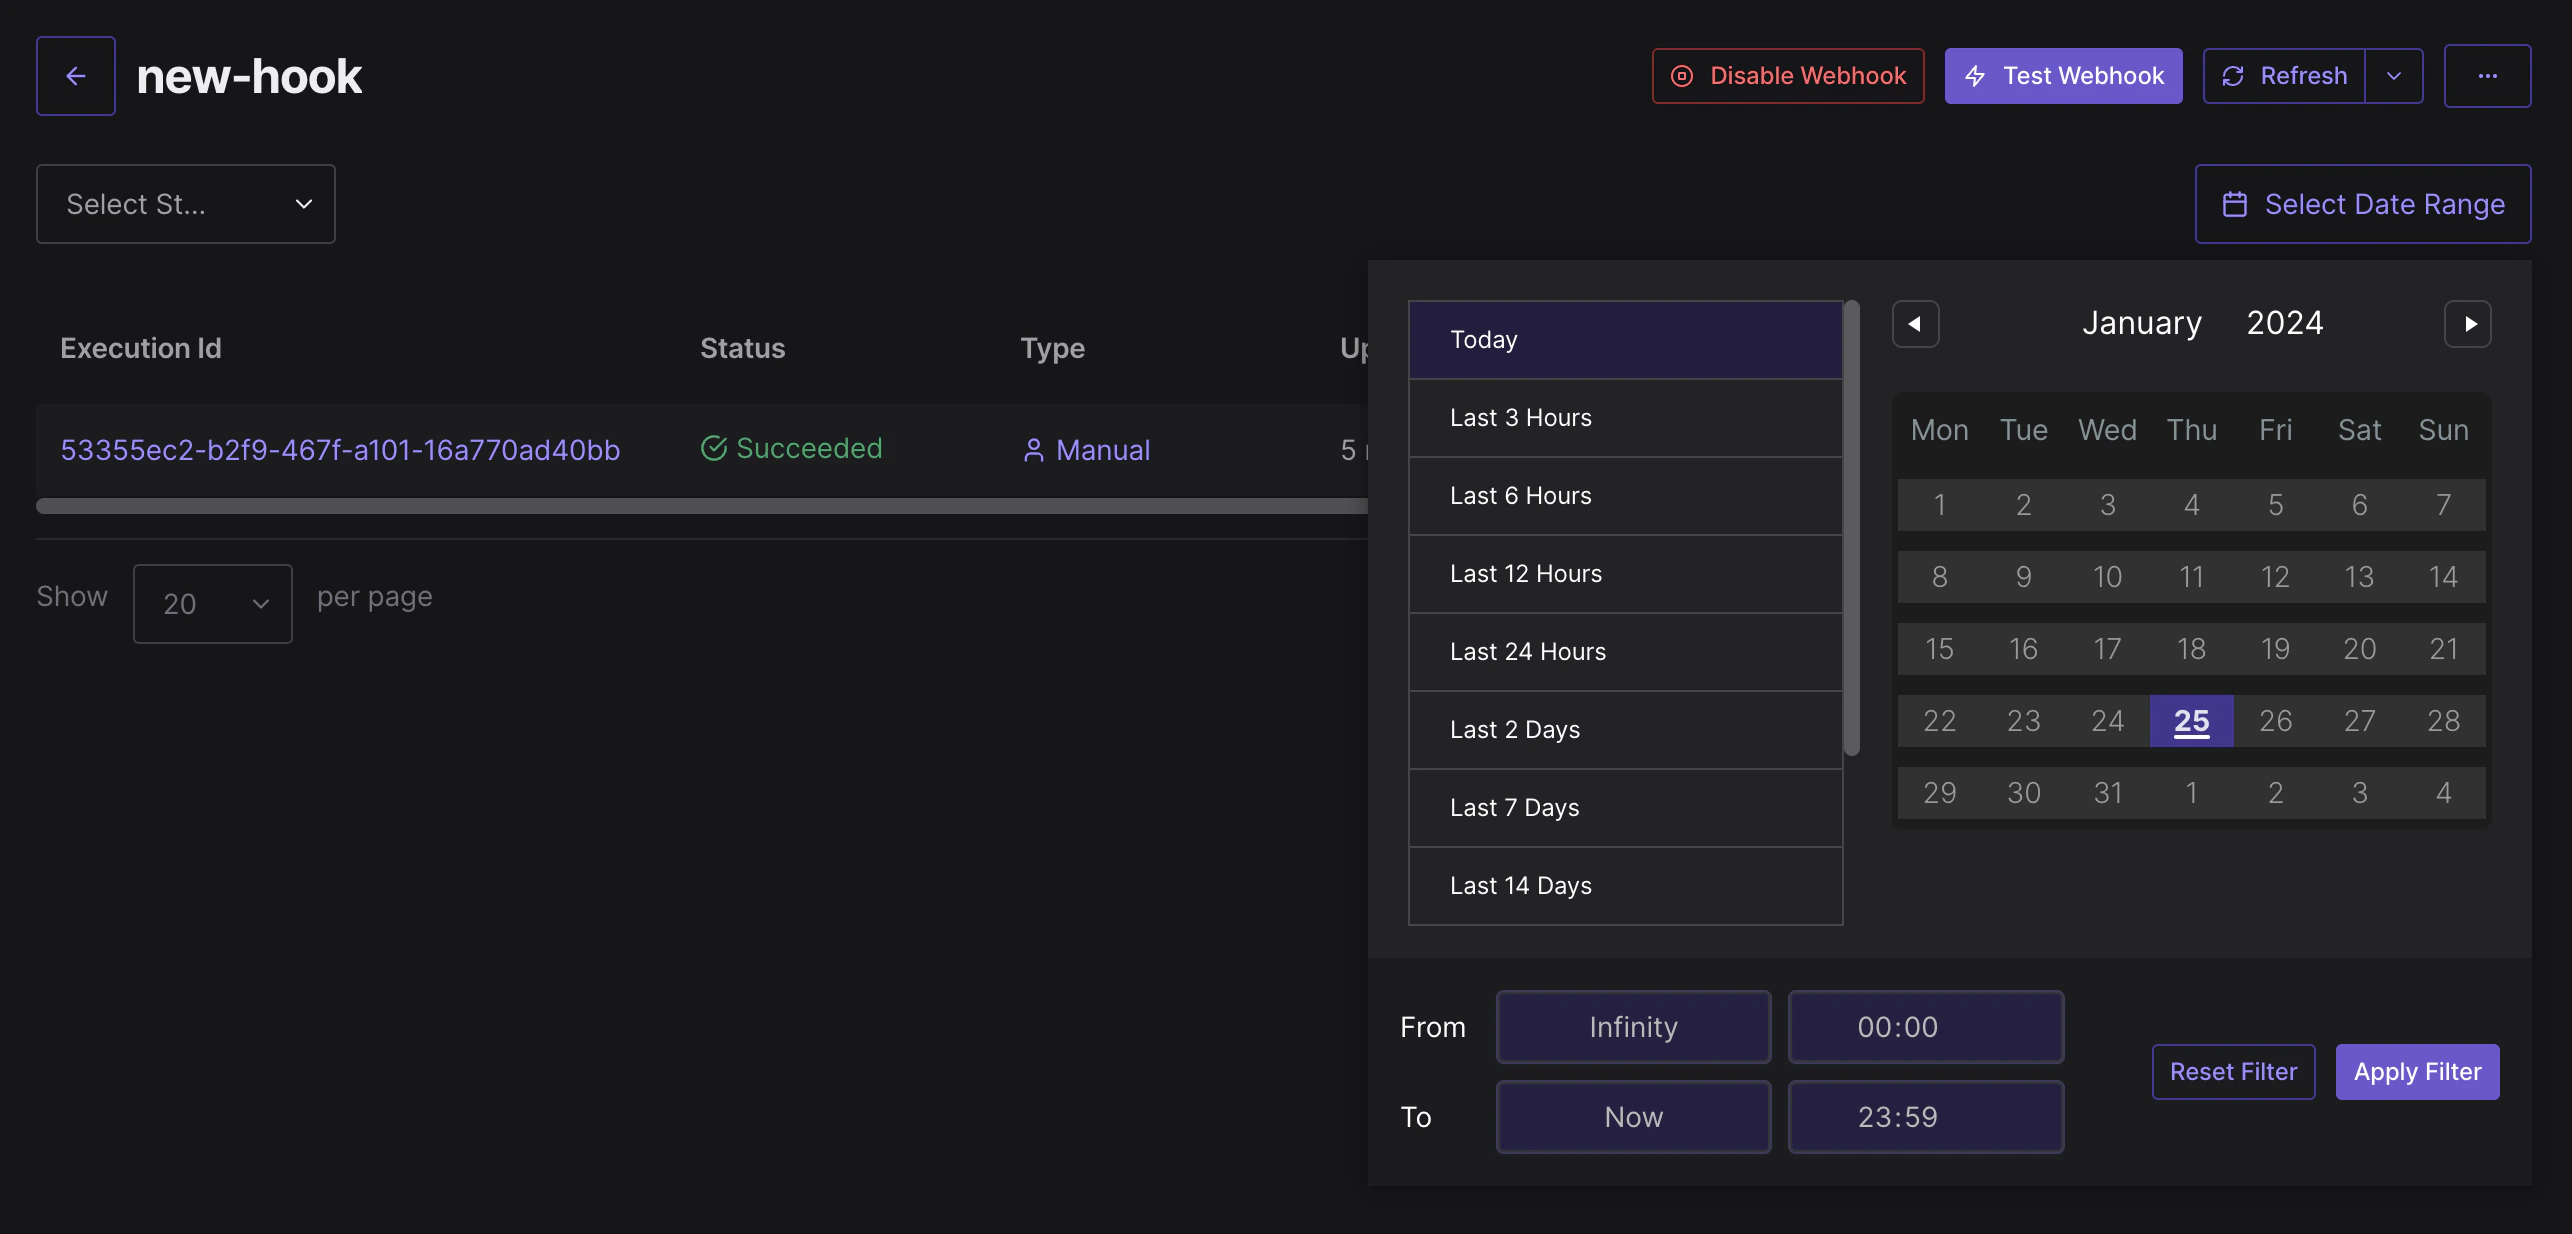
 आप विभिन्न filters, जैसे **Filter by Status** और **Select a Date Range** लागू करके पिछले webhook executions भी देख सकते हैं।
 ### webhook को Alert से कनेक्ट करना
अपने webhook endpoint को कॉन्फ़िगर करने के साथ, आप इसे अपने किसी भी Alerts में Destination के रूप में जोड़ सकते हैं।
Alert सेट अप करने का तरीका जानने के लिए [इस गाइड का पालन करें](/monitoring/alerts/tutorials/quickstart)।
### webhook को Alert से कनेक्ट करना
अपने webhook endpoint को कॉन्फ़िगर करने के साथ, आप इसे अपने किसी भी Alerts में Destination के रूप में जोड़ सकते हैं।
Alert सेट अप करने का तरीका जानने के लिए [इस गाइड का पालन करें](/monitoring/alerts/tutorials/quickstart)।
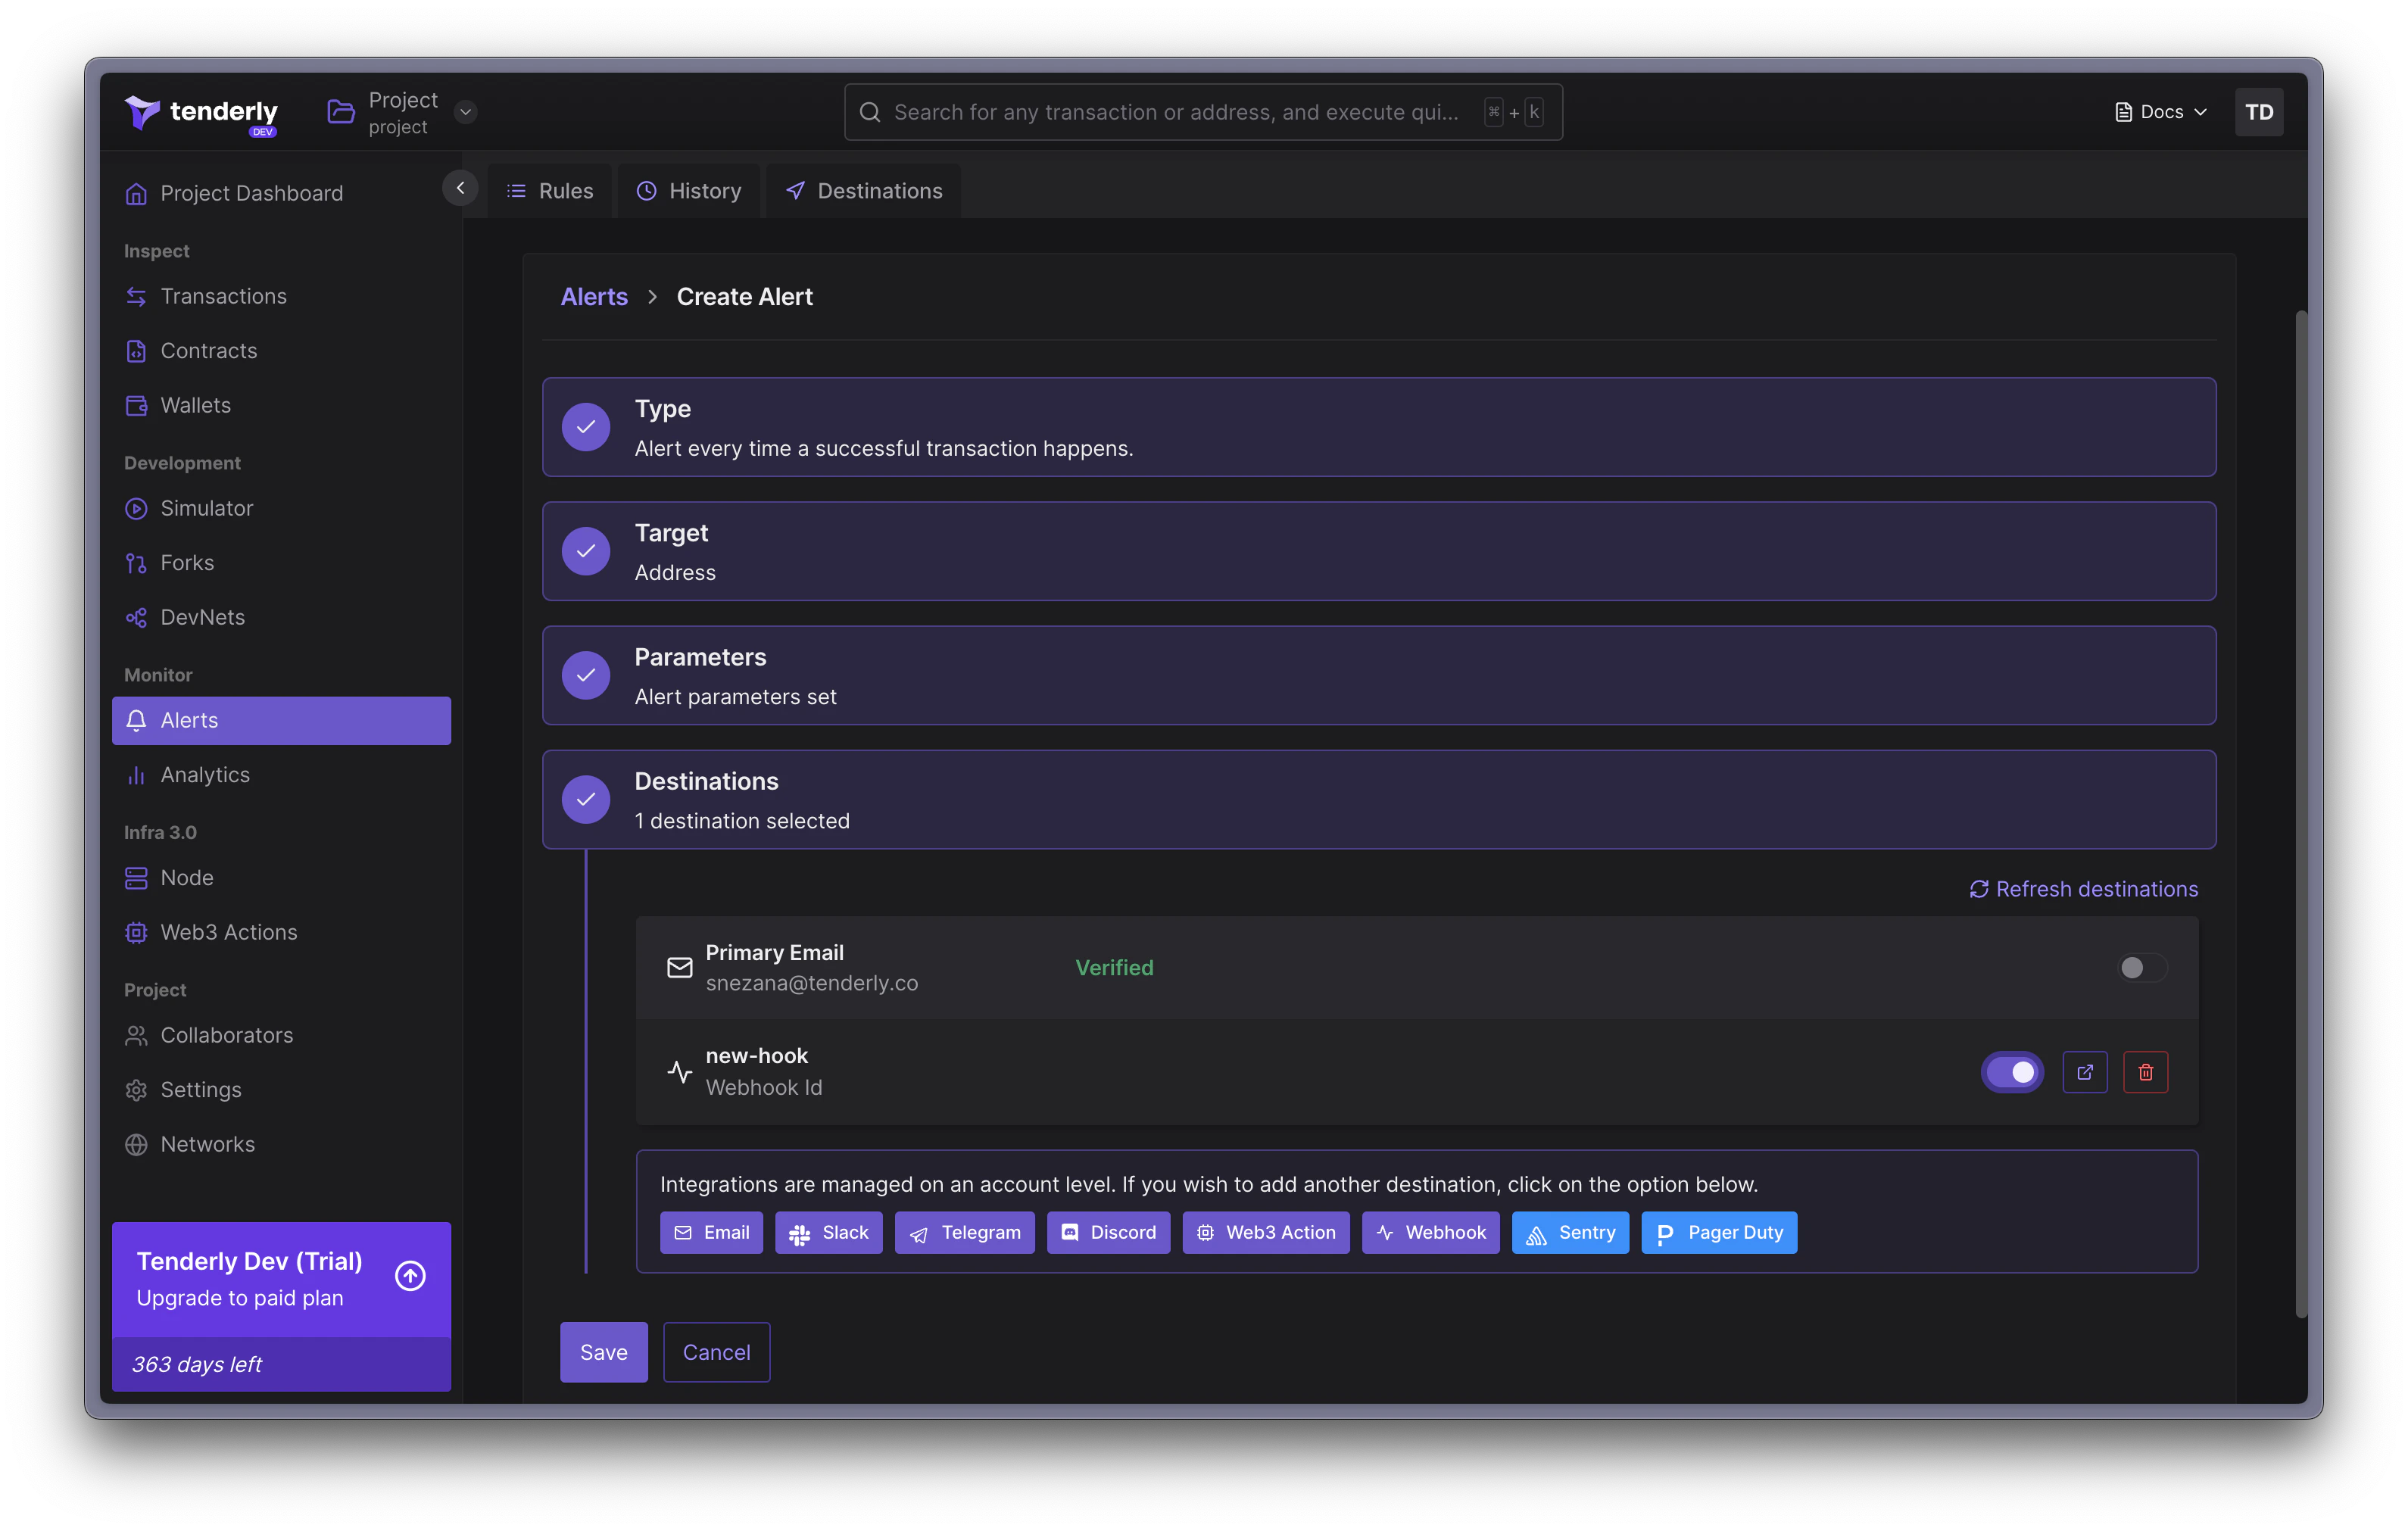 जब आप कोई Alert rule बनाते हैं, तो आपको निम्न पेज पर redirect किया जाएगा:
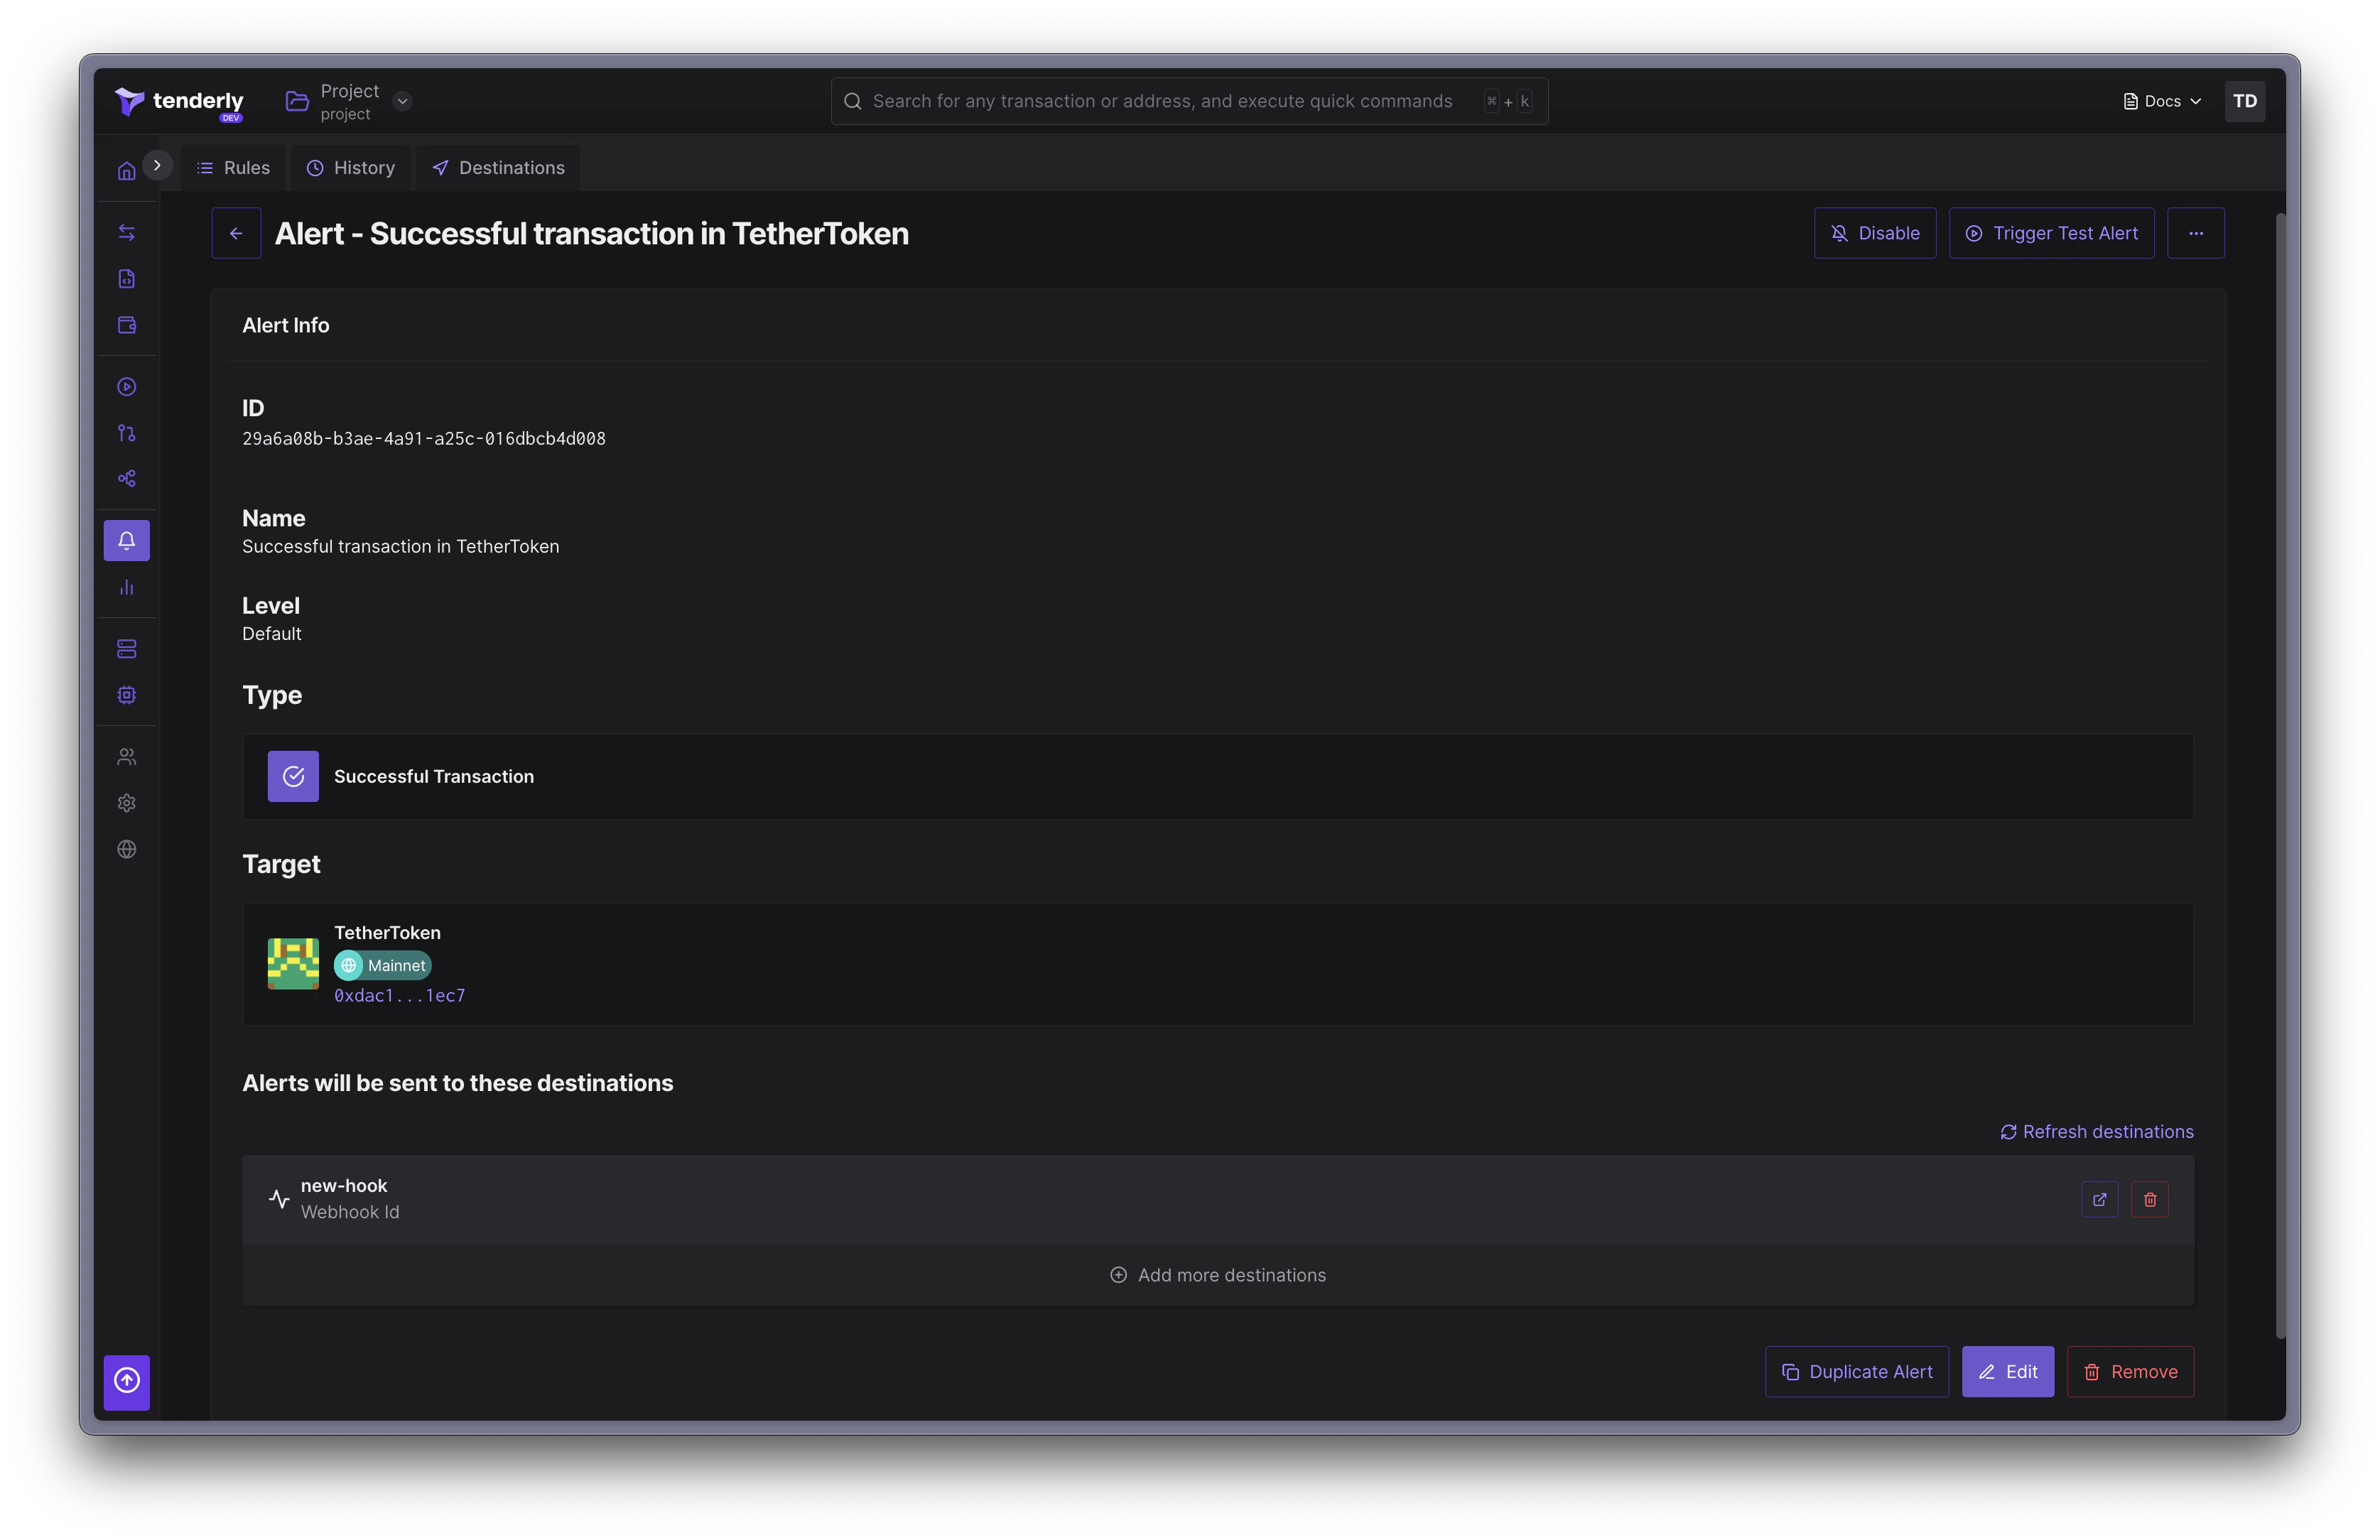 यदि आपका Alert सक्षम है, तो आप अपने webhook endpoint पर events प्राप्त करना शुरू कर देंगे।
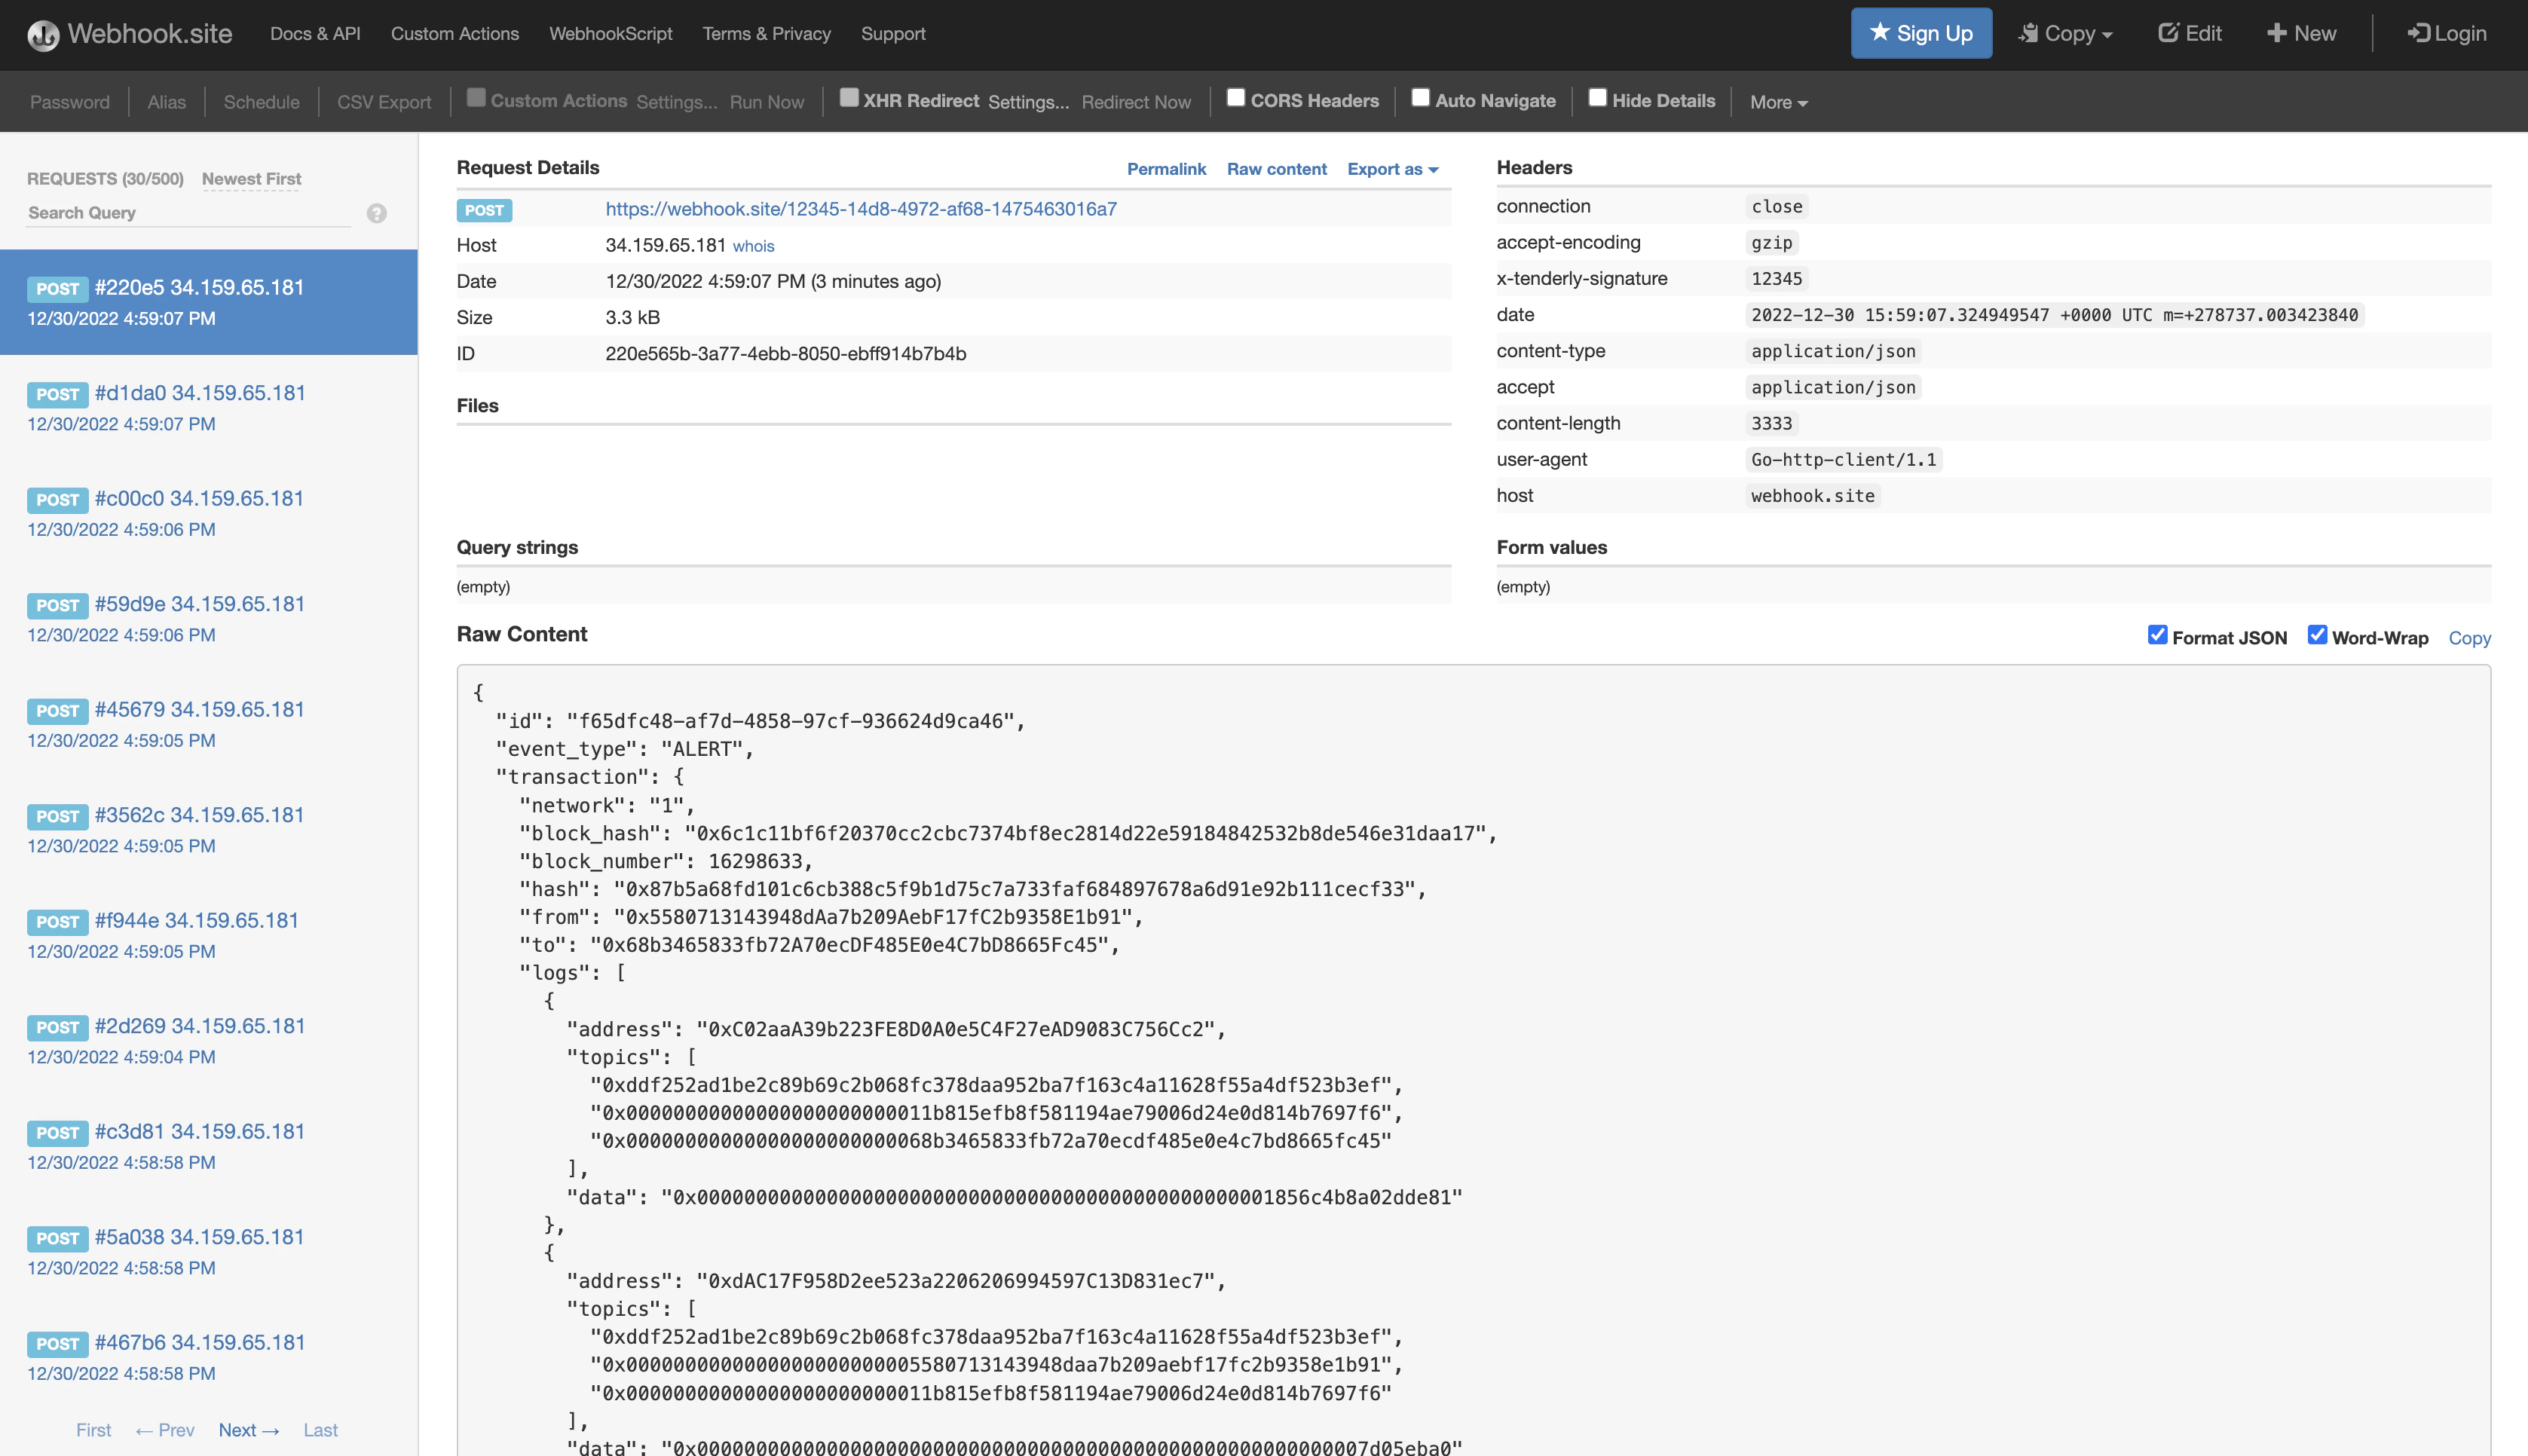
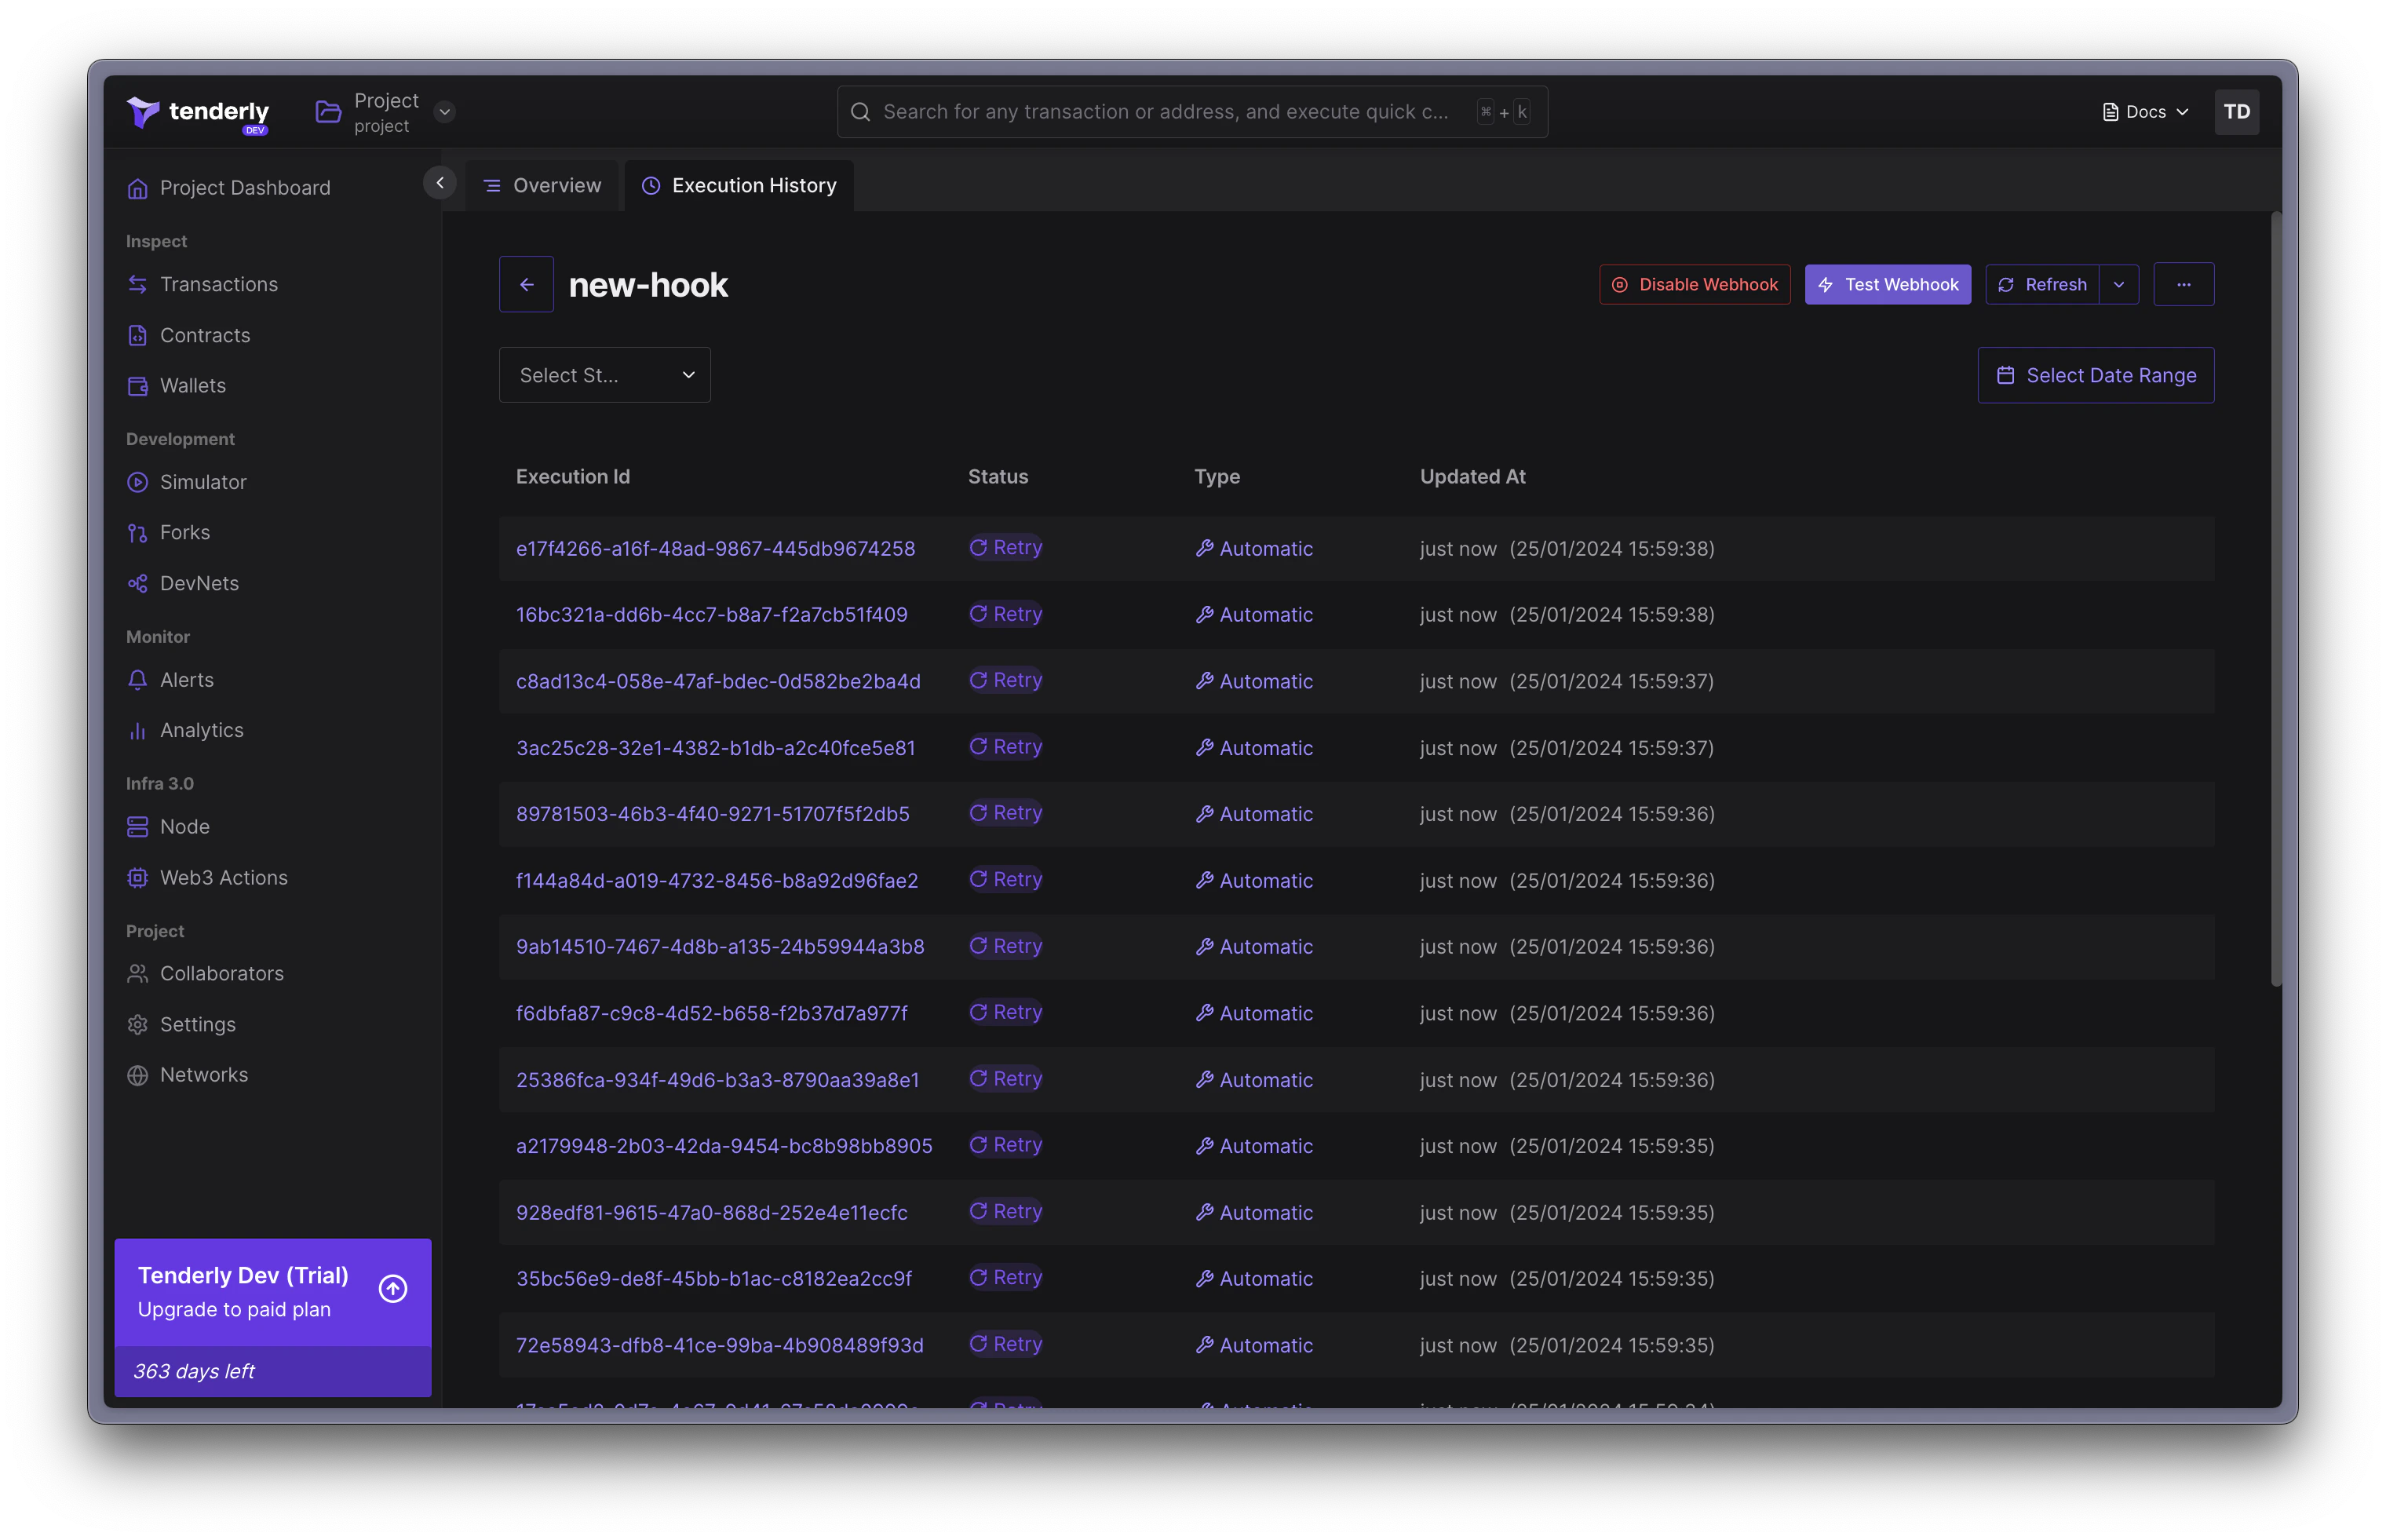 इस उदाहरण में, हमने Tenderly webhooks कैसे काम करते हैं इसका परीक्षण करने के लिए एक अस्थायी webhook endpoint बनाने के लिए [https://webhook.site](https://webhook.site/) का उपयोग किया। नीचे payload की एक छवि है जो webhook पर सफलतापूर्वक भेजी गई थी।