> ## Documentation Index
> Fetch the complete documentation index at: https://docs.tenderly.co/llms.txt
> Use this file to discover all available pages before exploring further.
# How to Use Webhooks for Alerting
> Learn how to create your first webhook and start receiving alerting events.
Welcome to this guide on how to create a webhook as an alert destination to receive events from an alerting service. In this guide, you will learn how to set up a webhook and see its execution.
### Adding a webhook as an alert destination
To continue, [log into your account](https://dashboard.tenderly.co/) or [create a free
account](https://dashboard.tenderly.co/register) if you don’t have one.
Once logged in, create a new [Tenderly project](/platform/account/projects/overview) or select an existing one where you want to create your Webhook.
From the left-hand menu, go to **Alerts → Destinations** tab, where you'll see a list of [all the available destinations](/monitoring/alerts/destinations/overview).
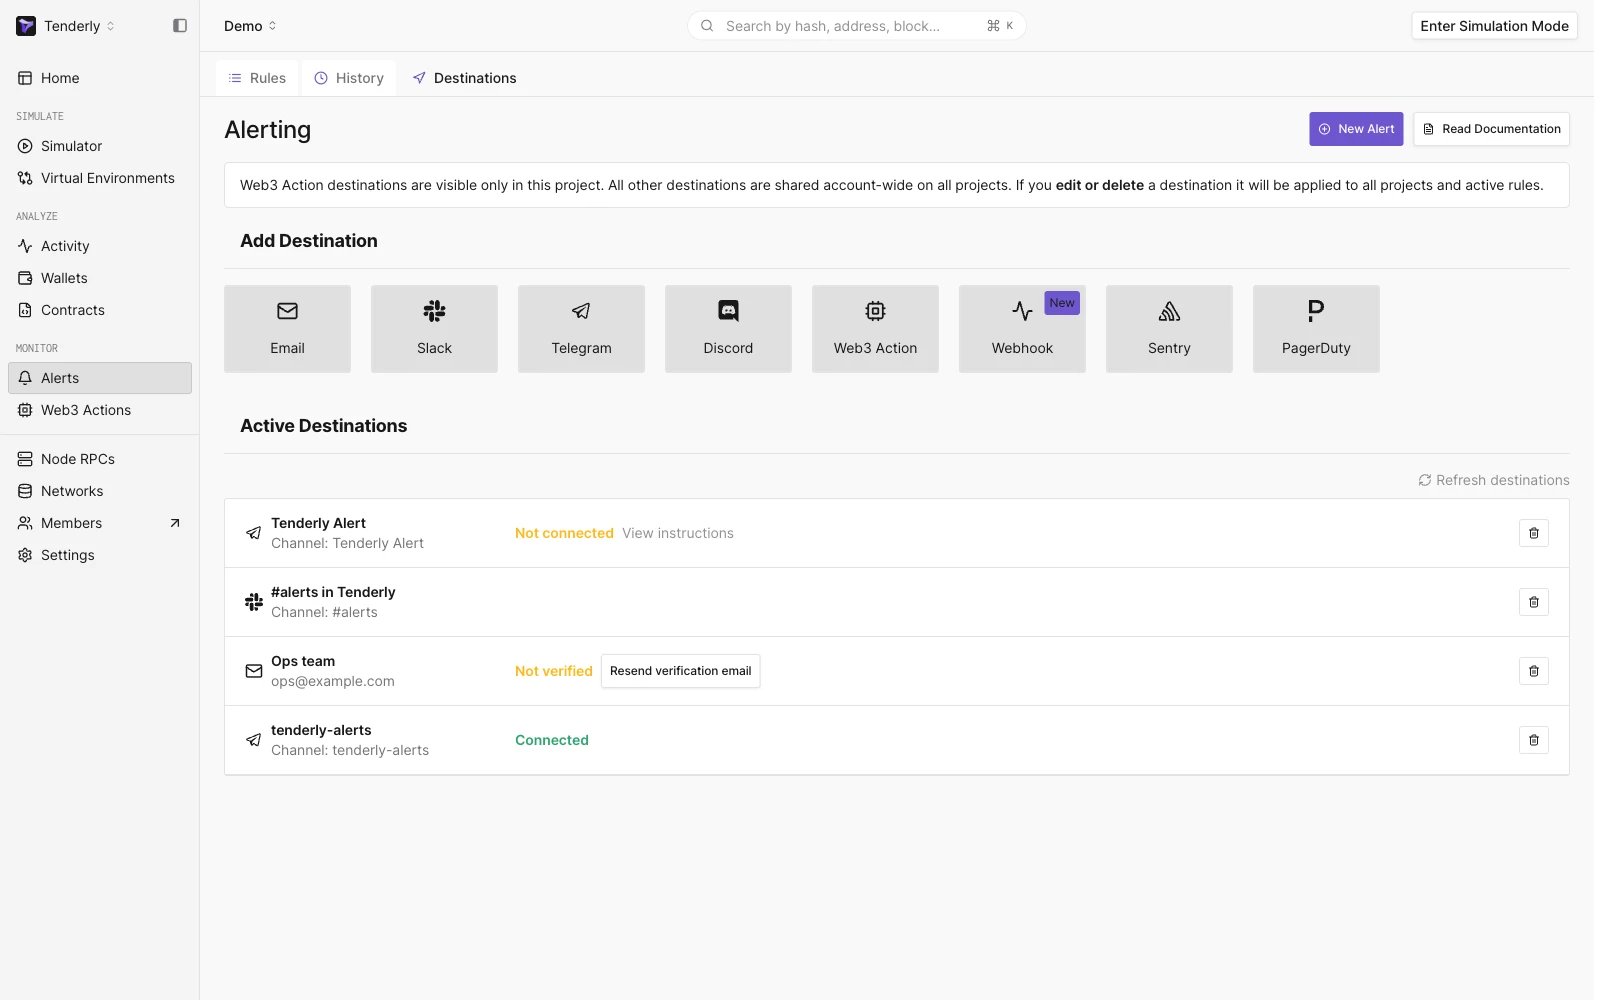 To create a webhook alert destination, click on the Webhook card, which will open up the configuration modal. You'll be prompted to configure the following options:
* **Webhook name** - Must be unique and cannot be changed later
* **Webhook URL** - URL where you'll receive live events from Tenderly
* **Description** - Optional parameter, but you can use it to provide more information about the webhook configuration
To create a webhook alert destination, click on the Webhook card, which will open up the configuration modal. You'll be prompted to configure the following options:
* **Webhook name** - Must be unique and cannot be changed later
* **Webhook URL** - URL where you'll receive live events from Tenderly
* **Description** - Optional parameter, but you can use it to provide more information about the webhook configuration
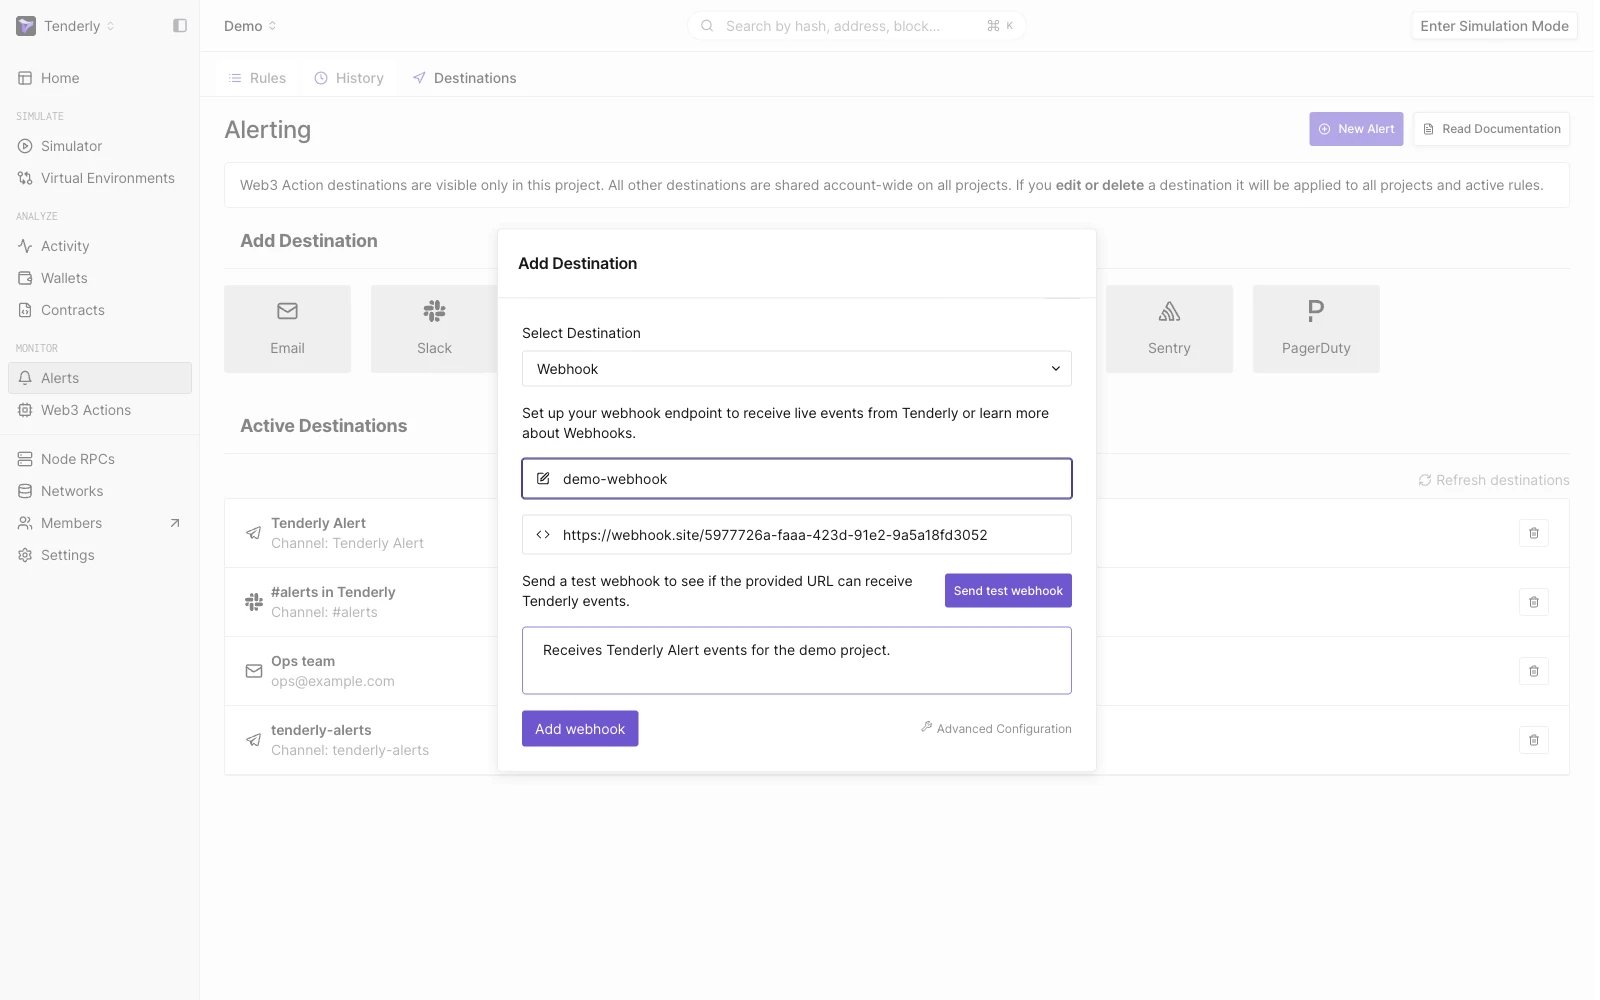 If you click on the **Advanced Configuration** link, a modal will open with JavaScript, Python, or Go code snippets that you can use to set up your custom webhook.
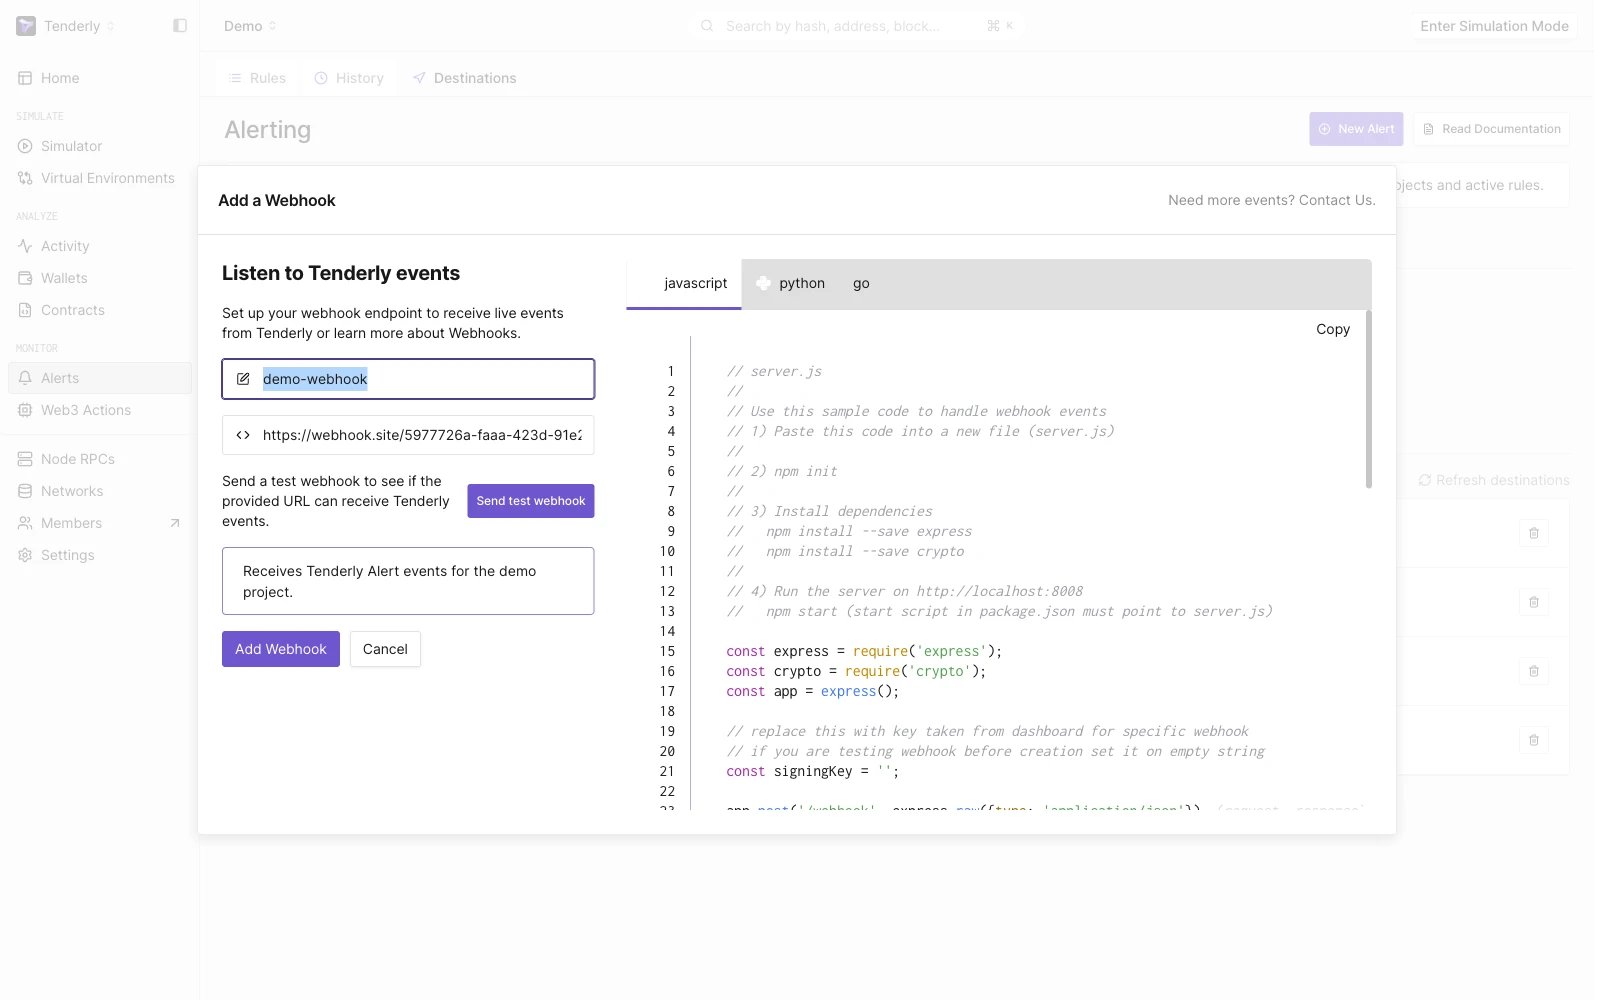 To test if the provided URL is able to receive events from Tenderly, click on the **Send test webhook** button, and the predefined test payload will be sent to your endpoint.
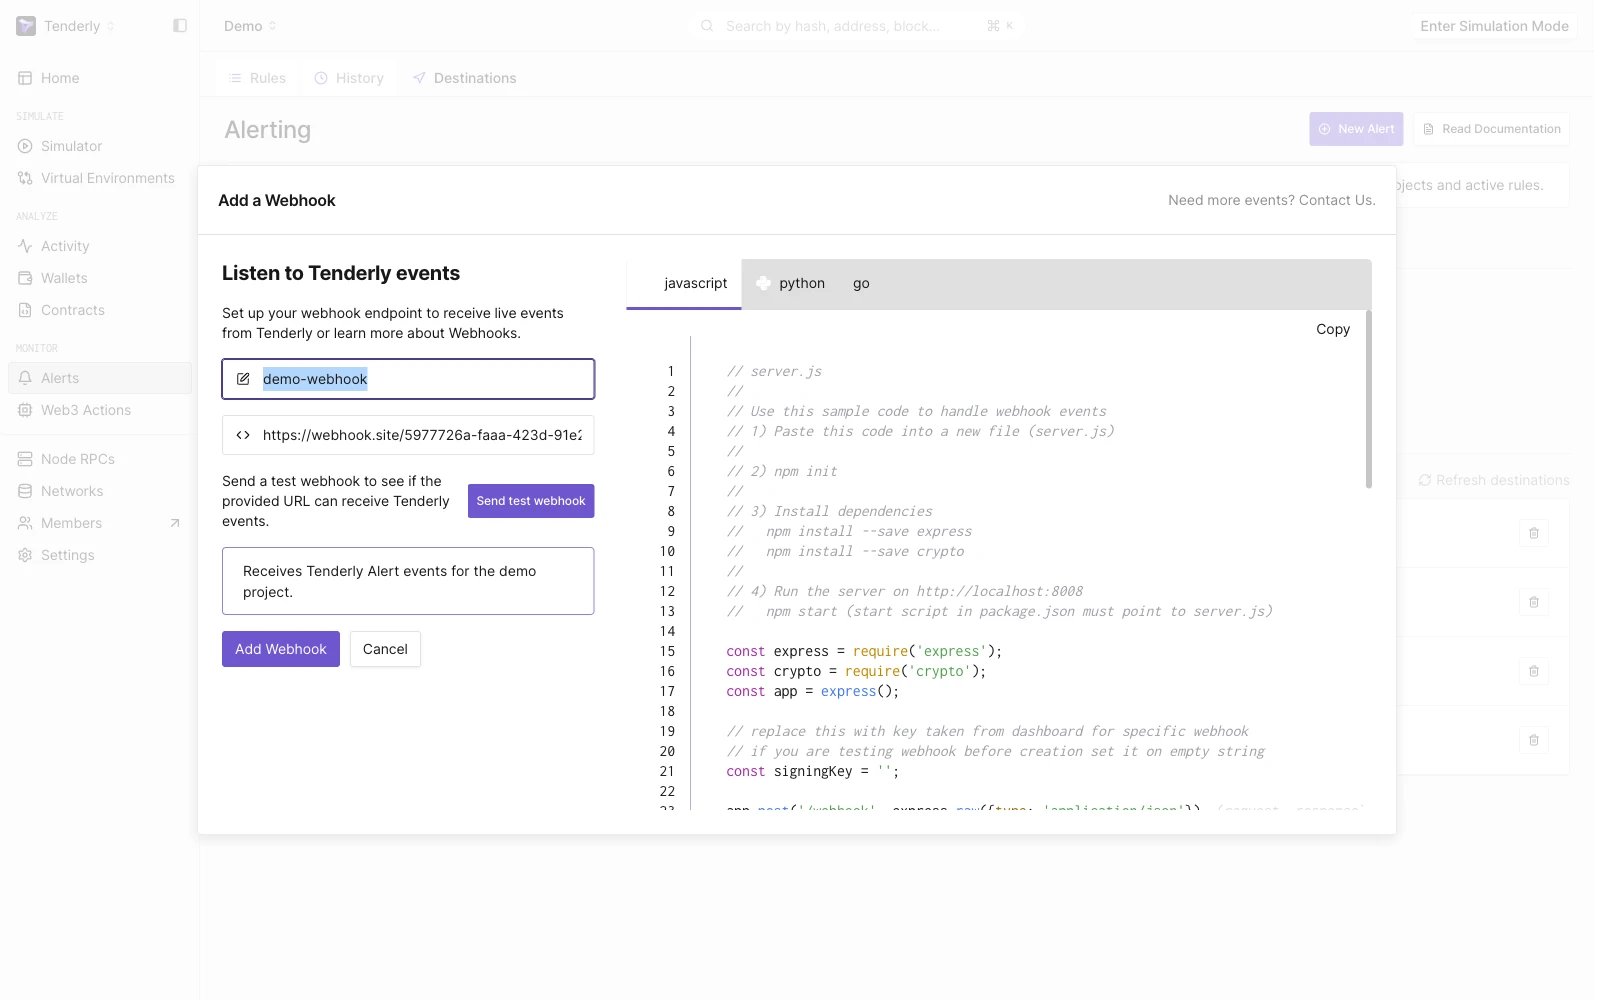 If everything works as expected and you've received the event, click on the **Add Webhook** button. This action will add the new webhook destination to the **Active Destinations** list.
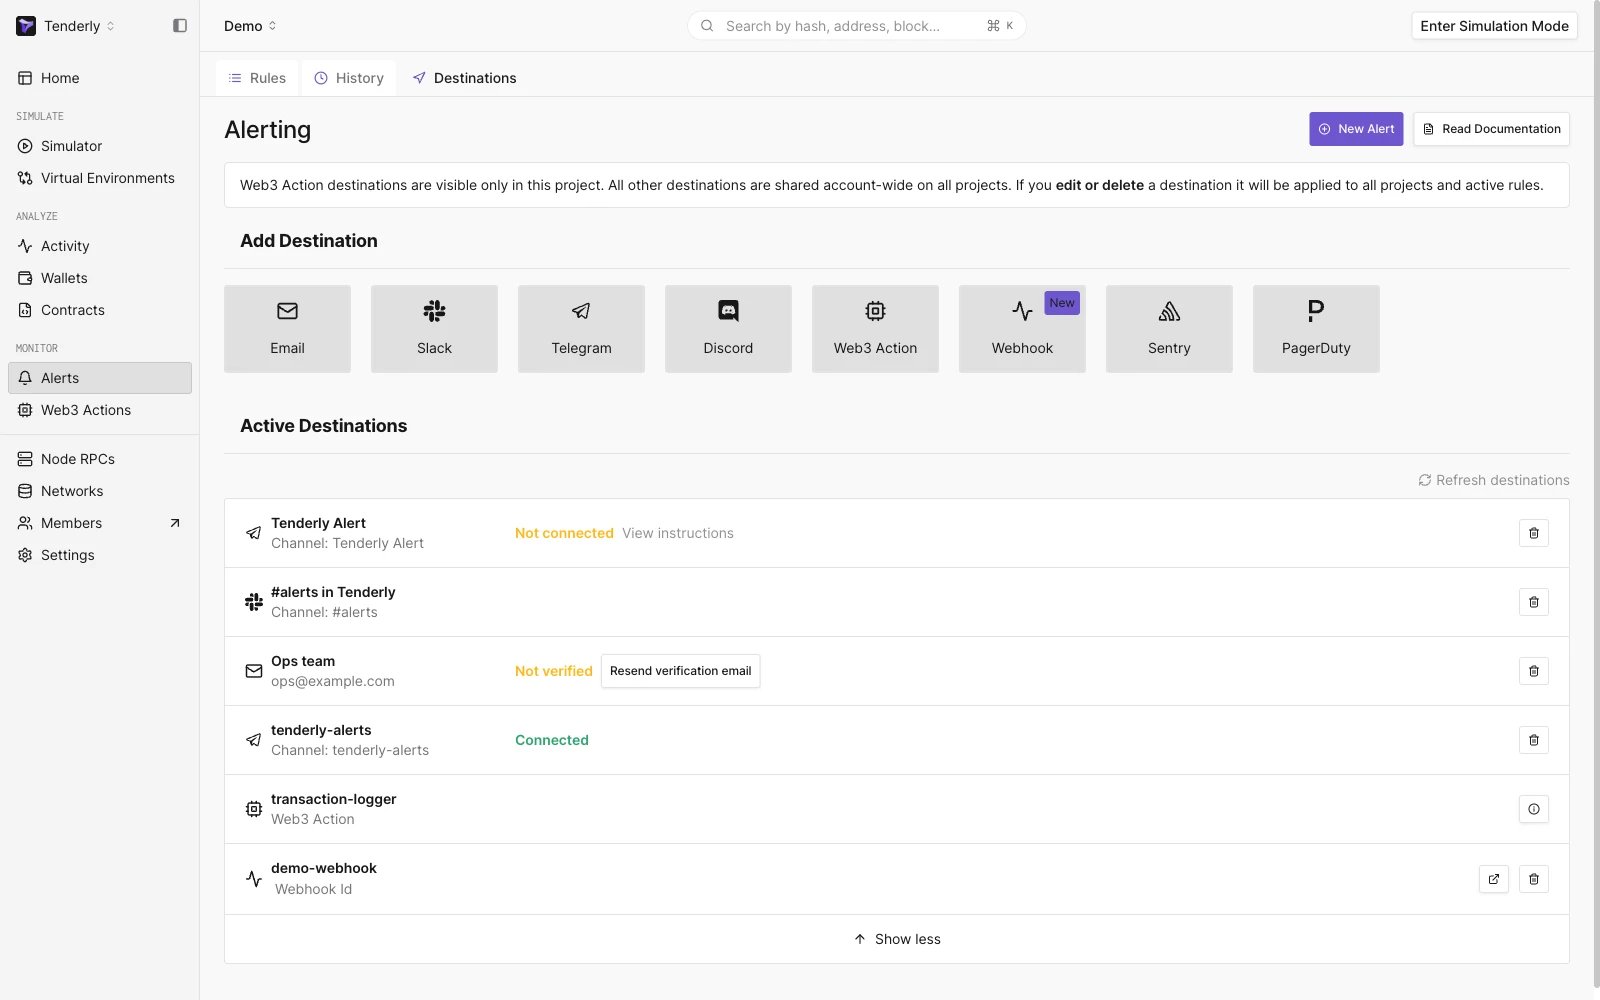 Clicking on the button to the right will open up the Webhook overview page. This is where you can find information about the webhook status, URL, creation date, signing secrets, etc.
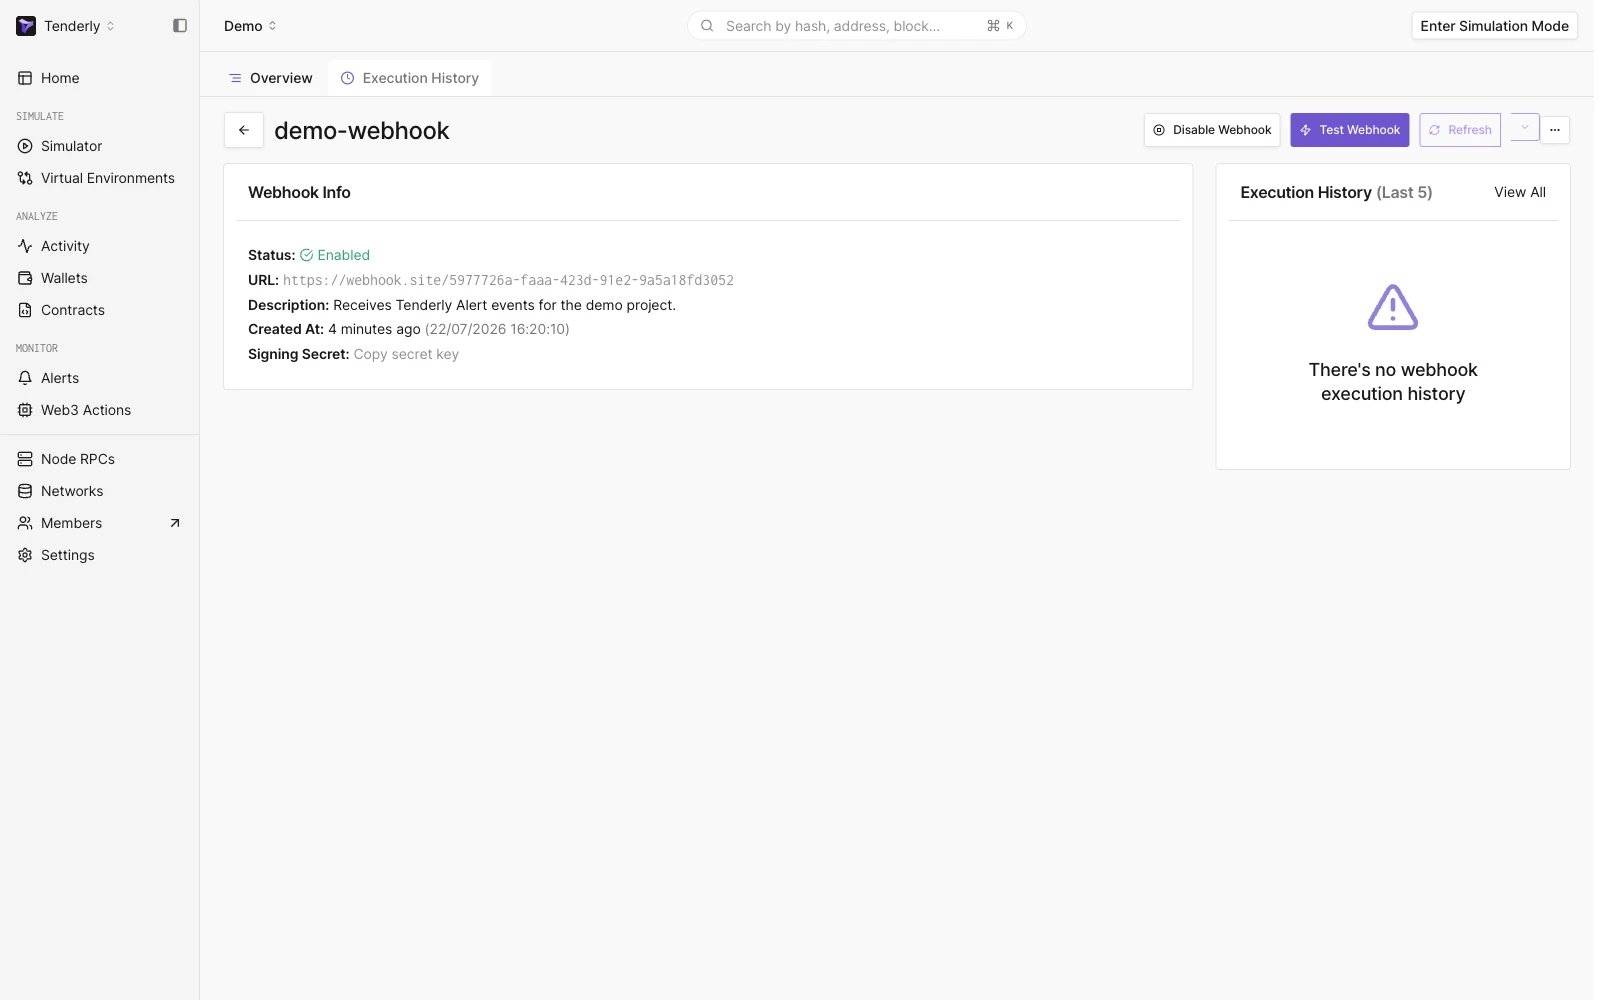 You can also perform other actions on your webhook from the overview page. The **Disable Webhook** button toggles the webhook between active and inactive, and the three-dot menu in the top right holds the **Edit Webhook** and **Delete Webhook** options.
**Enable/Disable Webhook:** Toggle the status of a webhook between active and inactive.
**Delete Webhook**: Remove a webhook from your Tenderly project. Deleting a webhook is a permanent action and cannot be undone.
You can also perform other actions on your webhook from the overview page. The **Disable Webhook** button toggles the webhook between active and inactive, and the three-dot menu in the top right holds the **Edit Webhook** and **Delete Webhook** options.
**Enable/Disable Webhook:** Toggle the status of a webhook between active and inactive.
**Delete Webhook**: Remove a webhook from your Tenderly project. Deleting a webhook is a permanent action and cannot be undone.
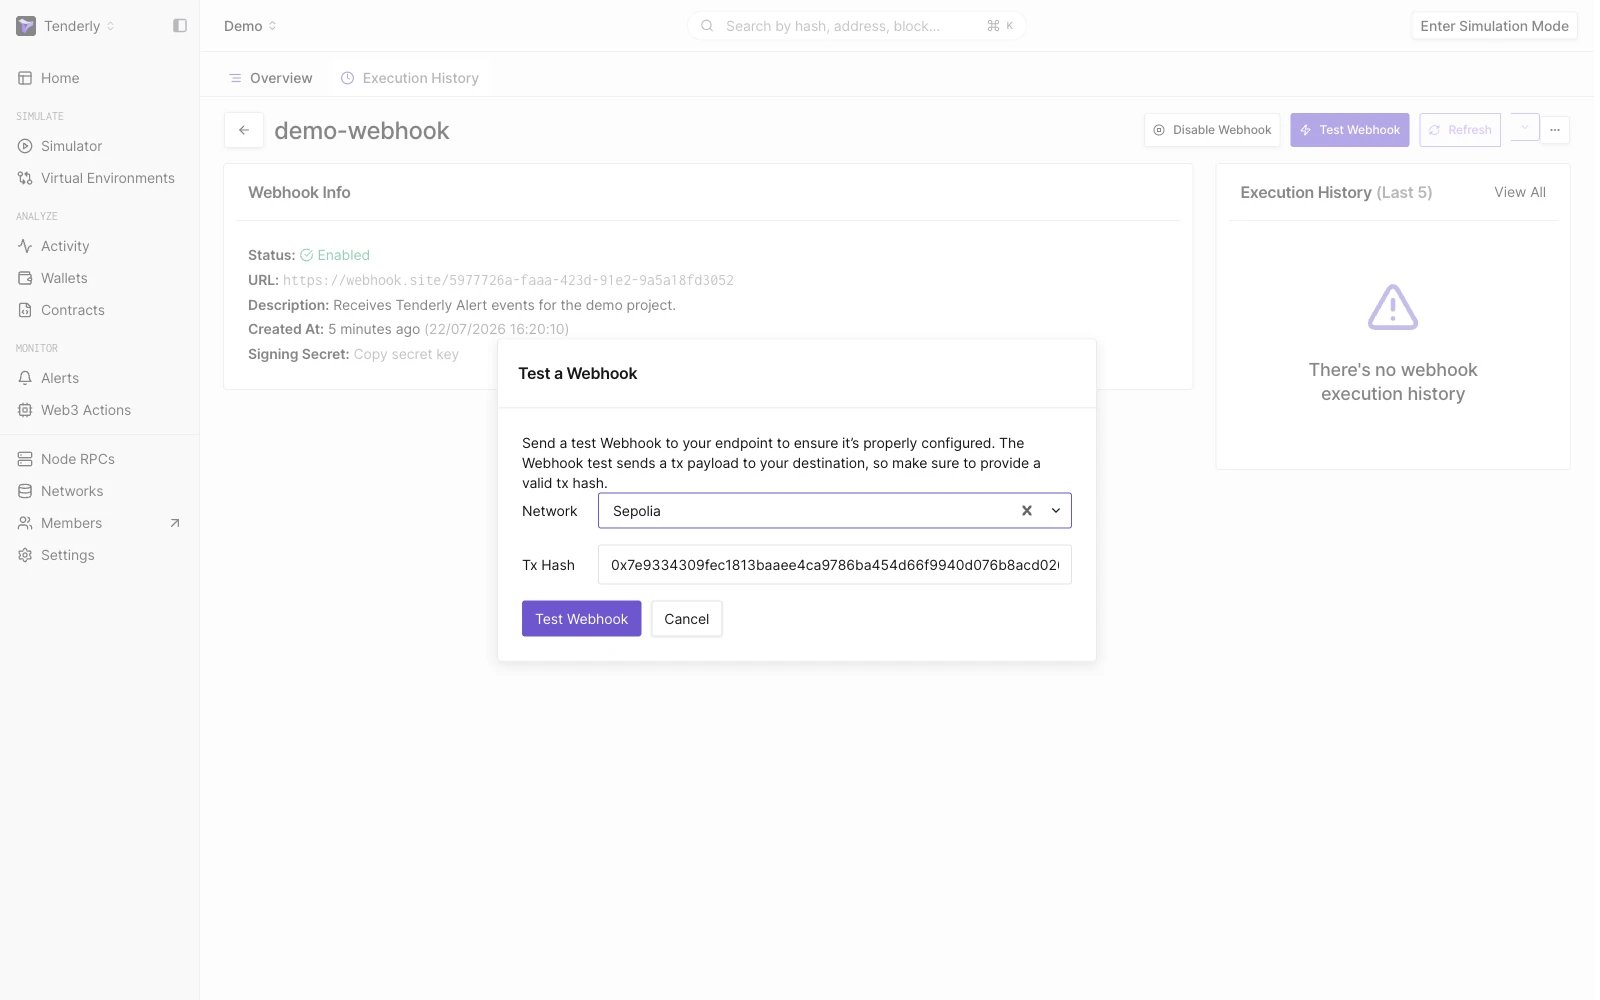
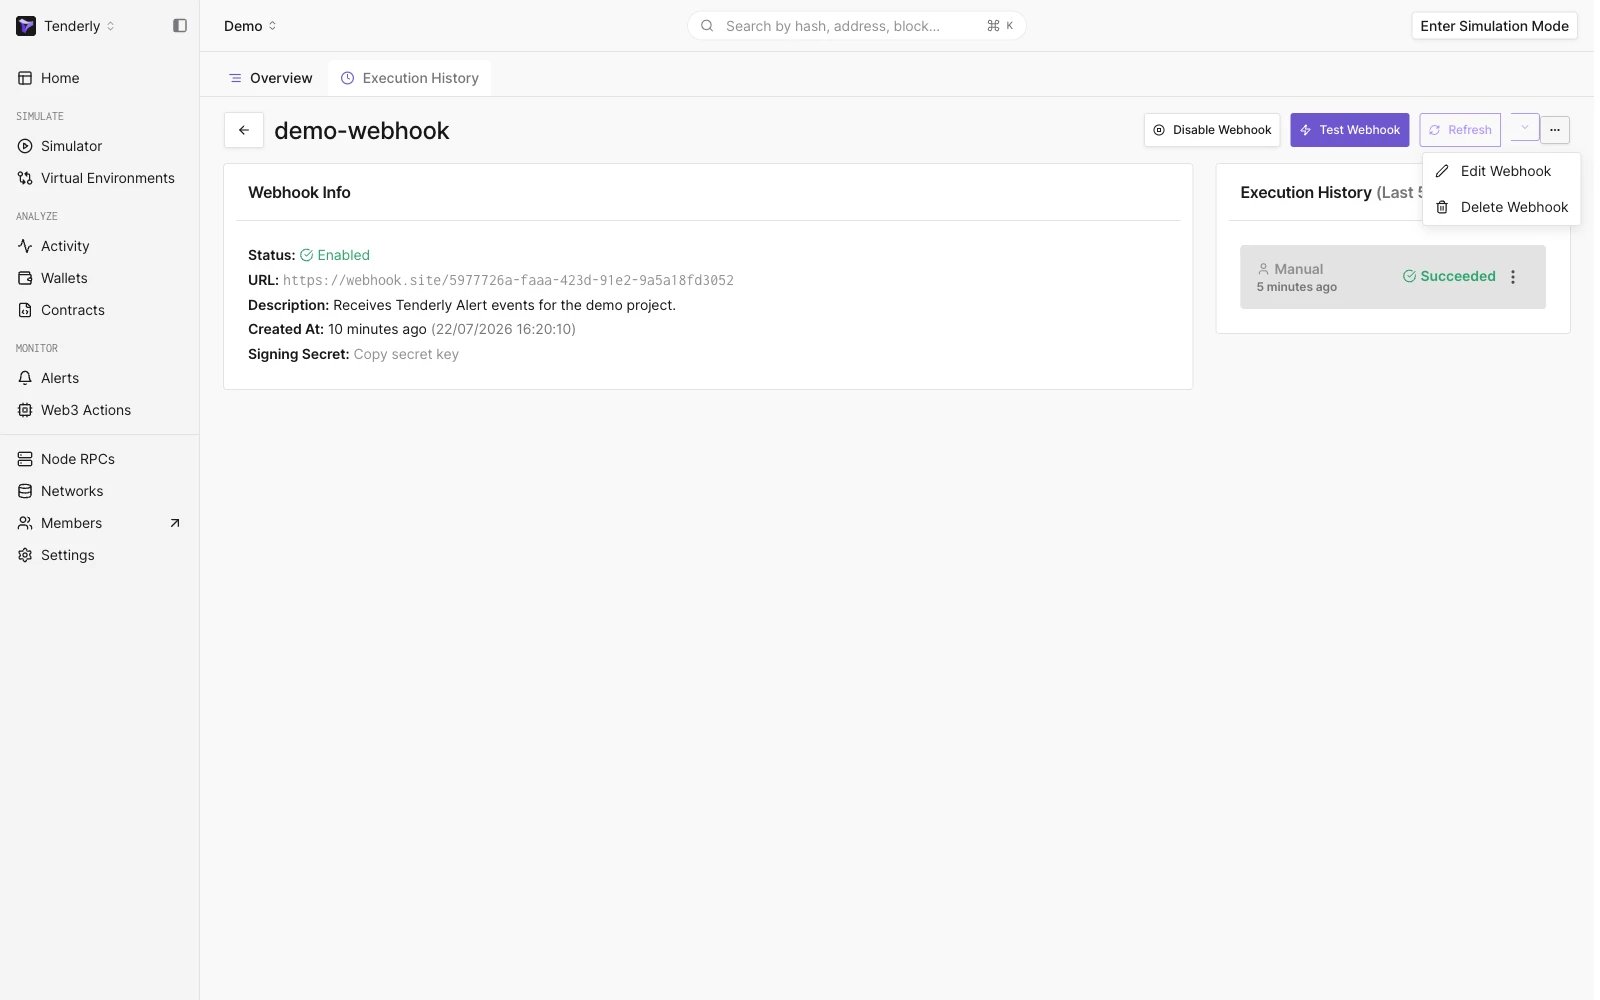 **Send a Test Request:** Test the functionality of your webhook by sending a test event to the provided URL by providing a transaction hash with its network.
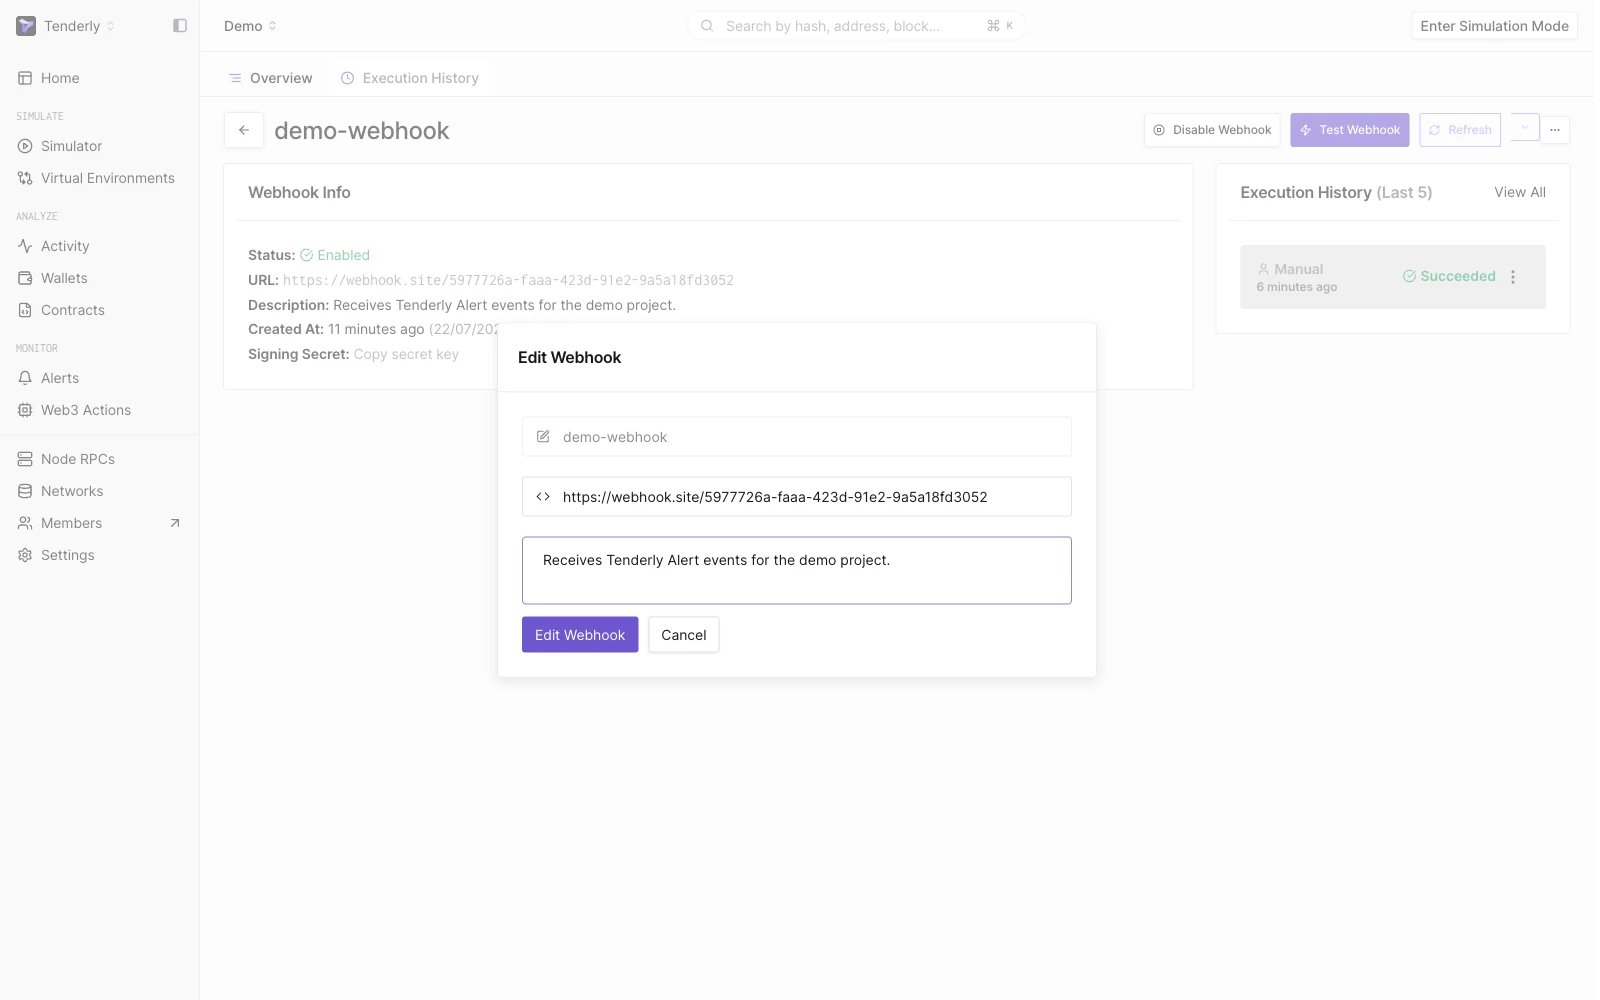
 **Edit Webhook**: Modify the configuration of an existing webhook, such as the URL or description.
 ### Webhook execution history
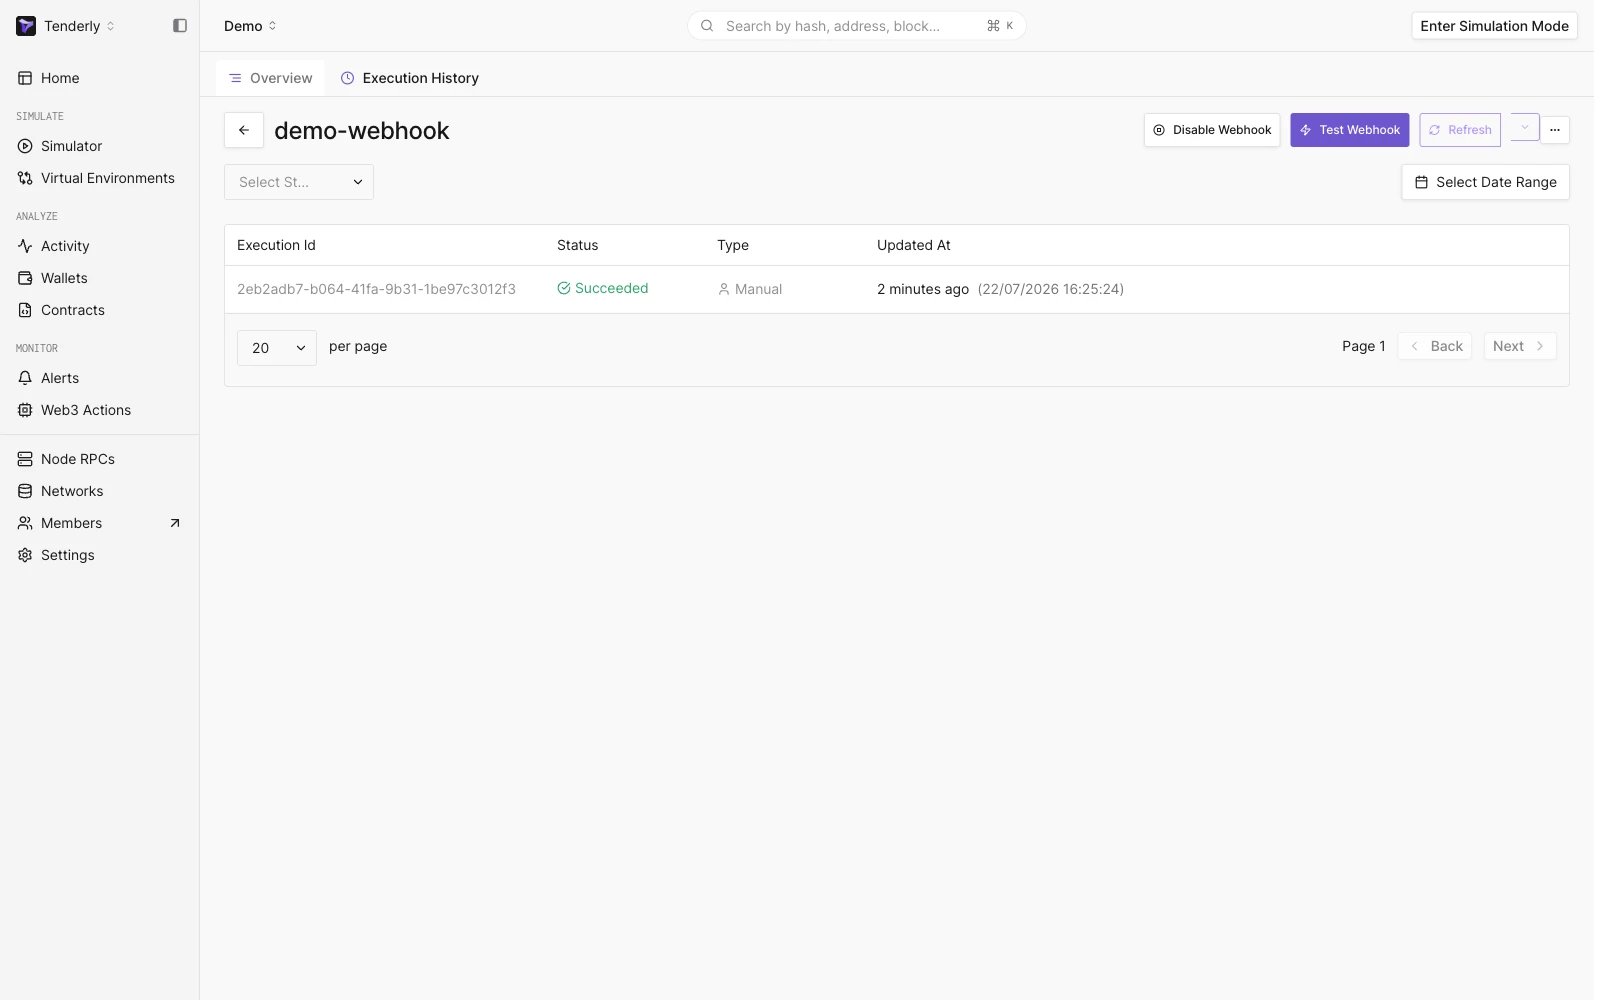
From the webhook overview page, click on Execution History to see the transaction payload that has been sent to the provided webhook URL and the response from the webhook endpoint.
### Webhook execution history
From the webhook overview page, click on Execution History to see the transaction payload that has been sent to the provided webhook URL and the response from the webhook endpoint.
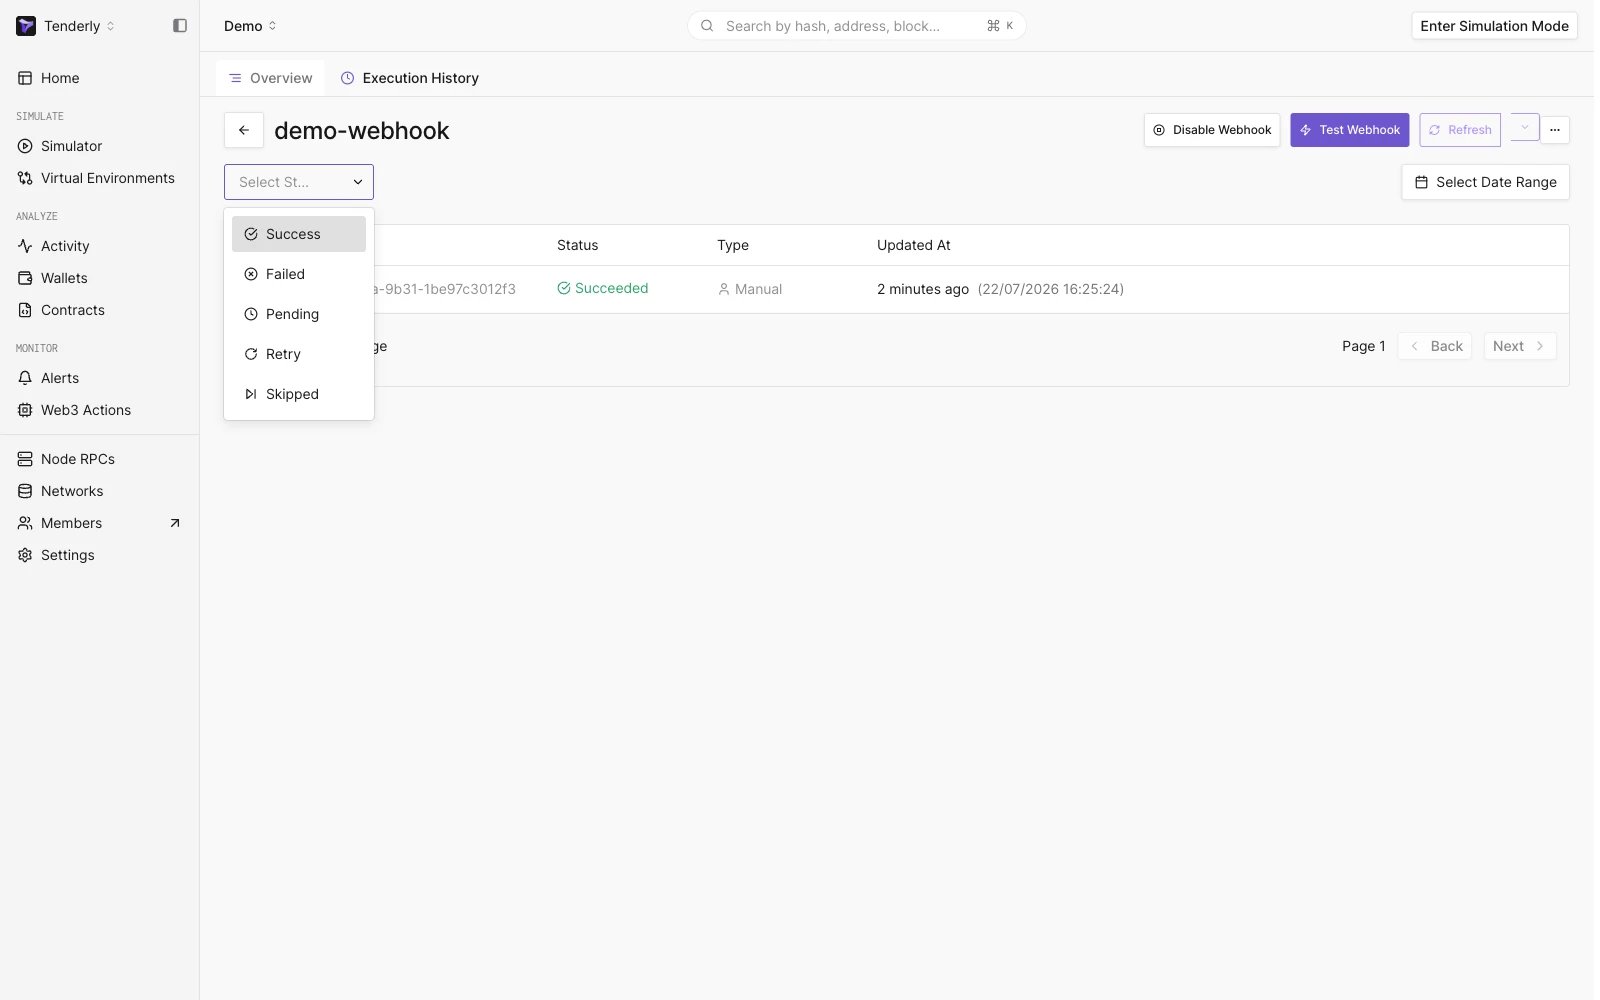
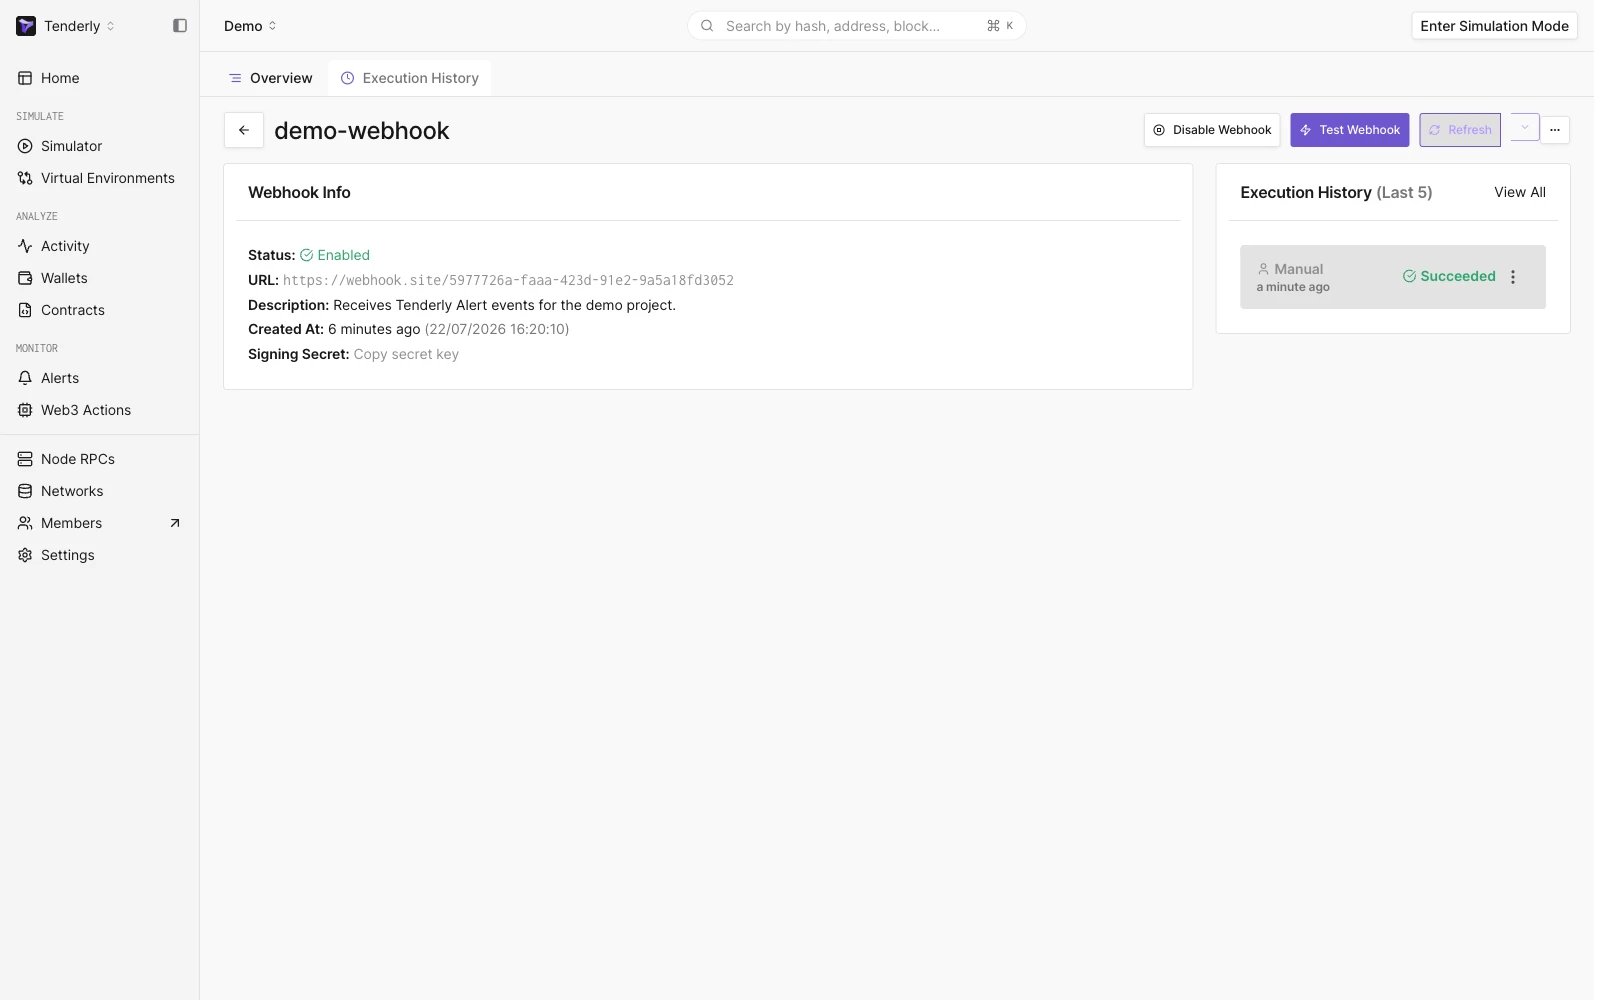 Webhook execution can have several statuses:
* **Success:** Webhook was successfully executed, and the event was delivered to the specified URL.
* **Failed**: Webhook was unable to be executed due to an error, such as a connectivity issue, a problem with the URL, or something else. Check the response content to see what caused the error, or contact our support.
* **Pending**: Webhook is in the process of being executed and has not yet been completed.
* **Retry**: Webhook execution failed but will be retried no more than 5 times until it changes the status to Success or Failed.
* **Skipped**: Webhook was not executed because it was disabled.
Webhook execution can have several statuses:
* **Success:** Webhook was successfully executed, and the event was delivered to the specified URL.
* **Failed**: Webhook was unable to be executed due to an error, such as a connectivity issue, a problem with the URL, or something else. Check the response content to see what caused the error, or contact our support.
* **Pending**: Webhook is in the process of being executed and has not yet been completed.
* **Retry**: Webhook execution failed but will be retried no more than 5 times until it changes the status to Success or Failed.
* **Skipped**: Webhook was not executed because it was disabled.
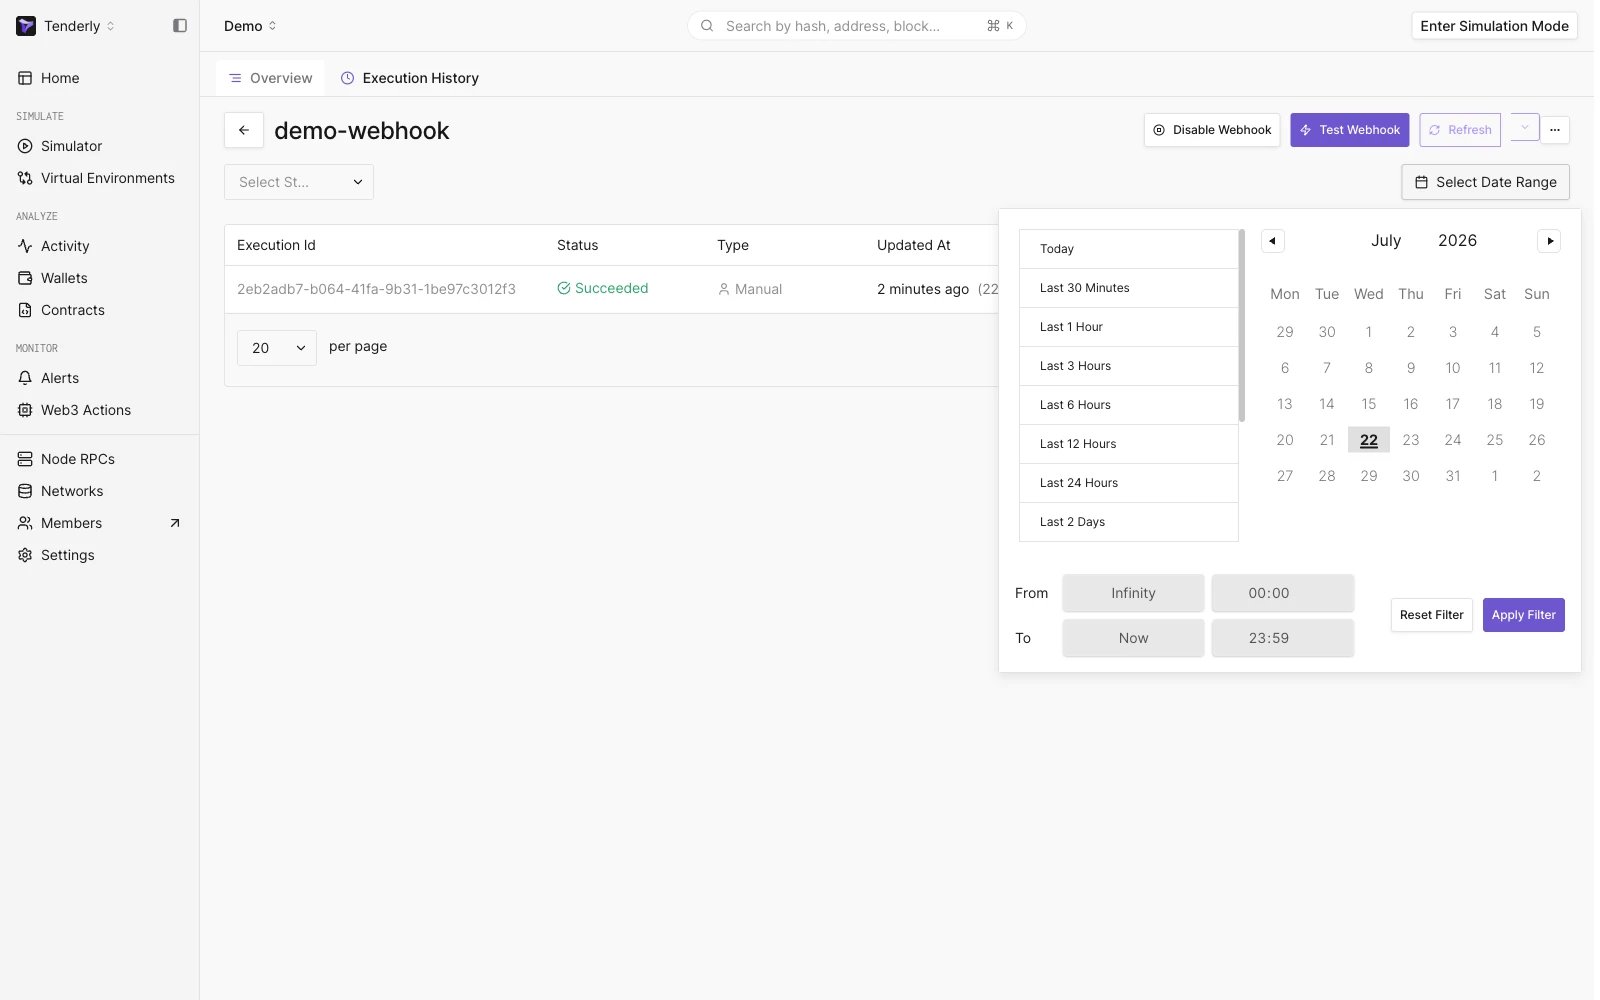
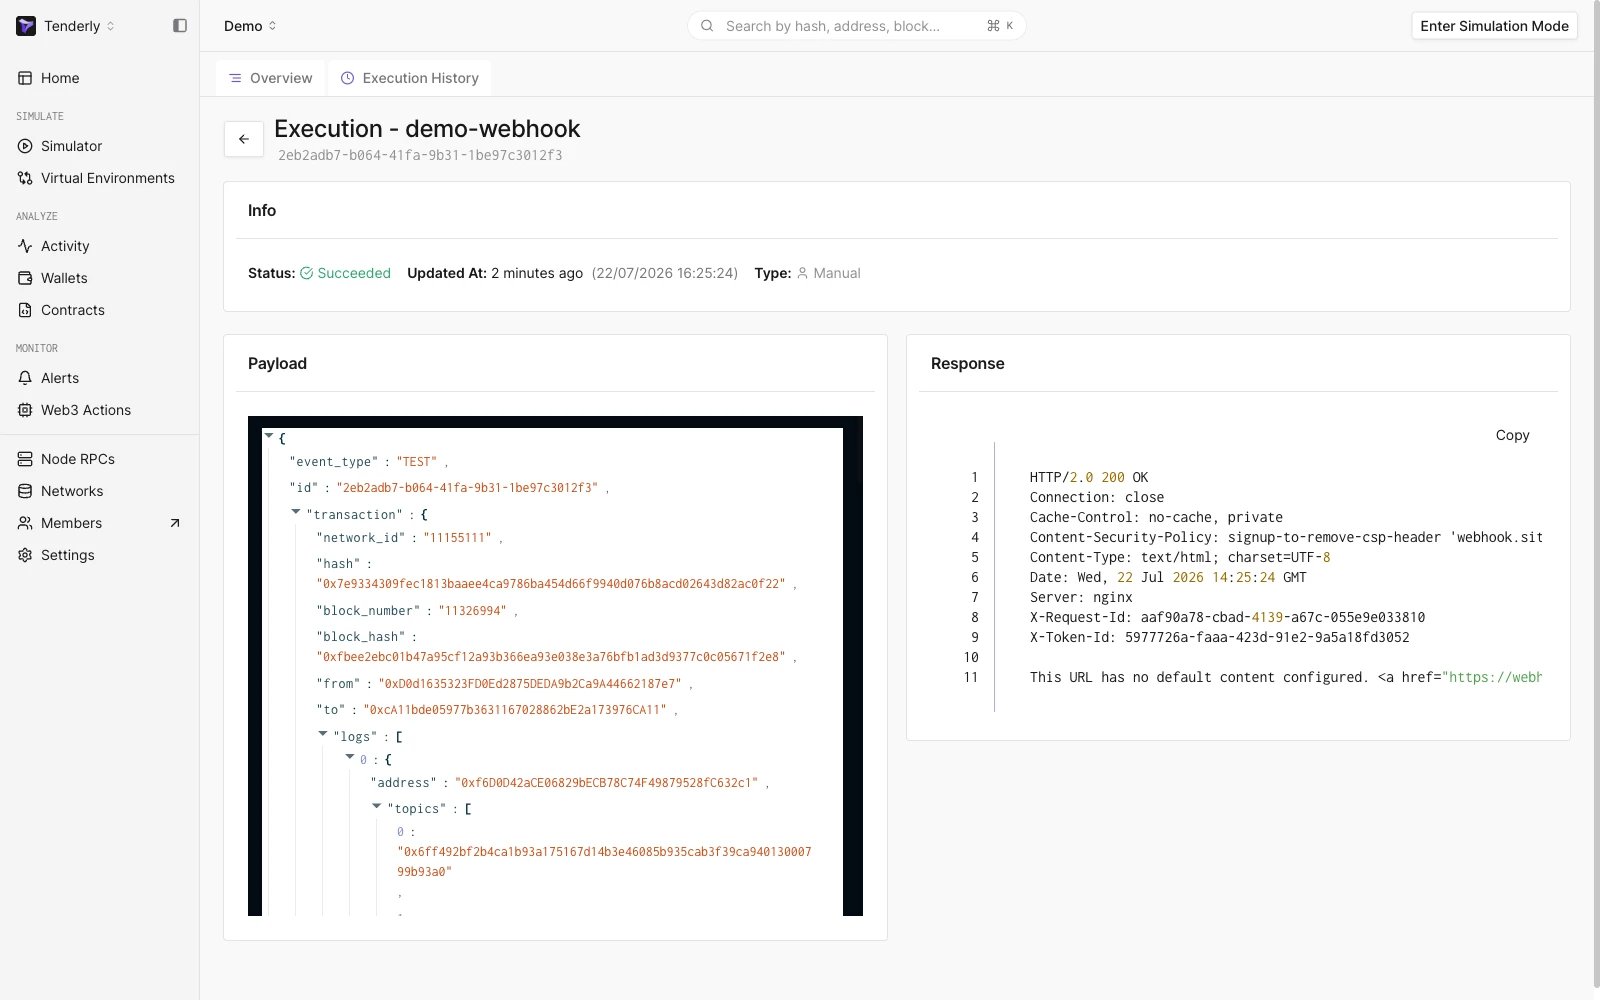 You can also see prior webhook executions by applying different filters, such as **Filter by Status** and **Select a Date Range**.
 ### Connecting a webhook to an Alert
With your webhook endpoint configured, you can add it as a Destination to any of your Alerts.
[Follow this guide](/monitoring/alerts/tutorials/quickstart) to learn how to set up an Alert.
### Connecting a webhook to an Alert
With your webhook endpoint configured, you can add it as a Destination to any of your Alerts.
[Follow this guide](/monitoring/alerts/tutorials/quickstart) to learn how to set up an Alert.
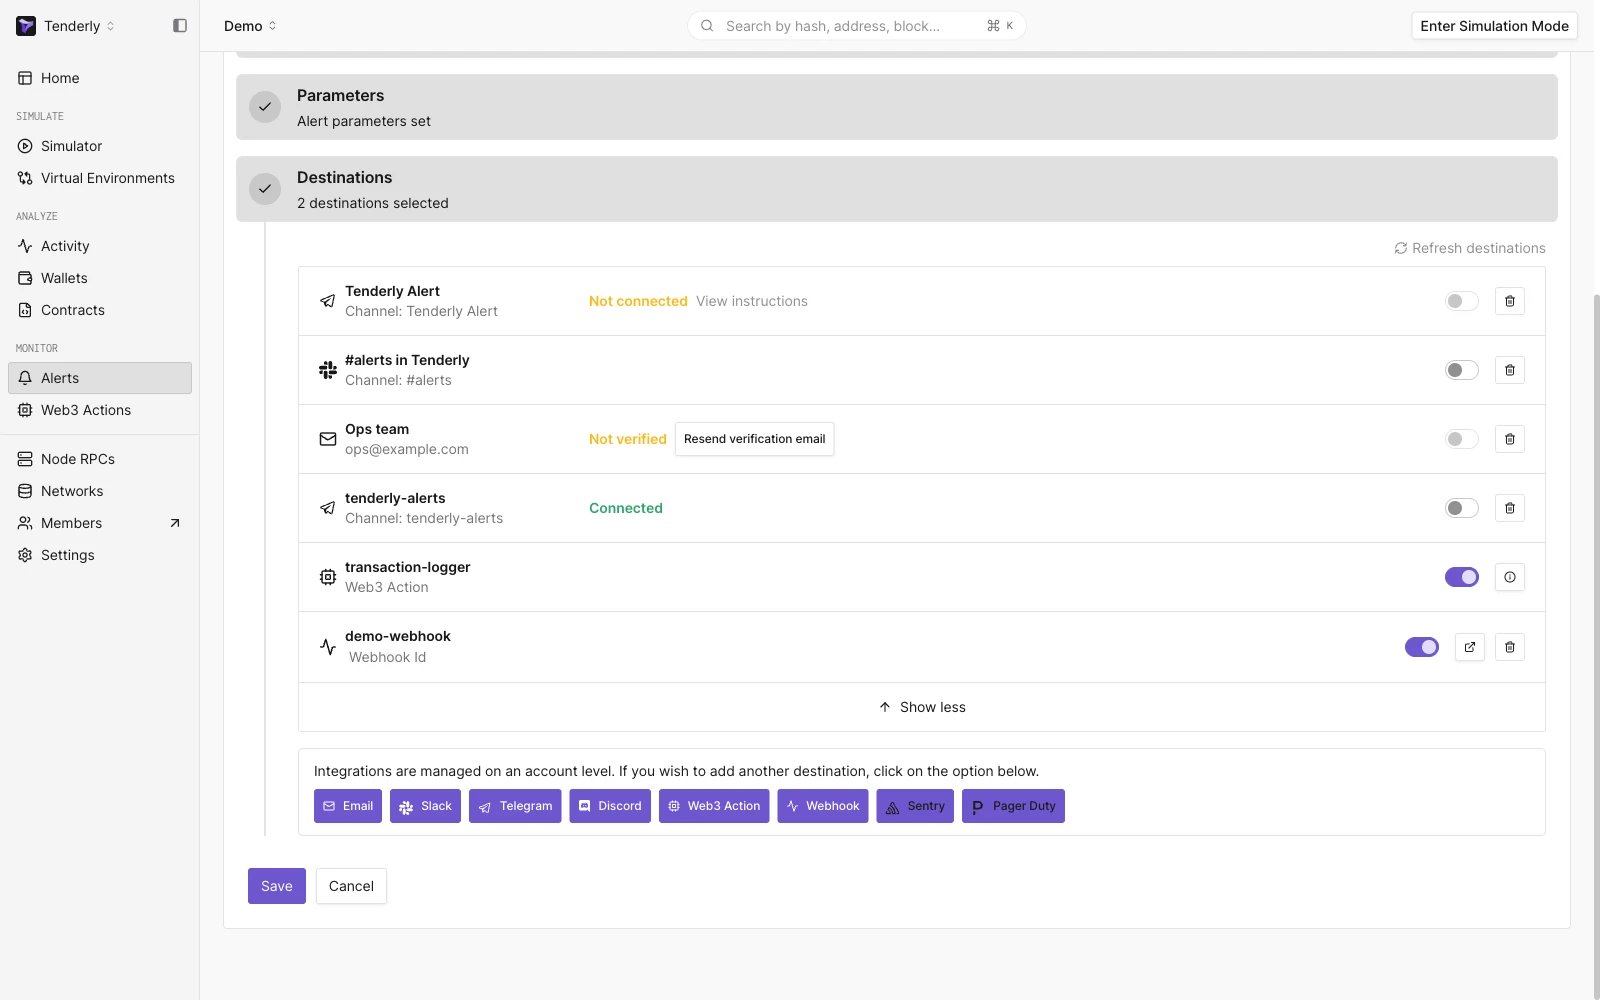 When you create an Alert rule, you'll be redirected to the following page:
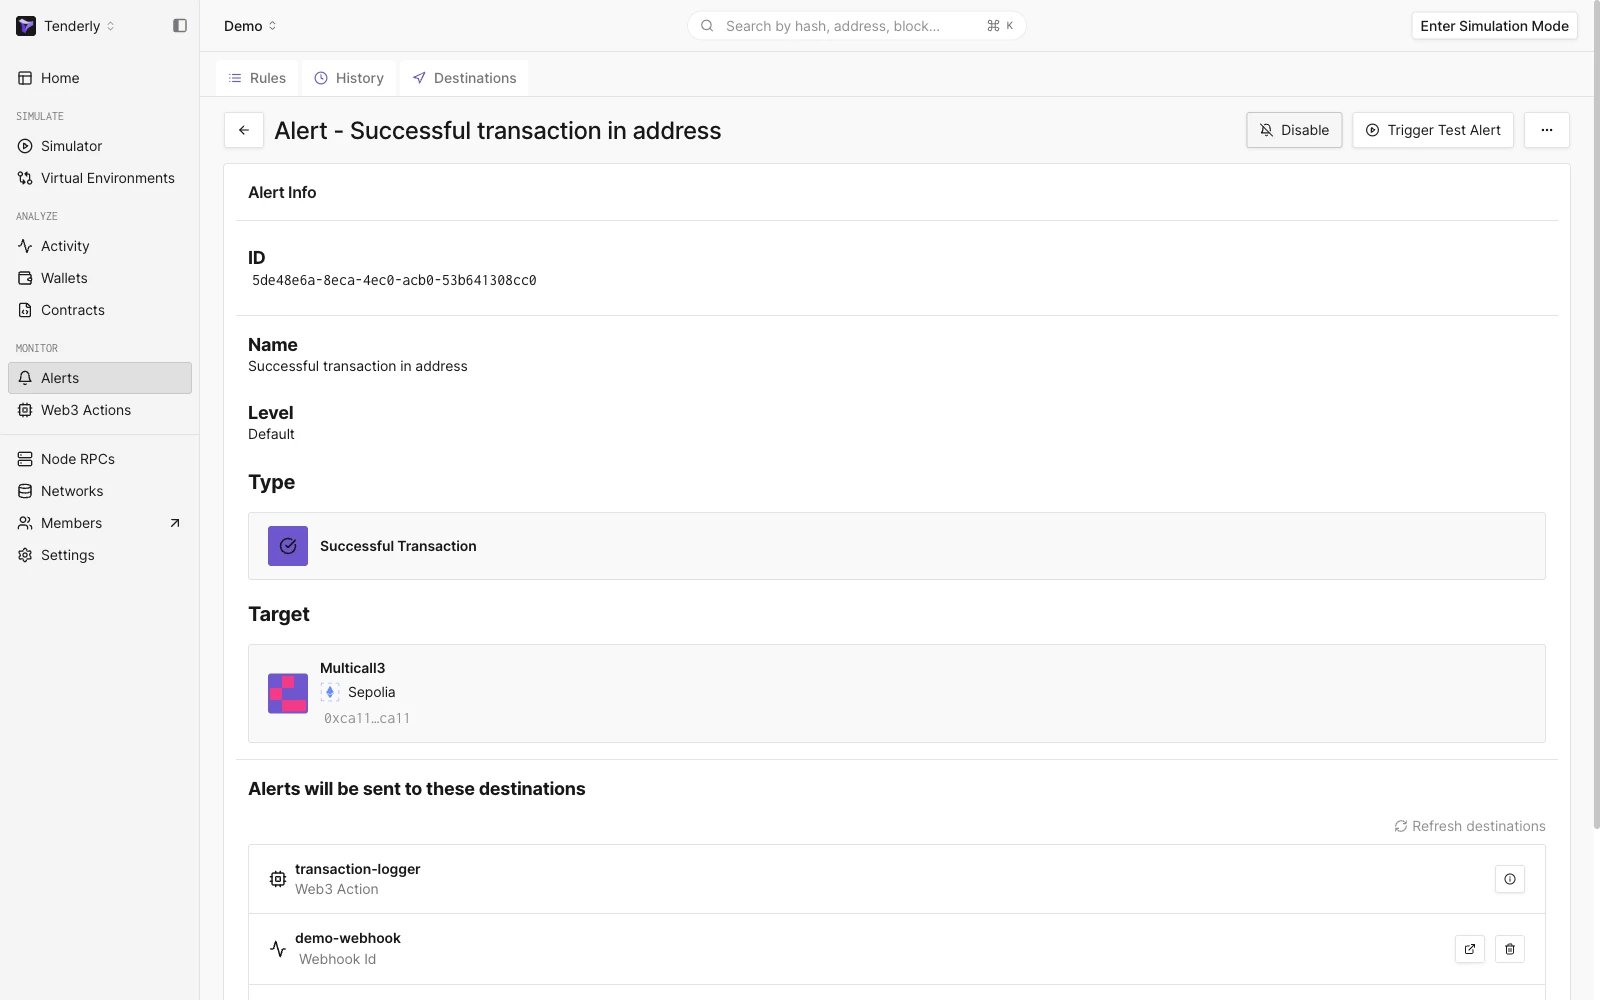 If your Alert is enabled, you'll start receiving events to your webhook endpoint.
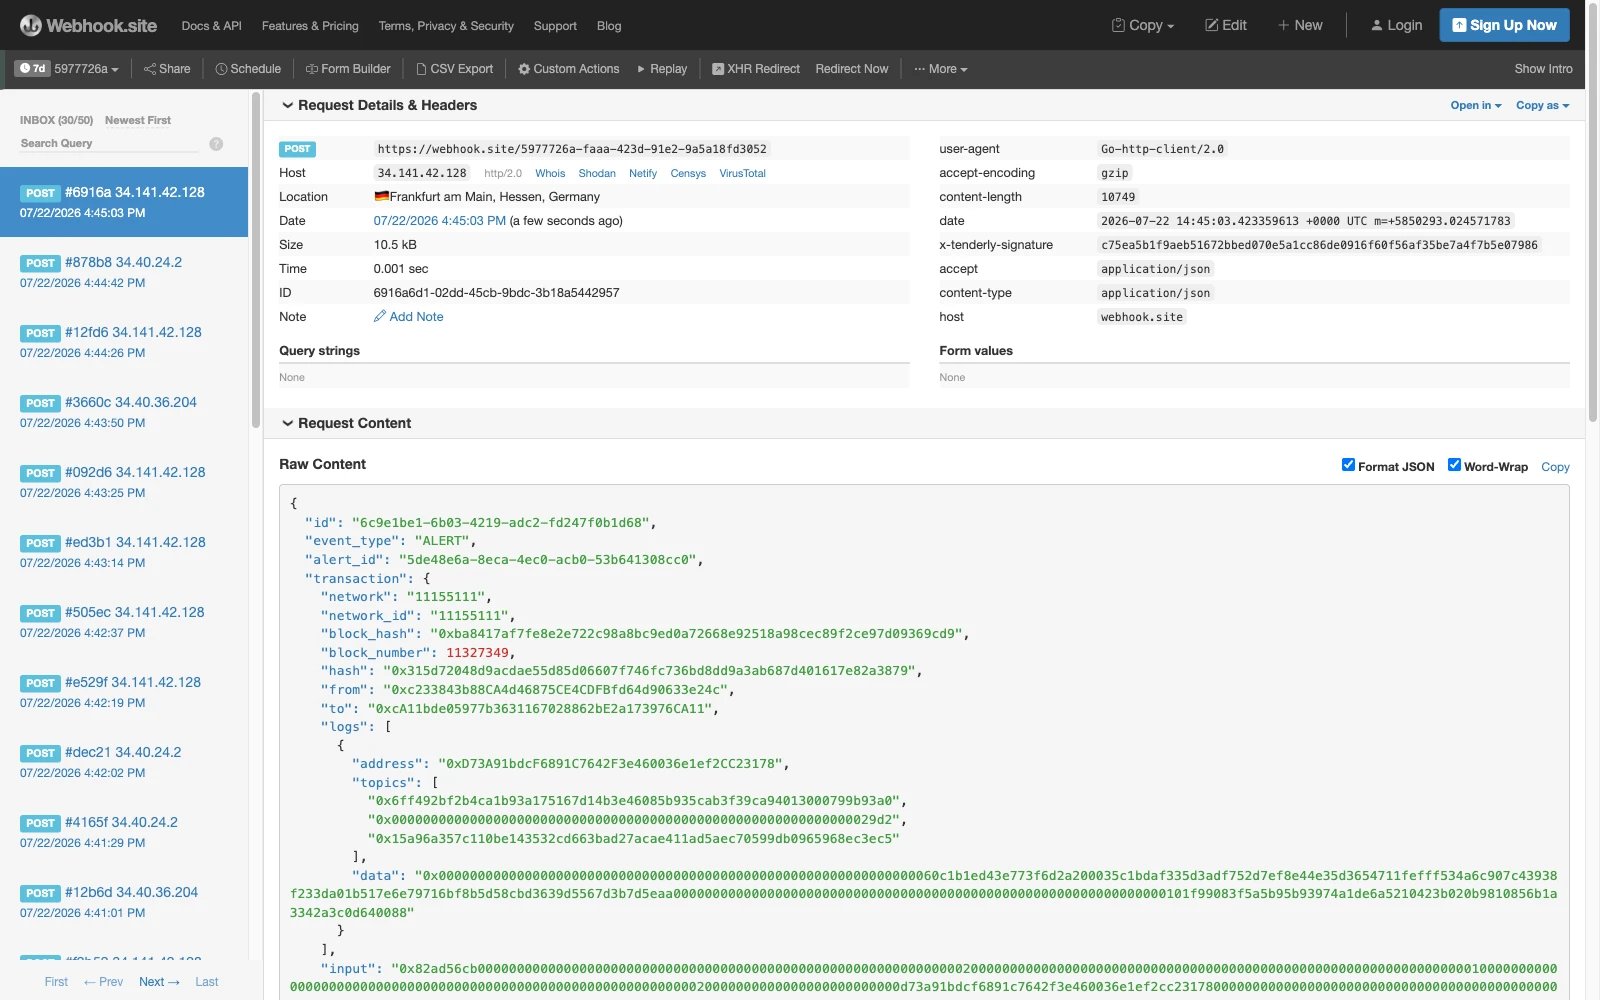
 In this example, we used [https://webhook.site](https://webhook.site/) to create a temporary webhook endpoint to test how Tenderly webhooks work. Below is an image of the payload successfully sent to the webhook.