How to Access Tenderly Node from Web3 Actions
In this tutorial, we’ll create a Web3 Action that runs each time UniswapV2Factory deploys a new UniswapV2Pair contract. The Web3 Action will compare the bytecode of the newly deployed contract with the bytecode of another UniswapV2Pair contract. In this case, we’ll use the USDC Pair contract.
To obtain the bytecodes, we’ll use Tenderly Node as our node provider. If the bytecodes match, the Web3 Action will store the pair’s address and contract’s bytecode in the Storage of the Web3 Action.
If you want to skip the tutorial, here’s the complete solution:
import { ActionFn, Context, Event, Network, TransactionEvent } from '@tenderly/actions';

import { ethers } from 'ethers';

import UniswapV2FactoryAbi from './UniswapV2FactoryAbi.json';

type UniswapPair = {
  token0: string;
  token1: string;
  pair: string;
};

const USDC_PAIR_CONTRACT_ADDRESS = '0xb4e16d0168e52d35cacd2c6185b44281ec28c9dc';

export const onPairCreatedEventEmitted: ActionFn = async (context: Context, event: Event) => {
  try {
    const txEvent = event as TransactionEvent;
    const newPair = await getPairCreatedEvent(txEvent);

    const gatewayURL = context.gateways.getGateway(Network.MAINNET);
    const provider = new ethers.providers.JsonRpcProvider(gatewayURL);

    const usdcPairContract = await provider.getCode(USDC_PAIR_CONTRACT_ADDRESS);
    const newPairContract = await provider.getCode(newPair.pair);

    if (usdcPairContract === newPairContract) {
      const pairContracts = await context.storage.getJson('PairContracts');
      pairContracts[newPair.pair] = newPairContract;
      await context.storage.putJson('PairContracts', pairContracts);
    }
  } catch (error) {
    console.error(error);
  }
};

const getPairCreatedEvent = async (txEvent: TransactionEvent): Promise<UniswapPair> => {
  const i = new ethers.utils.Interface(UniswapV2FactoryAbi);
  const pairCreatedTopic = i.getEventTopic('PairCreated');

  const pairCreatedEventLog = txEvent.logs.find(log => {
    return log.topics.find(topic => topic == pairCreatedTopic) !== undefined;
  });

  if (pairCreatedEventLog == undefined) {
    throw Error('PairCreatedEvent missing');
  }

  return i.decodeEventLog(
    'PairCreated',
    pairCreatedEventLog.data,
    pairCreatedEventLog.topics,
  ) as unknown as UniswapPair;
};
Prerequisites
The triggering mechanism for Web3 Actions works only if the contract used in the trigger definition is verified on Tenderly. Learn how to verify contracts on Tenderly here.
In this example, we’ll be using the UniswapV2Factory and UniswapV2Pair contracts. Since both contracts are publicly verified on Tenderly, there is no need to verify them manually.
Navigate to the UniswapV2Factory and click the Add to Project button to add the contract to your project. Repeat the same step for UniswapV2Pair.
Step 1: Define the trigger
Whenever the createPair function of the UniswapV2Factory contract gets called, the following occurs:
- A new UniswapV2Pair contract gets created for the token pair (if one doesn’t already exist)
- A
PairCreatedevent gets emitted
We can define the trigger to run a Web3 Action each time a transaction hitting a contract calls a function that emits a specific event.
In our case, we’ll write the trigger that fires each time a UniswapV2Factory contract emits a PairCreated event. In other words, whenever a new UniswapV2Pair contract is deployed.
The configuration for the trigger looks like this, and it needs to be saved in the tenderly.yaml file:
account_id: ''
actions:
  YOUR_USERNAME/YOUR_PROJECT_SLUG:
    runtime: v2
    sources: actions
    specs:
      uniswapNewPair:
        description: Runs when a new pair is created on uniswap
        function: uniswapActions:onPairCreatedEventEmitted
        trigger:
          type: transaction
          transaction:
            status:
              - mined
            filters:
              - network: 1
                eventEmitted:
                  contract:
                    address: 0x5C69bEe701ef814a2B6a3EDD4B1652CB9cc5aA6f
                  name: PairCreated
project_slug: ''
Step 2: Define the Web3 Action logic
When our Web3 Action runs, it receives two inputs:
- A
contextobject that provides access to Tenderly Node and Storage - A
transactionEventpayload containing data relevant to the transaction that triggered the Web3 Action
We’ll use the context object to access gateways, which will be our node provider for Ethers and Storage for storing matched bytecode.
Learn how to use Tenderly Node in Web3 Actions to access any of the supported networks, including Mainnet, without the hassle of managing URLs or secret keys.
As for the transactionEvent payload, we’ll use its logs property to find the event log corresponding to the PairCreated topic.
Step 2.1: Decode the PairCreated event
When triggered, the Web3 Action needs to find the PairCreated event in the payload’s logs. We’ll put this code in the getPairCreatedEvent function.
To get the hash for the PairCreated topic, we need to use the ABI of the UniswapV2Factory contract. To do so, go to the UniswapV2Factory contract in Tenderly, click View ABI and copy/paste it to a local file in the actions directory.
Explore the project structure of a Web3 Action here.
Now we can get the reference of that topic with the following code:
const i = new ethers.utils.Interface(UniswapV2FactoryAbi);
const pairCreatedTopic = i.getEventTopic('PairCreated');
Next, we need to go through the transaction logs and find the entry referencing that topic like so.
const pairCreatedEventLog = txEvent.logs.find(log => {
  return log.topics.find(topic => topic == pairCreatedTopic) !== undefined;
});
Finally, we’ll be decoding the log entry into the UniswapPair type using Ethers.
The result of the getPairCreatedEvent function is then an object that contains the following:
- Addresses of the tokens constituting the pair -
token0andtoken1properties - Address of the deployed
UniswapV2Paircontract -pairproperty
Step 3: Compare the bytecodes
Now that we have the address of the newly deployed contract (contained in the pair property of the UniswapPair type), we can use it to get the contract’s bytecode.
We’ll be using the USDC UniswapV2Pair contract’s bytecode to determine if the newly created contract’s bytecode is a valid UniswapV2Pair contract. Their bytecodes must match exactly.
To get the bytecodes of those contracts, we need to use the Ethers getCode function.
To complete these steps, we first need to set up a node provider — Tenderly Node: gateways.
By accessing the gateways property of the context object, we can easily obtain the JSON-RPC URL for our desired network (MAINNET, in our case) by invoking the getGateway() function and using it as the provider for Ethers.
const gatewayURL = context.gateways.getGateway(Network.MAINNET);
const provider = new ethers.providers.JsonRpcProvider(gatewayURL);
This will allow us to get the bytecode of both the new pair and the USDC pair.
const usdcPairContract = await provider.getCode(USDC_PAIR_CONTRACT_ADDRESS);
const newPairContract = await provider.getCode(newPair.pair);
If there is a match, we want to store the bytecode of the new pair in the format pair_address: bytecode under a JSON property named PairContracts in our project’s Storage:
if (usdcPairContract === newPairContract) {
  const pairContracts = await context.storage.getJson('PairContracts');
  pairContracts[newPair.pair] = newPairContract;
  await context.storage.putJson('PairContracts', pairContracts);
}
After letting the Web3 Action run for a while, we can check the project’s Storage and view the created pairs:
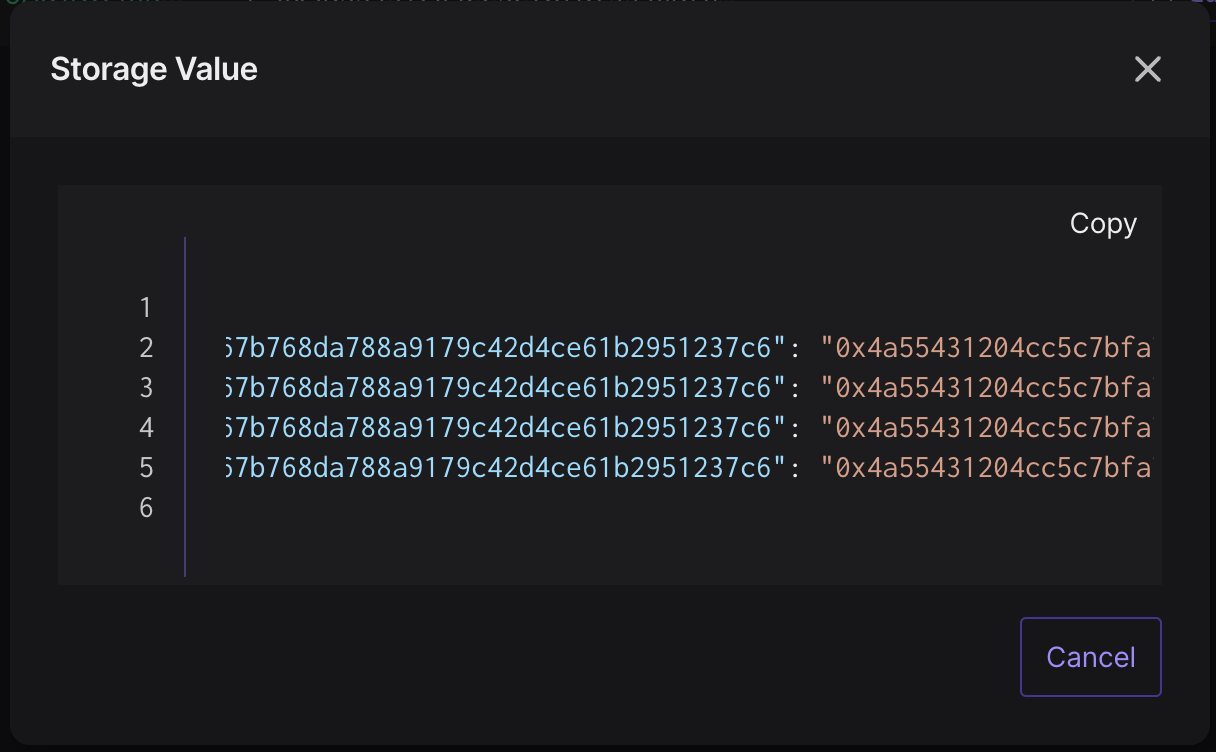
The keys are the addresses of the newly deployed UniswapV2Pair contracts, while the values are all the same and represent the bytecode of the UniswapV2Pair contract.