> ## Documentation Index
> Fetch the complete documentation index at: https://docs.tenderly.co/llms.txt
> Use this file to discover all available pages before exploring further.
# 项目级作用域
> 本页将引导您了解如何创建每种项目级作用域的 Alert Destination。
项目级作用域的 Destinations 仅在创建它们的项目中可用。
### Web3 Actions
这种类型的告警目标意味着您的 action 将被用作 [**告警的 destination**](/monitoring/web3-actions/references/notifications)。
```yaml title="example.yaml" showLineNumbers theme={"theme":{"light":"catppuccin-latte","dark":"catppuccin-mocha"}}
trigger:
type: alert
alert: {}
```
单个 action 可以用作多个告警的 destination。
如需了解更多信息,请 [进一步阅读关于 Web3 Actions 的介绍](/monitoring/web3-actions/introduction)。
### Webhooks
此告警目标允许在触发告警时执行您的 webhook。您的 webhook 将收到一个已签名的负载,其中包含触发该告警的事务对象。
在将 Webhook 添加为告警目标之后,您可以将其用作其他告警的 destination。
#### Webhook 的要求:
* 它 **必须** 在 webhook URI 上公开一个 **GET** 方法,并立即返回 `HTTP 200`。Tenderly 会向此方法发出请求以验证 webhook 是否可达。
* 它 **必须** 在同一 webhook URI 上公开一个 **POST** 方法。webhook 将收到下文描述的负载。
* 如果未在 **5 秒** 内响应 `HTTP 200`,Tenderly 会将此视为 webhook 执行失败。
* webhook URL 必须使用 HTTPS。
Webhook 必须在 **5 秒** 内响应。如果没有响应,该次执行将被
视为失败。
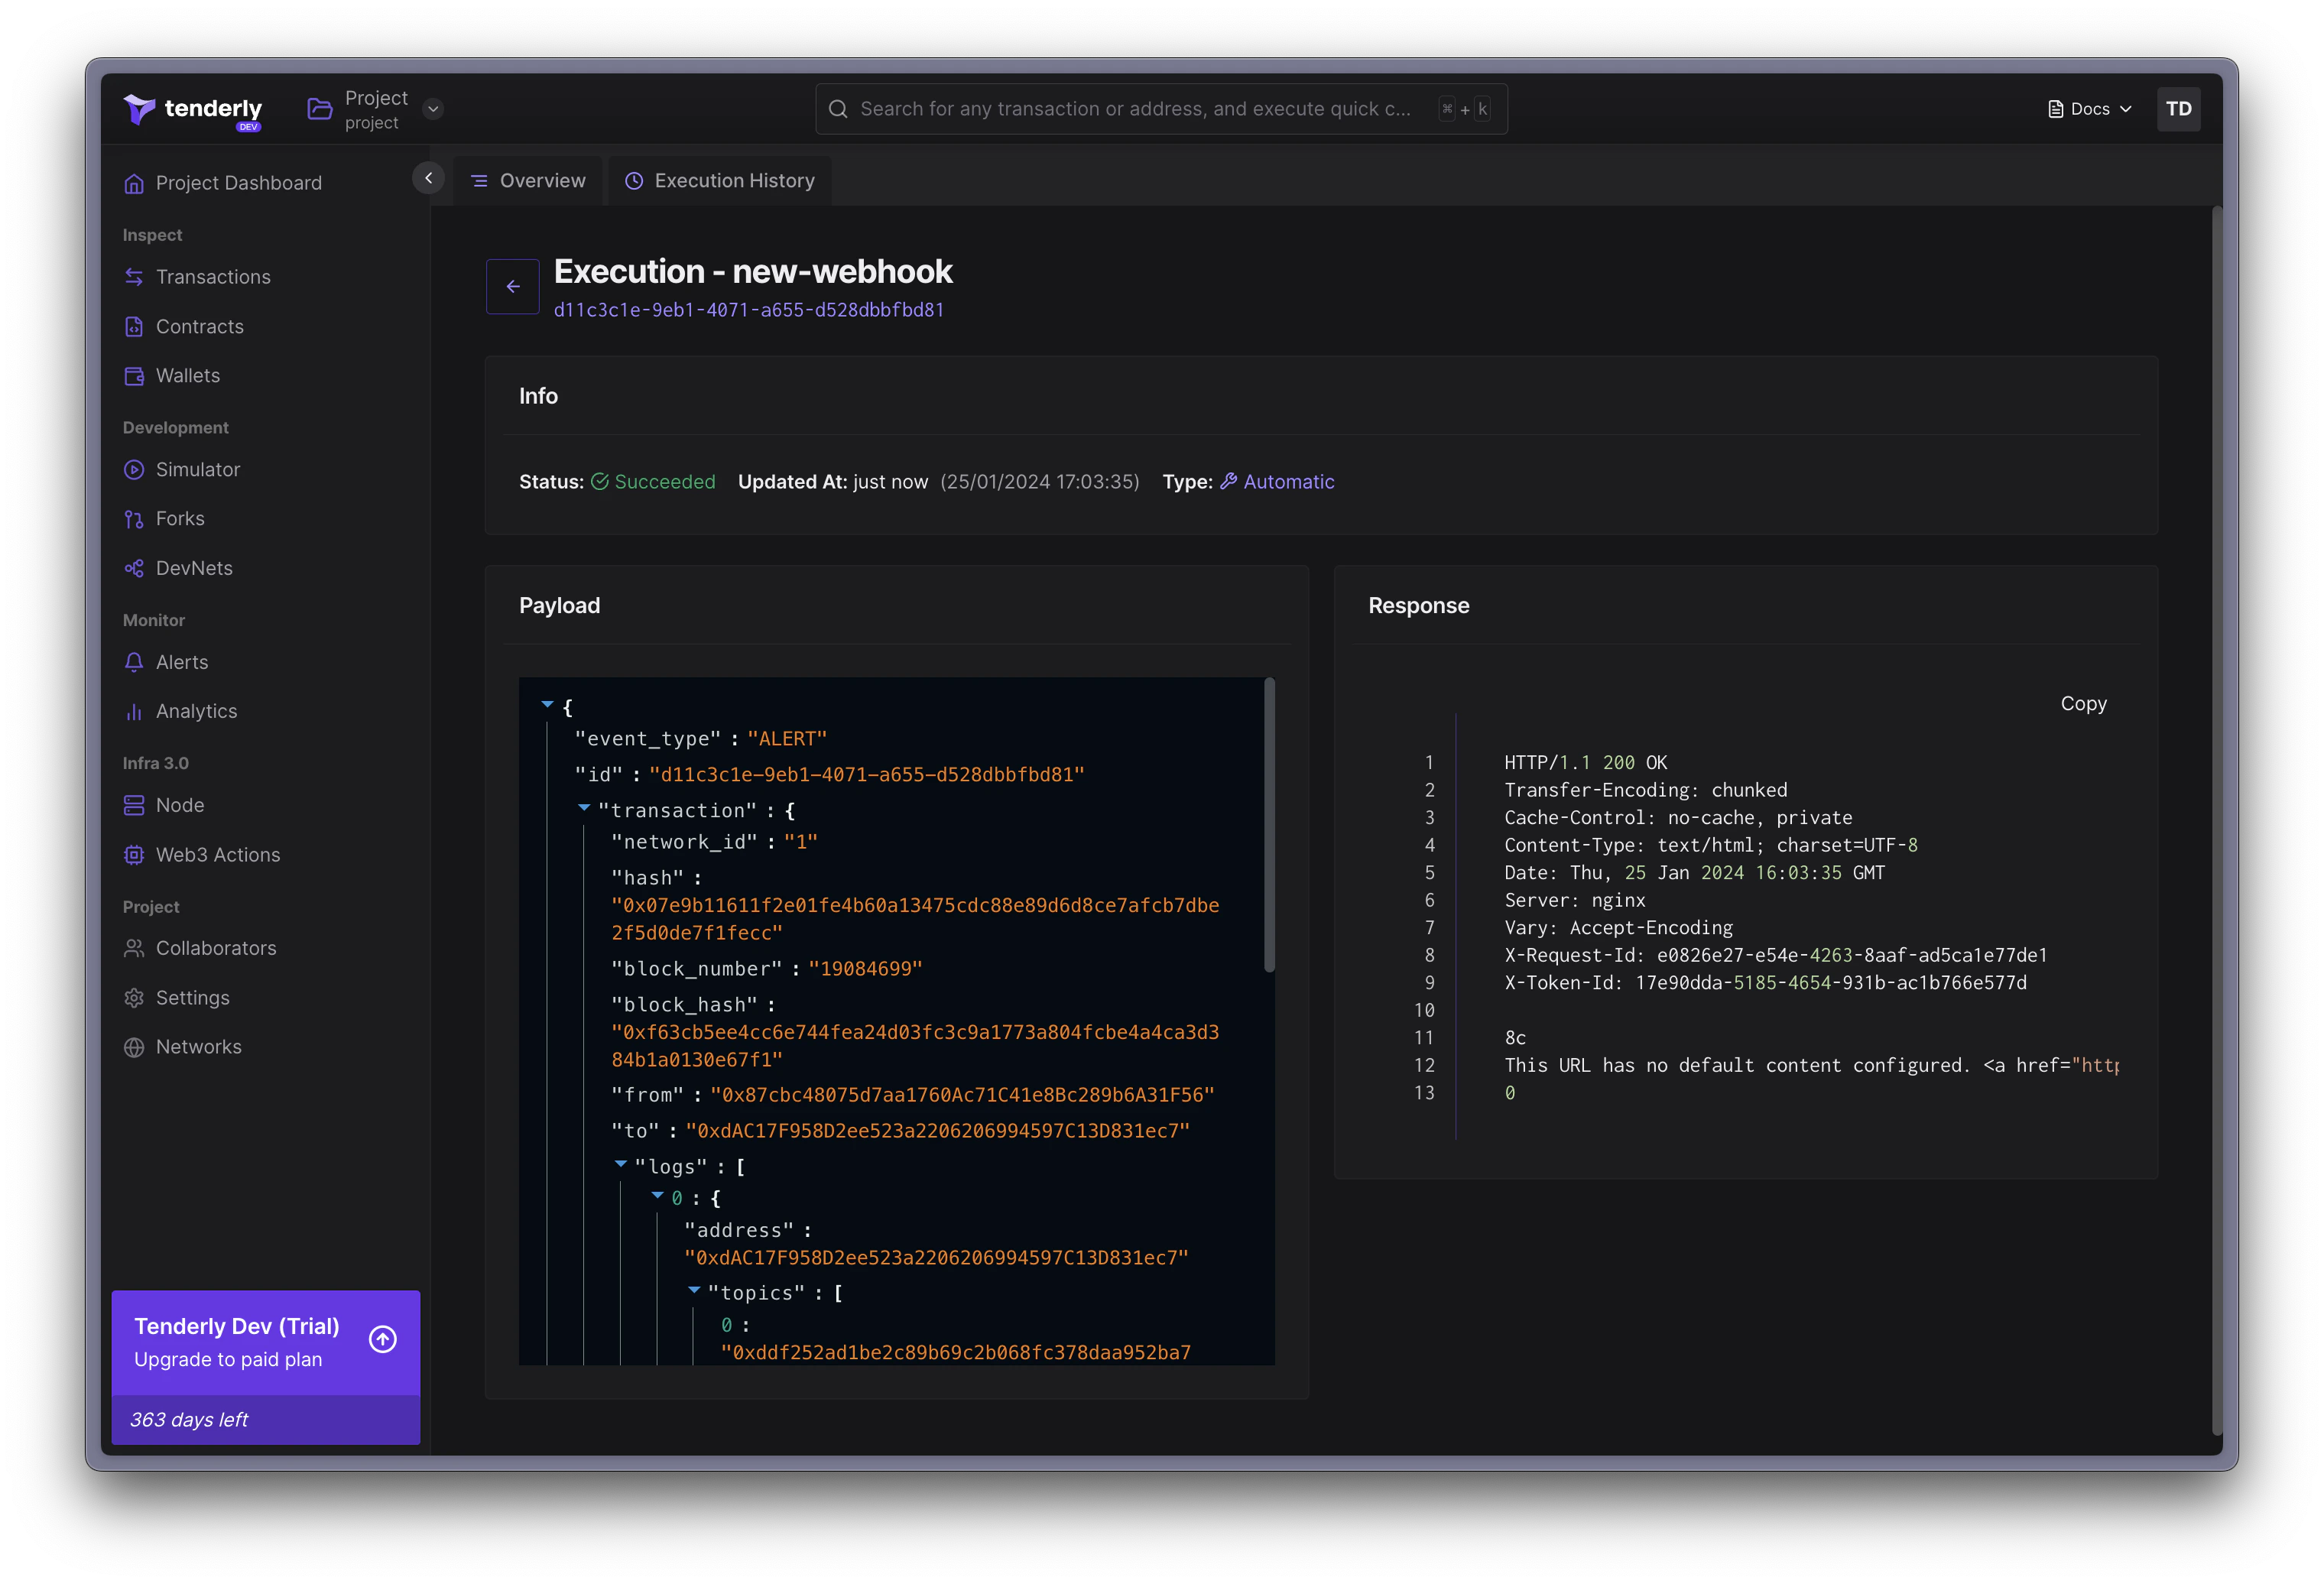
Tenderly 会跟踪所有的执行。Webhook 执行可能有多种状态:
* **Success** — 表示 webhook 已成功执行,并将事件投递到指定的 URL
* **Failed** — 表示由于错误(例如连接问题、URL 问题或其他原因)导致 webhook 无法执行(请检查响应内容以了解错误原因,或联系我们的支持)
* **Pending** — 表示 webhook 正在执行中,尚未完成
* **Retry** — 表示 webhook 执行失败,但将最多重试 5 次,直到状态变为 Success 或 Failed
* **Skipped** — 表示 webhook 未被执行,因为它已被禁用
#### Webhook 负载
webhook 将收到表示告警事件的负载。负载包含三个字段:
* **id**:`String` — 所有已投递告警事件中唯一的 ID(UUID)。
* **event\_type**:`TEST` | `ALERT` — webhook 事件类型。
* **transaction**:`Object` — 表示触发告警和 webhook 执行的未解码事务对象。
在将 webhook 添加为告警目标时,它将以 `TEST` 告警事件类型被调用一次。
使用 `id` 字段并跟踪已处理的 ID,可以确保您的 webhook 对每个告警事件都仅处理一次。
#### 保护 Webhook
您可以使用签名验证方法增强 webhook 的安全性。这样,您可以在执行之前验证 webhook 请求是否来自 Tenderly。
`x-tenderly-signature` 头部包含一个加密签名。Webhook 请求签名是按顺序将签名密钥、请求负载和时间戳拼接后计算的 HMAC SHA256 哈希。
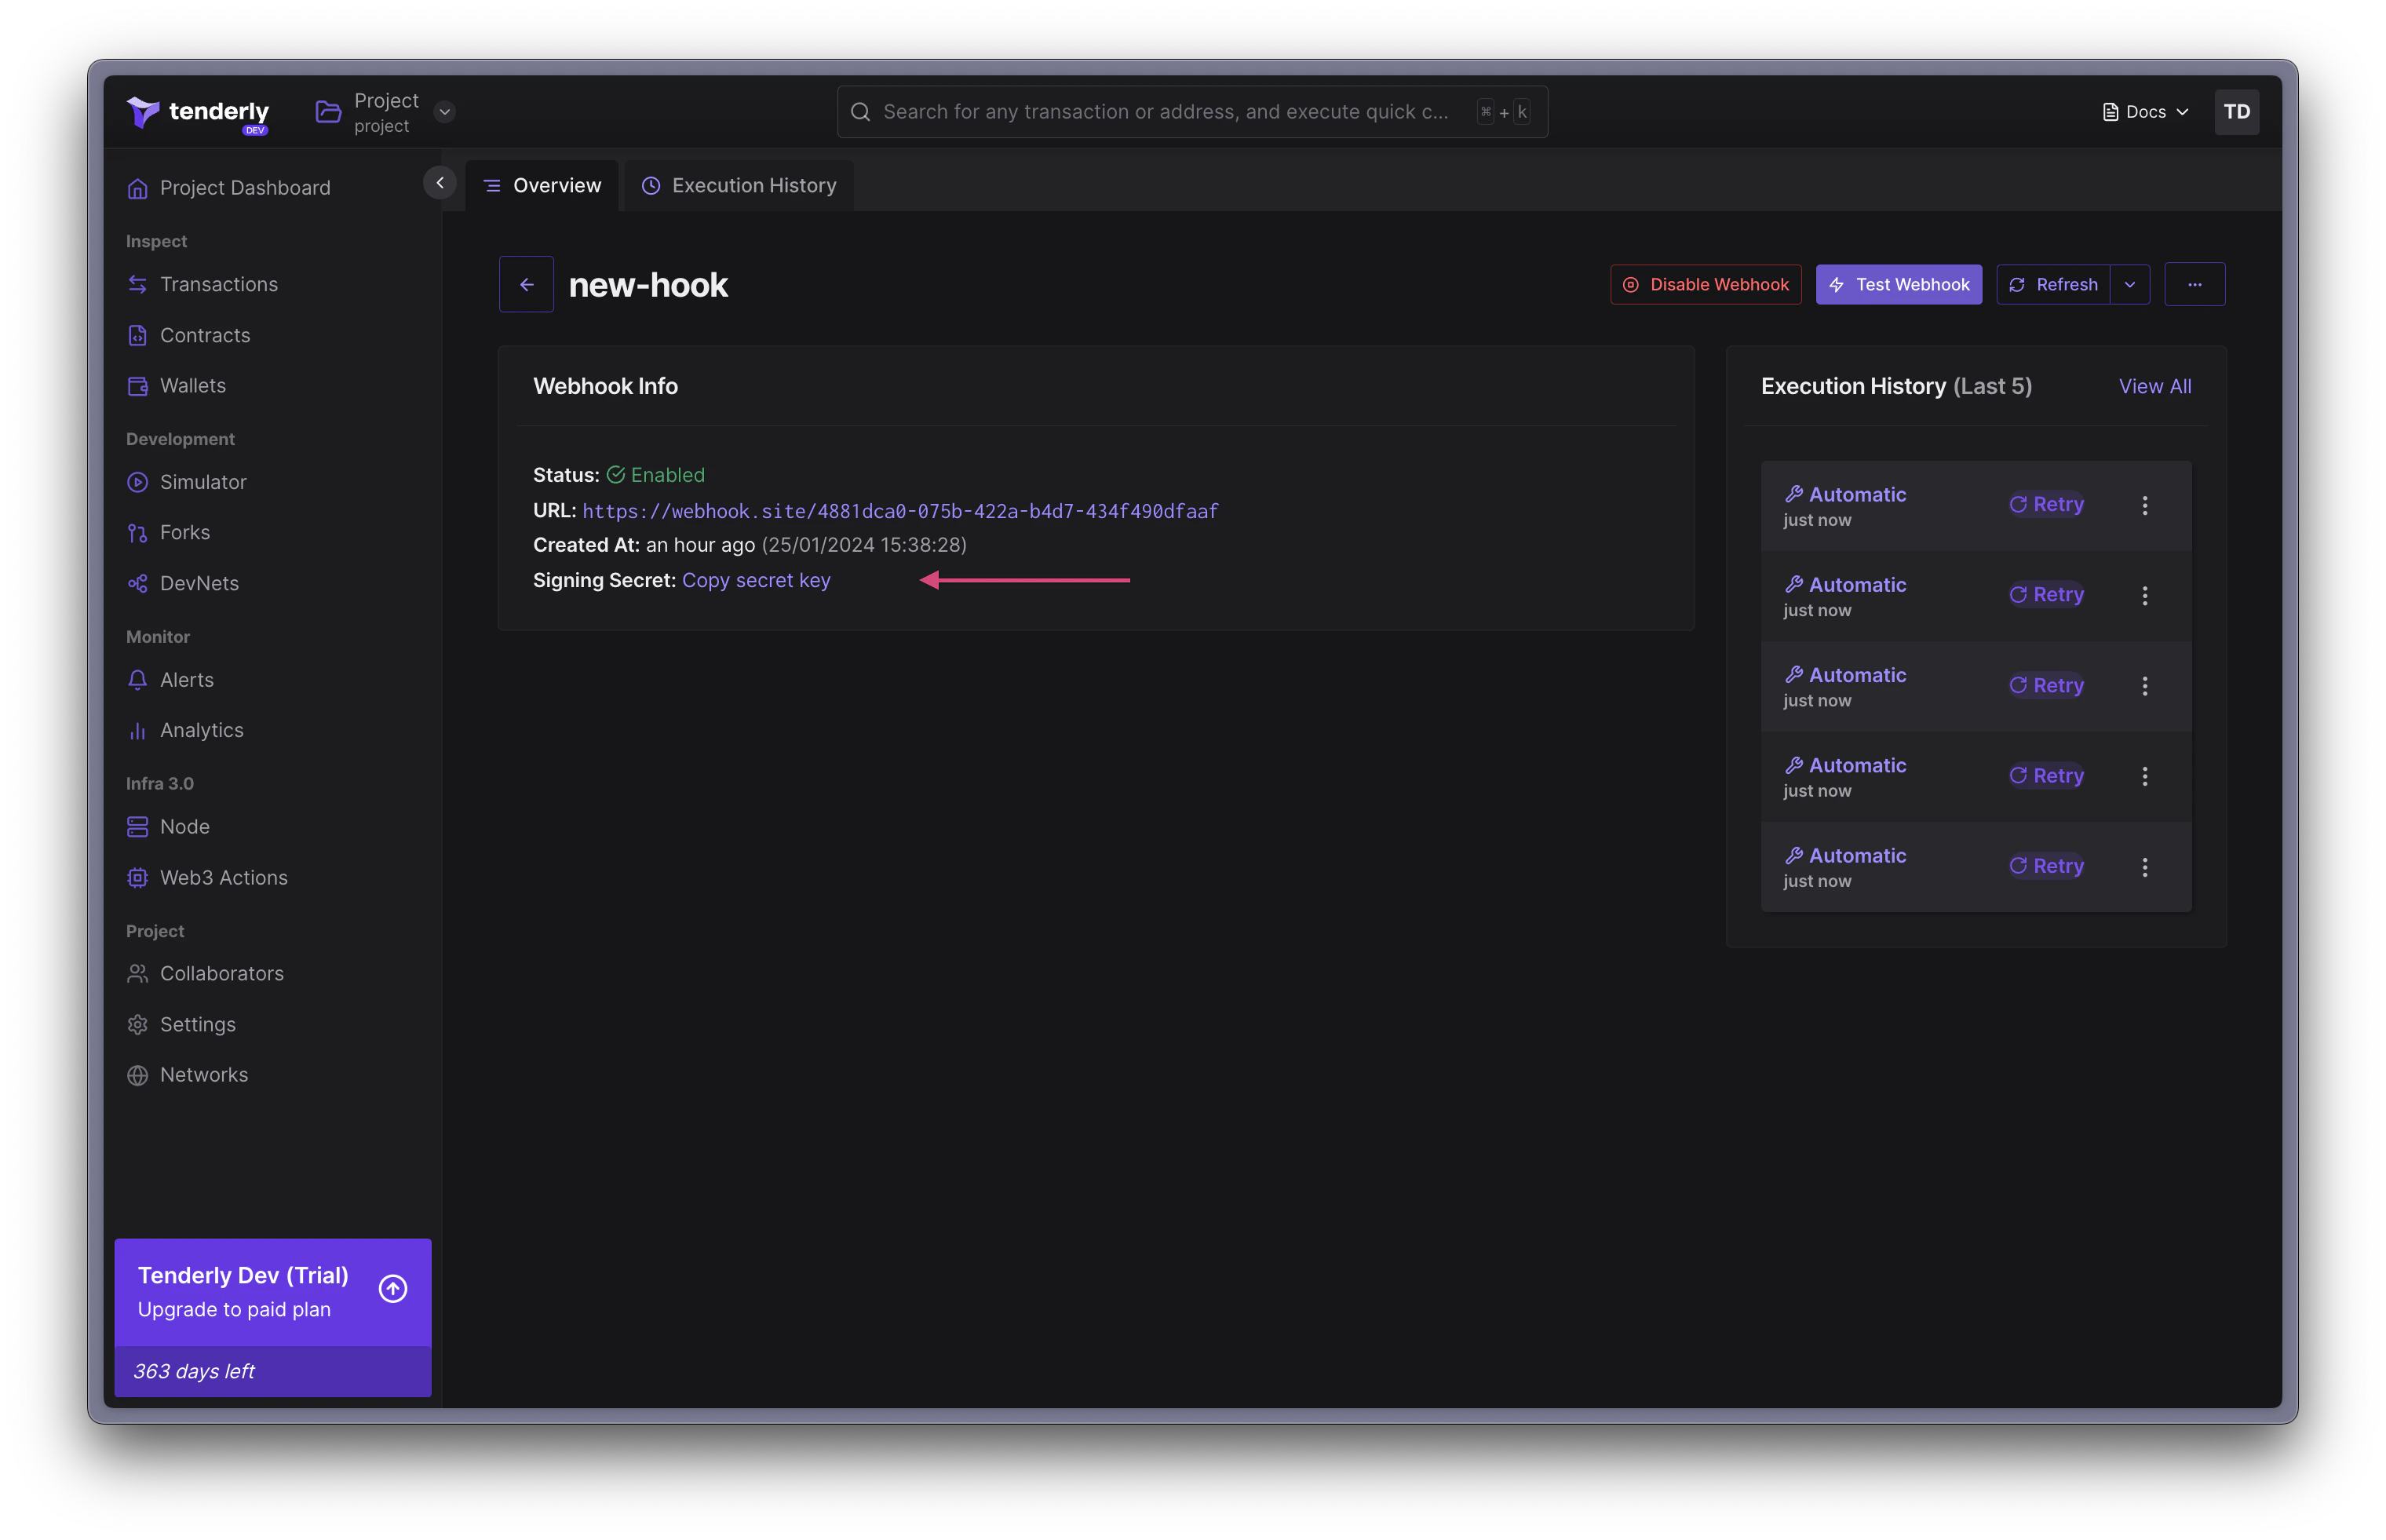
每个 webhook destination 的签名密钥(Signing Secret)都是唯一的。Tenderly 会生成此密钥,并用它为负载生成签名。请妥善保管。
**步骤 1.** 获取 Secret Signing Secret。
 **步骤 2.** 验证收到的签名
要验证收到的签名,请按以下顺序进行拼接:
1. 签名密钥(signing secret);
2. 完整的 webhook 请求负载;
3. 负载的时间戳。
最后,对拼接后的值进行 SHA 256 哈希计算。
```go title="example.go" showLineNumbers theme={"theme":{"light":"catppuccin-latte","dark":"catppuccin-mocha"}}
func isValidSignature(
signature string,
payload []byte,
timestamp string,
) bool {
h := hmac.New(sha256.New, []byte(signingKey))
h.Write(payload)
h.Write([]byte(timestamp))
digest := hex.EncodeToString(h.Sum(nil))
return digest == signature
}
```
```javascript title="example.js" showLineNumbers showLineNumbers theme={"theme":{"light":"catppuccin-latte","dark":"catppuccin-mocha"}}
function isValidSignature(signature, payload, timestamp) {
// Create a HMAC SHA256 hash using the signing key
const hmac = crypto.createHmac("sha256", signingKey);
// Update the hash with the request body using utf8
hmac.update(payload.toString(), 'utf8');
// Update the hash with the request timestamp
hmac.update(timestamp);
const digest = hmac.digest("hex");
return crypto.timingSafeEqual(Buffer.from(signature), Buffer.from(digest))
}
```
```python title="example.py" showLineNumbers theme={"theme":{"light":"catppuccin-latte","dark":"catppuccin-mocha"}}
def isValidSignature(signature: string, payload: bytes, timestamp: string):
h = hmac.new(str.encode(signingKey), payload, hashlib.sha256)
h.update(str.encode(timestamp))
digest = h.hexdigest()
return hmac.compare_digest(signature, digest)
```
#### 调试 Webhook 执行
为支持排查 webhook 故障,您可以基于任意网络上现有的事务手动发送 `TEST` 事件。
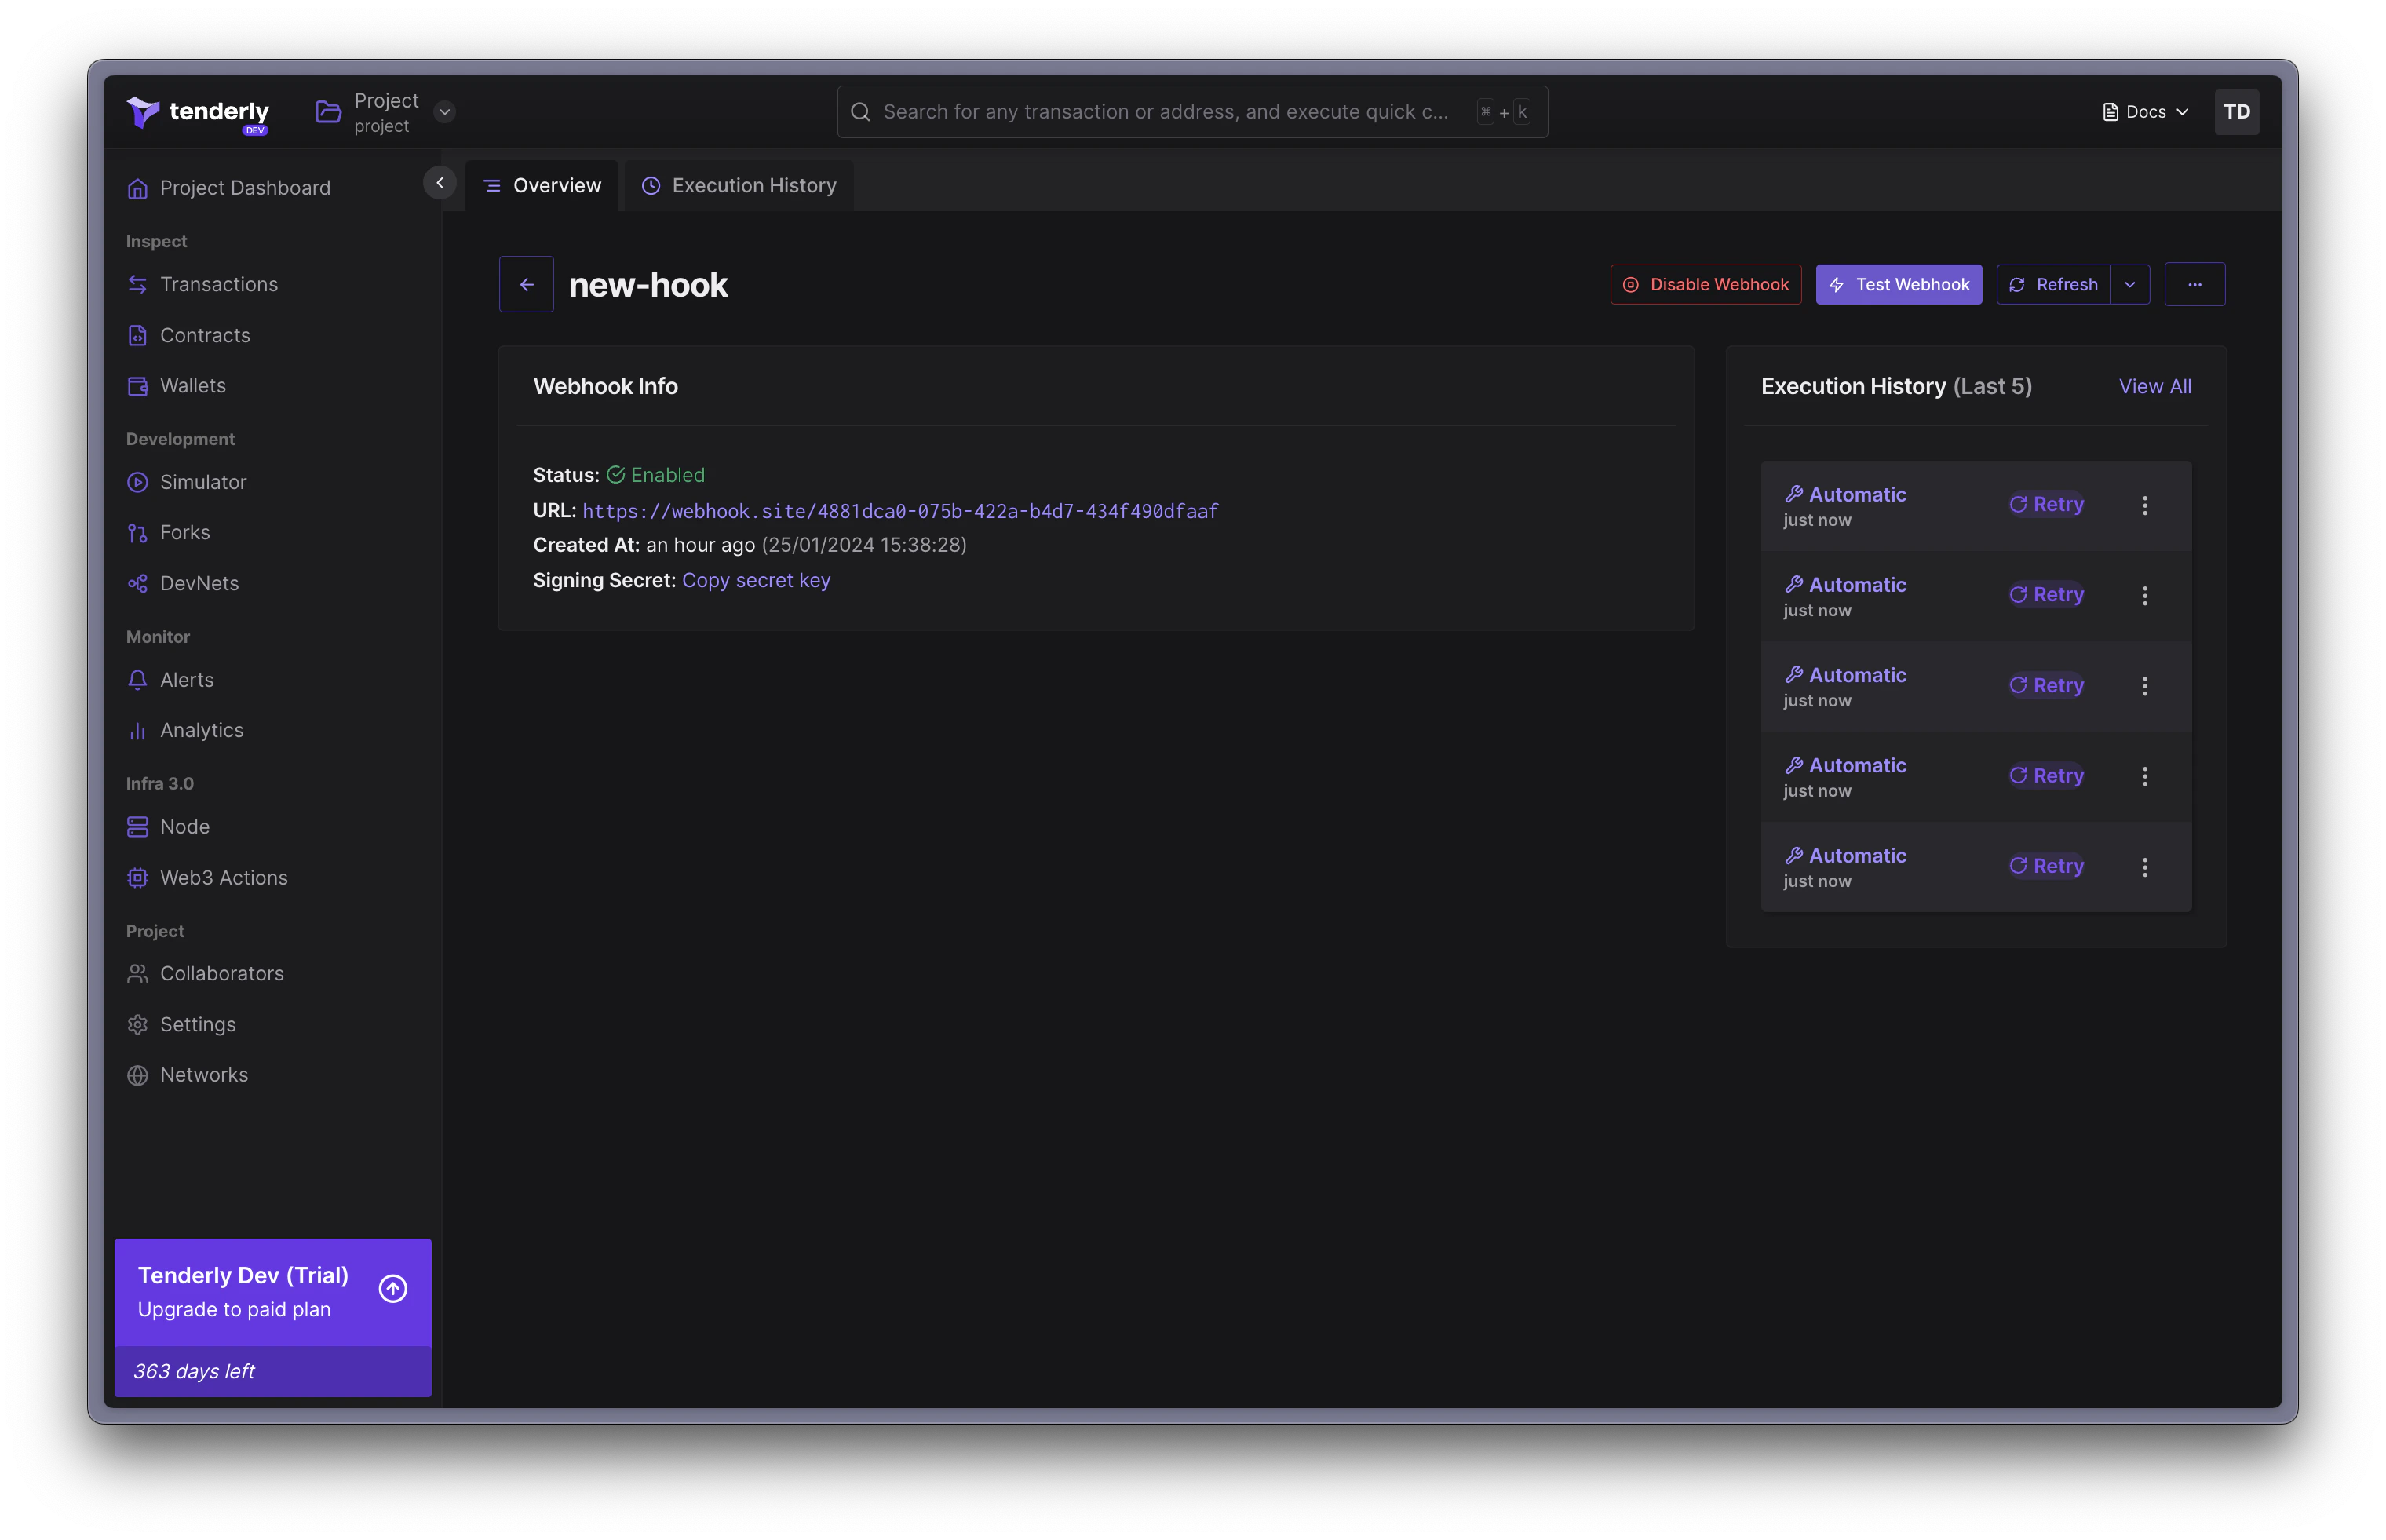
**步骤 1.** 在 webhooks 页面的导航栏中点击 "**Test Webhook**"。
**步骤 2.** 验证收到的签名
要验证收到的签名,请按以下顺序进行拼接:
1. 签名密钥(signing secret);
2. 完整的 webhook 请求负载;
3. 负载的时间戳。
最后,对拼接后的值进行 SHA 256 哈希计算。
```go title="example.go" showLineNumbers theme={"theme":{"light":"catppuccin-latte","dark":"catppuccin-mocha"}}
func isValidSignature(
signature string,
payload []byte,
timestamp string,
) bool {
h := hmac.New(sha256.New, []byte(signingKey))
h.Write(payload)
h.Write([]byte(timestamp))
digest := hex.EncodeToString(h.Sum(nil))
return digest == signature
}
```
```javascript title="example.js" showLineNumbers showLineNumbers theme={"theme":{"light":"catppuccin-latte","dark":"catppuccin-mocha"}}
function isValidSignature(signature, payload, timestamp) {
// Create a HMAC SHA256 hash using the signing key
const hmac = crypto.createHmac("sha256", signingKey);
// Update the hash with the request body using utf8
hmac.update(payload.toString(), 'utf8');
// Update the hash with the request timestamp
hmac.update(timestamp);
const digest = hmac.digest("hex");
return crypto.timingSafeEqual(Buffer.from(signature), Buffer.from(digest))
}
```
```python title="example.py" showLineNumbers theme={"theme":{"light":"catppuccin-latte","dark":"catppuccin-mocha"}}
def isValidSignature(signature: string, payload: bytes, timestamp: string):
h = hmac.new(str.encode(signingKey), payload, hashlib.sha256)
h.update(str.encode(timestamp))
digest = h.hexdigest()
return hmac.compare_digest(signature, digest)
```
#### 调试 Webhook 执行
为支持排查 webhook 故障,您可以基于任意网络上现有的事务手动发送 `TEST` 事件。
**步骤 1.** 在 webhooks 页面的导航栏中点击 "**Test Webhook**"。
 **步骤 2.** 粘贴一个匹配您告警触发条件的事务哈希。
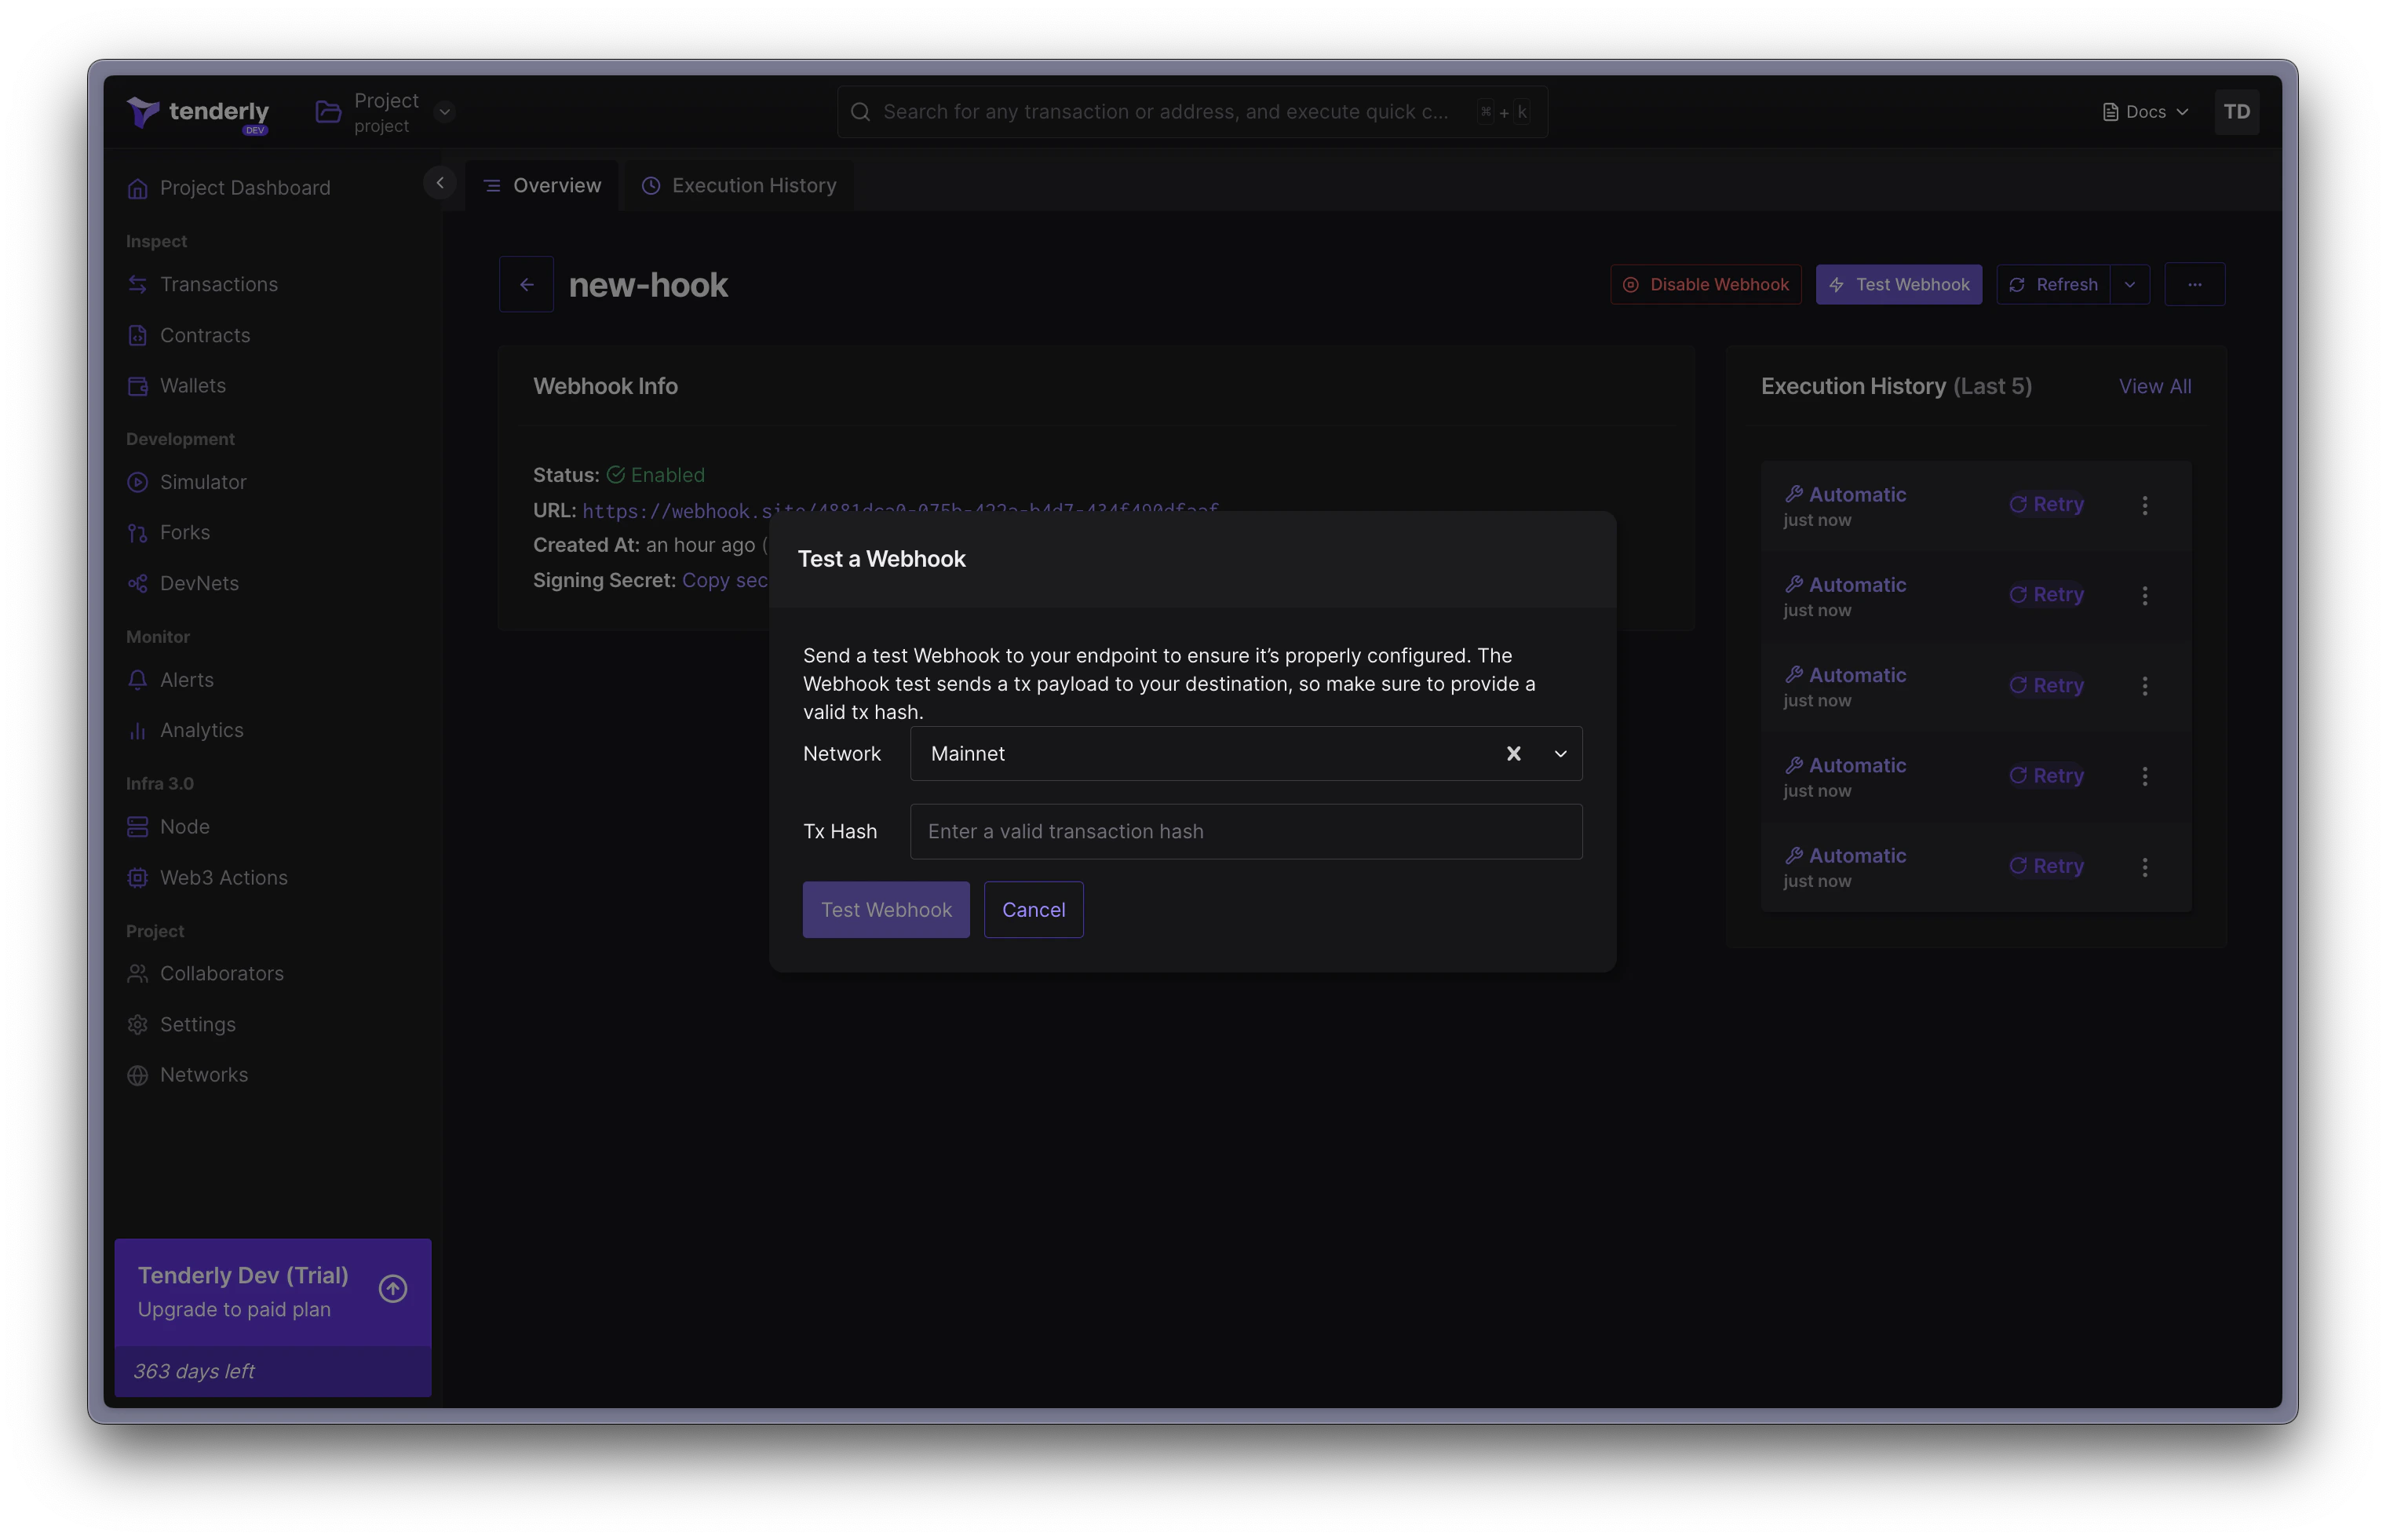 **步骤 3.** 点击 "**Test Webhook**" 以确认并发送测试事件。
您的 webhook 会以粘贴的哈希对应的事务被调用,**event\_type** 为 `TEST`。系统将展示该次执行的概览。
**步骤 3.** 点击 "**Test Webhook**" 以确认并发送测试事件。
您的 webhook 会以粘贴的哈希对应的事务被调用,**event\_type** 为 `TEST`。系统将展示该次执行的概览。