How to add a contract to a project
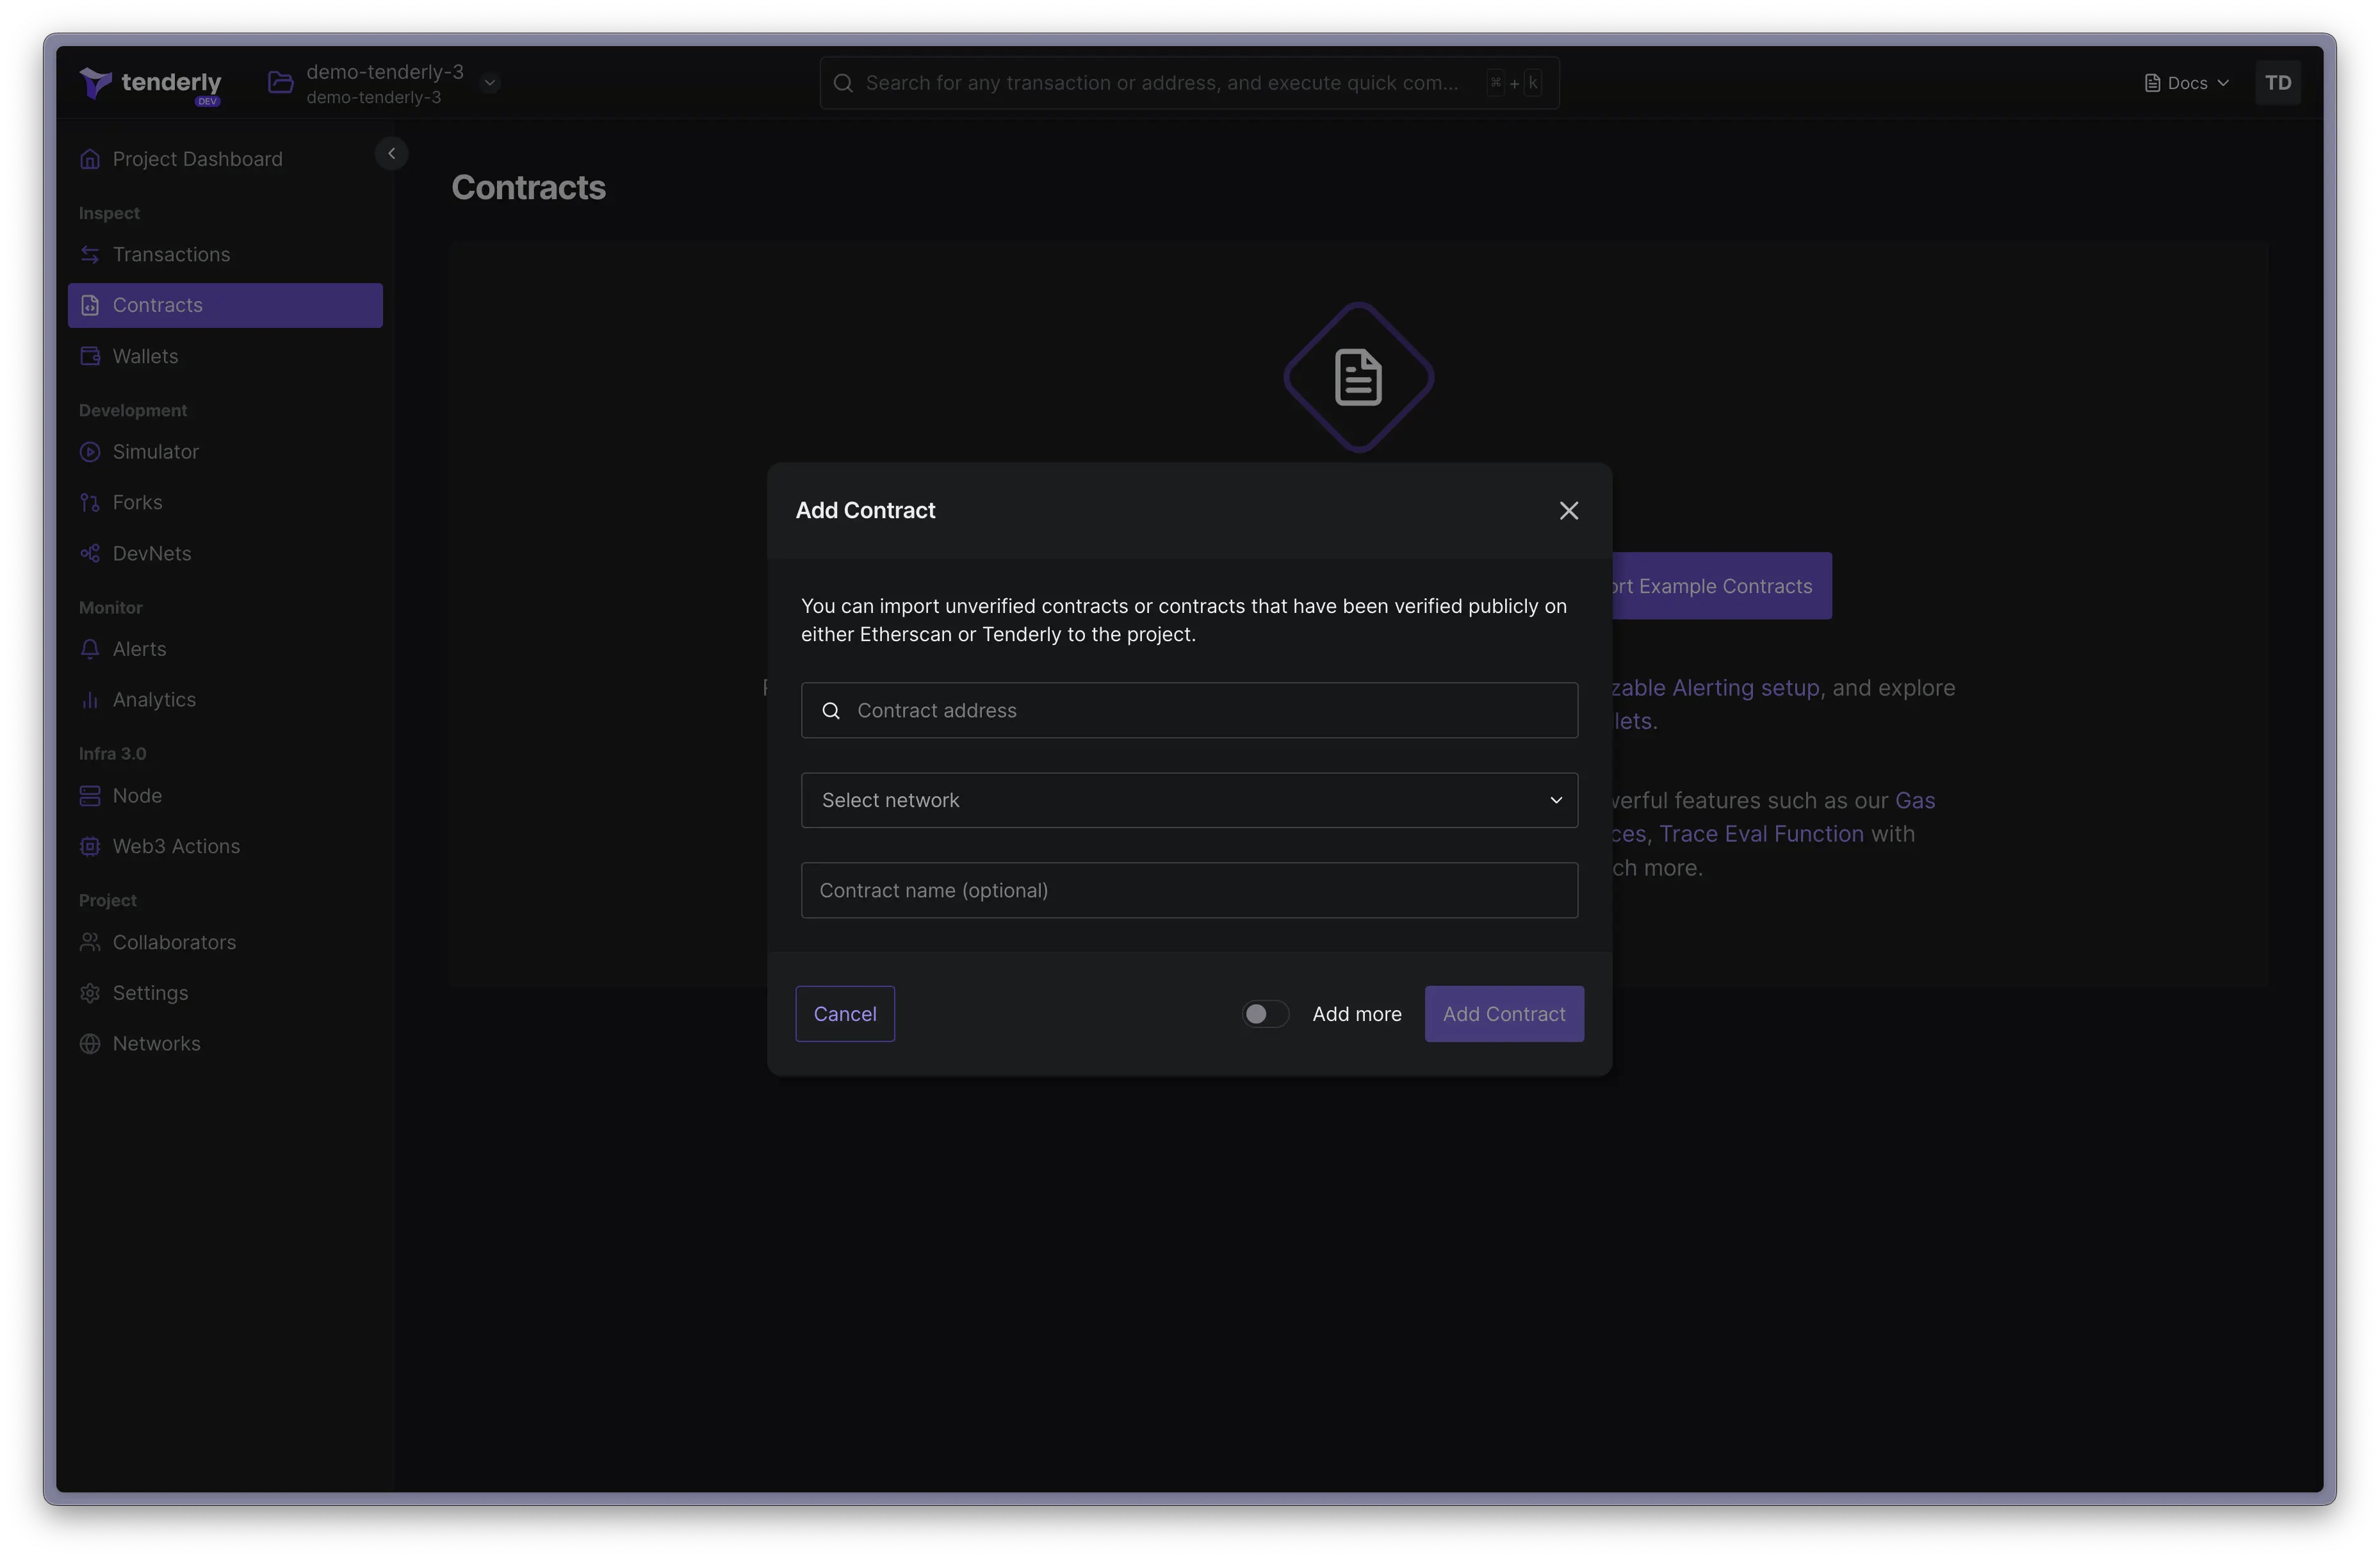
- Navigate to Contracts in the side menu.
- Click Add Contract.
- Enter the contract address, select its deployment network, assign a name, and click Add Contract.
- Uniswap Router:
0x1cf9cbe70a84137c696f98587a9b06f7fa2b71b4 - veCurveVault proxy:
0xc5bddf9843308380375a611c18b50fb9341f502a
Adding verified contracts from any network
The Dashboard’s search functionality allows you to locate any verified contract deployed on any of the 102 supported networks.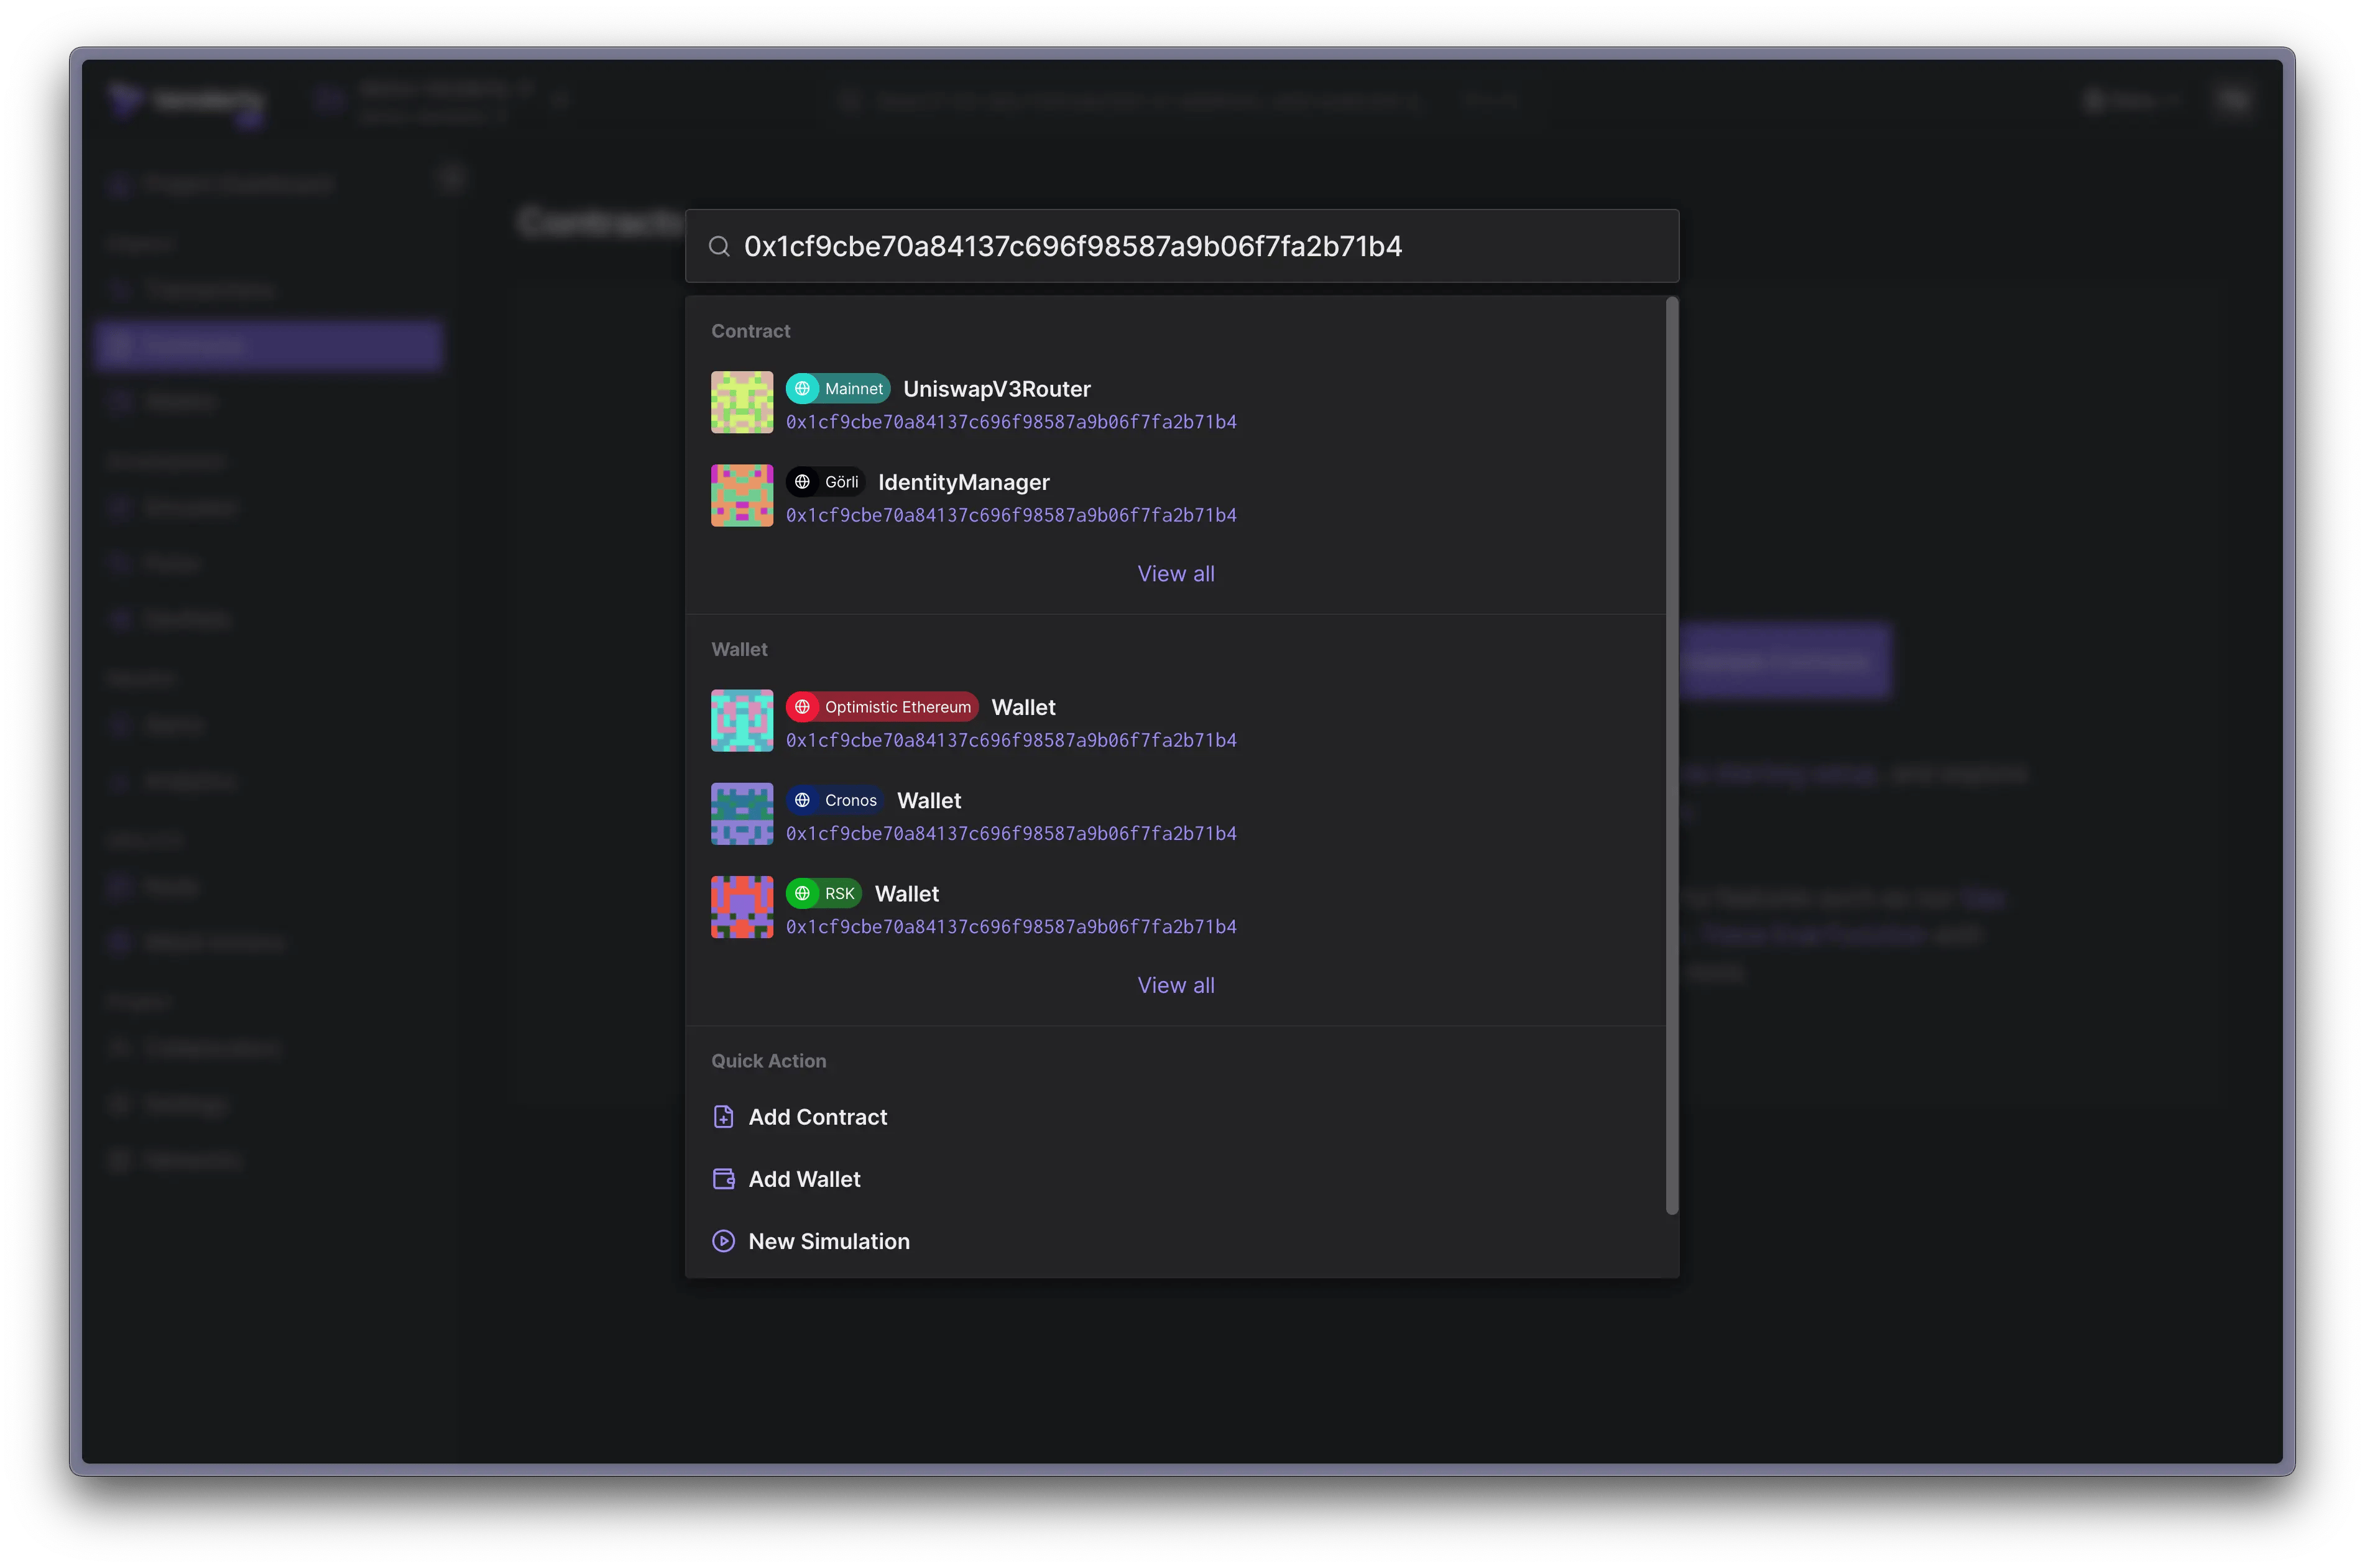
- Paste the contract’s address or name in the top menu search bar.
- Select the contract from the search results.
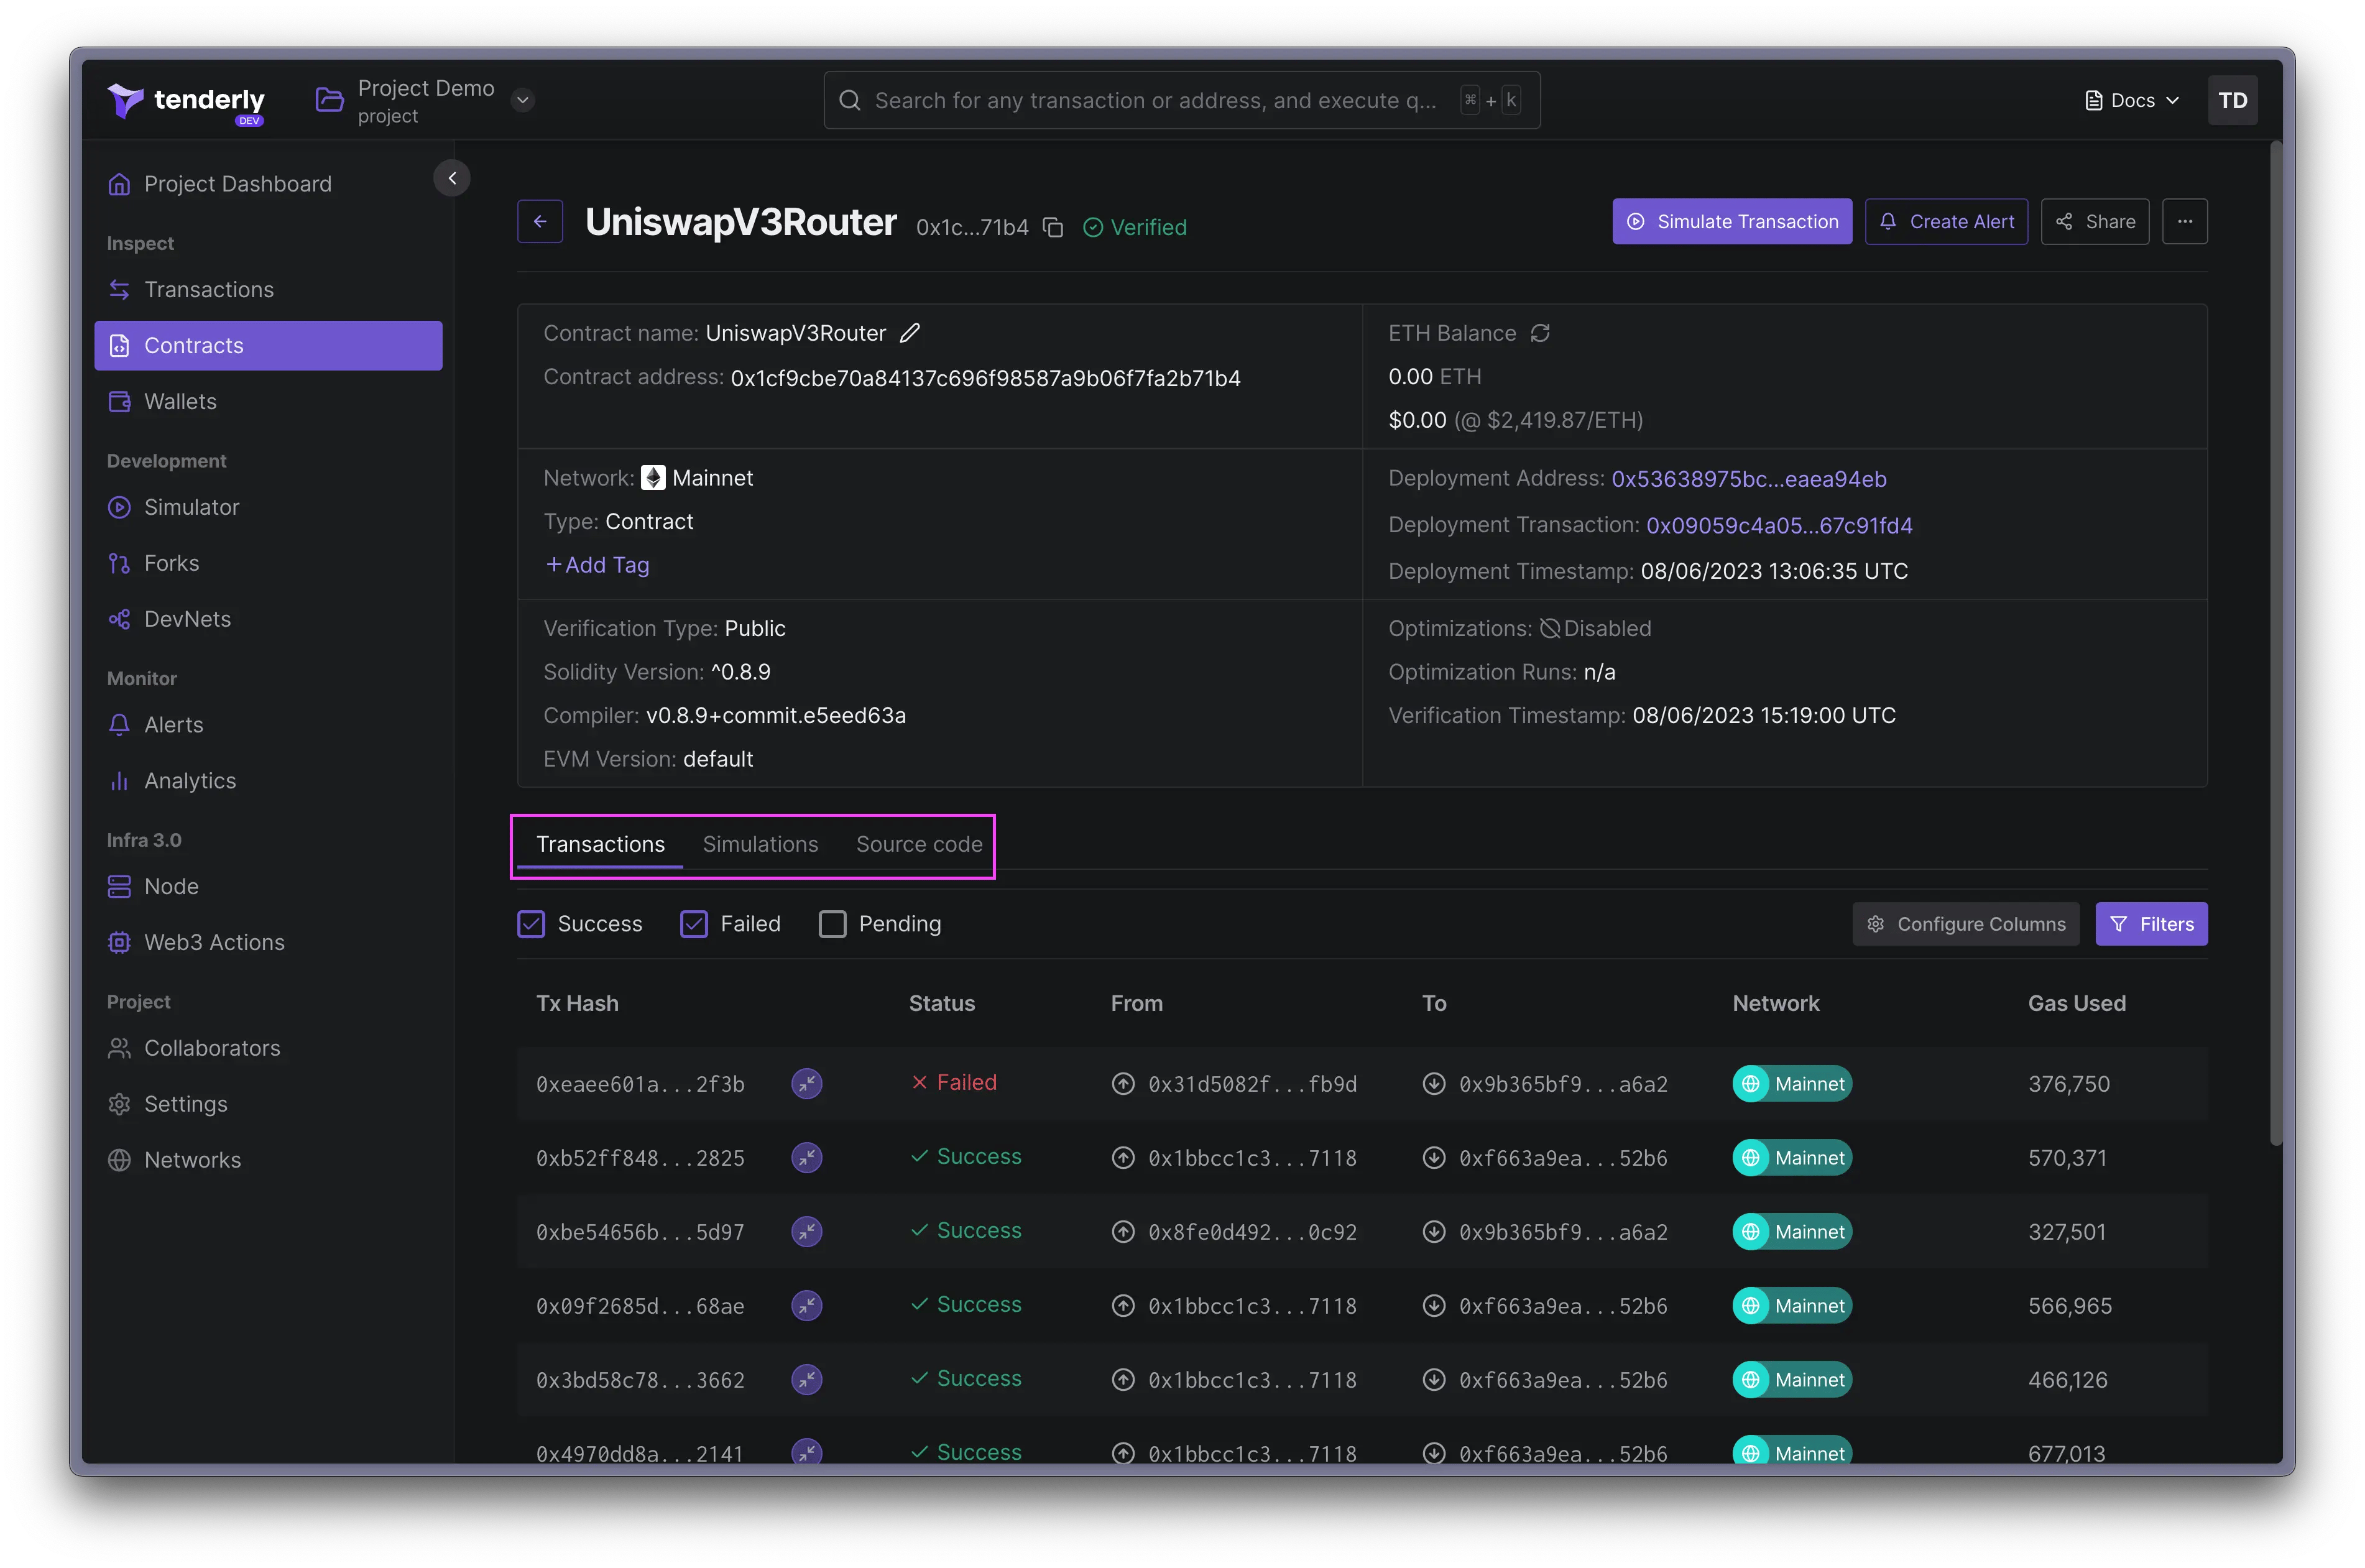
Inspecting contract details
From the Contracts page, click on a contract to view its details such as:- Source code, ABI, bytecode, creation code, and source map
- Transaction history and filtering options
- Simulated transaction history
How to Simulate Transactions from the Dashboard
Adding tags to contracts
When working with multiple contracts, you need a way to keep them organized. This is where tags come in handy. You can add a tag to a contract by clicking the Add Tag link. Tags also enable you to monitor multiple contracts or wallets grouped under a single tag using Alerts.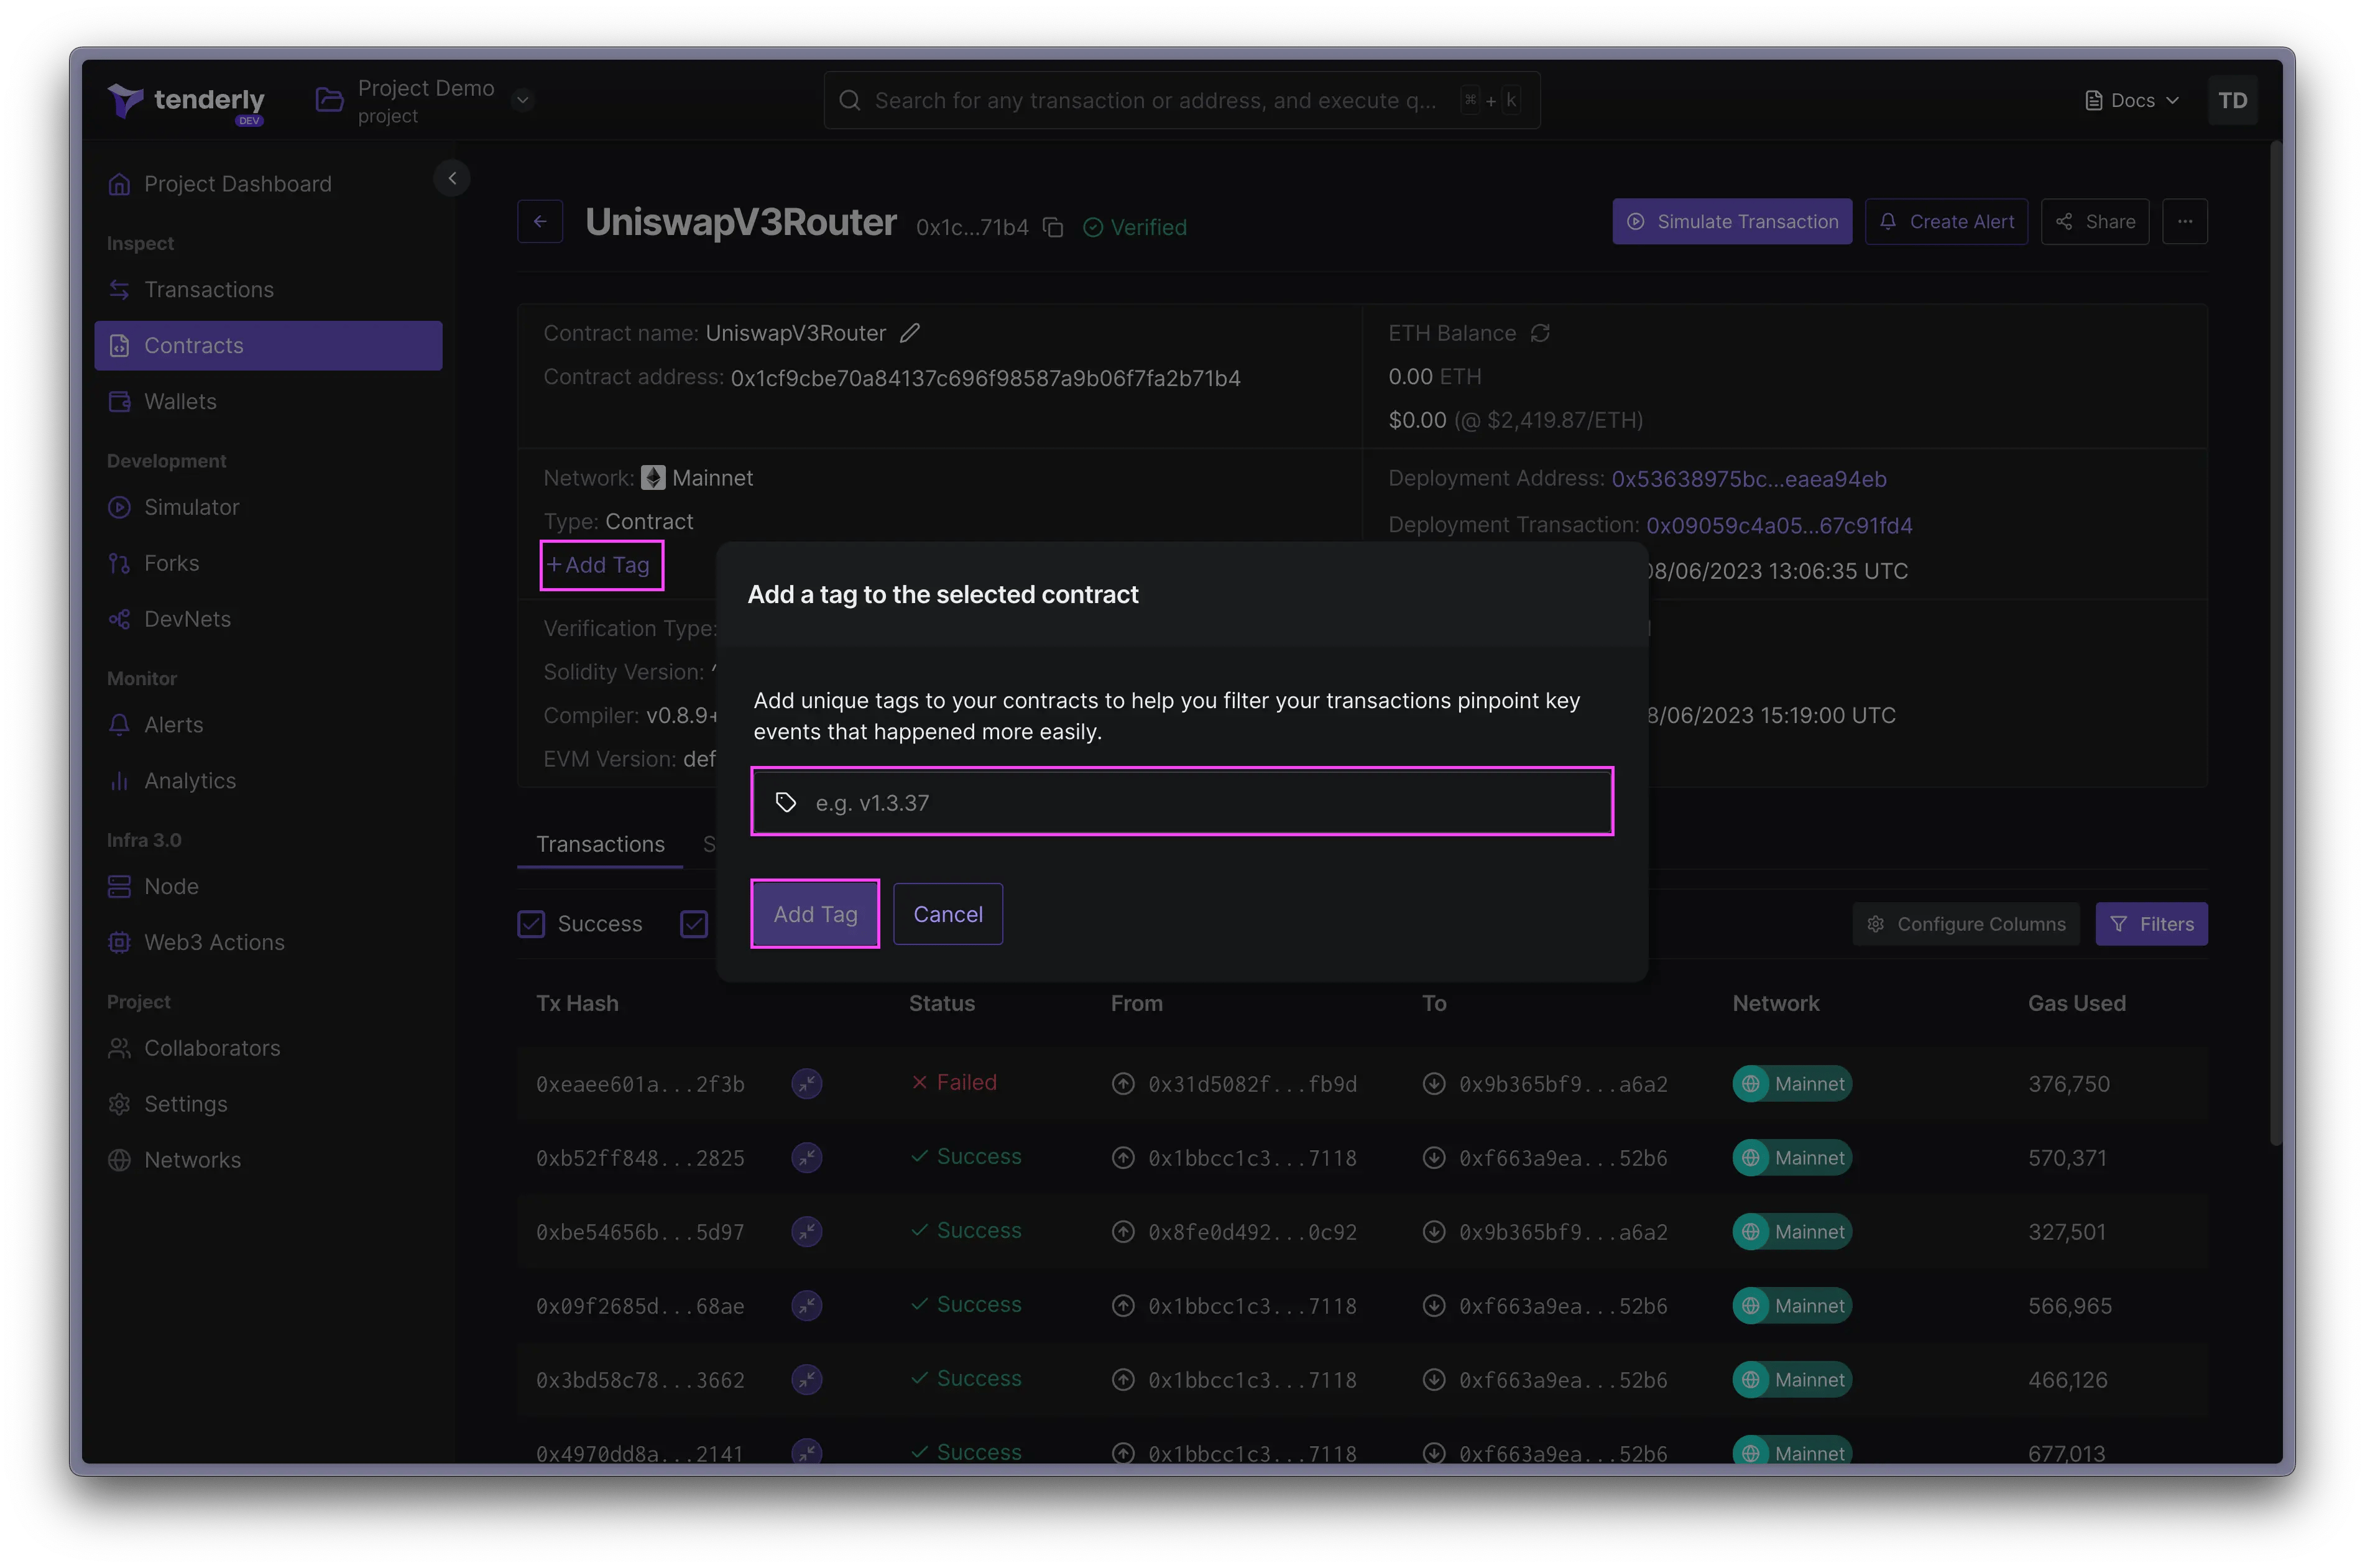
Monitoring contracts with Alerts
You can set up Alerts to monitor activity on your contracts in real time. To create an Alert, click the Create Alert button from the contract overview page.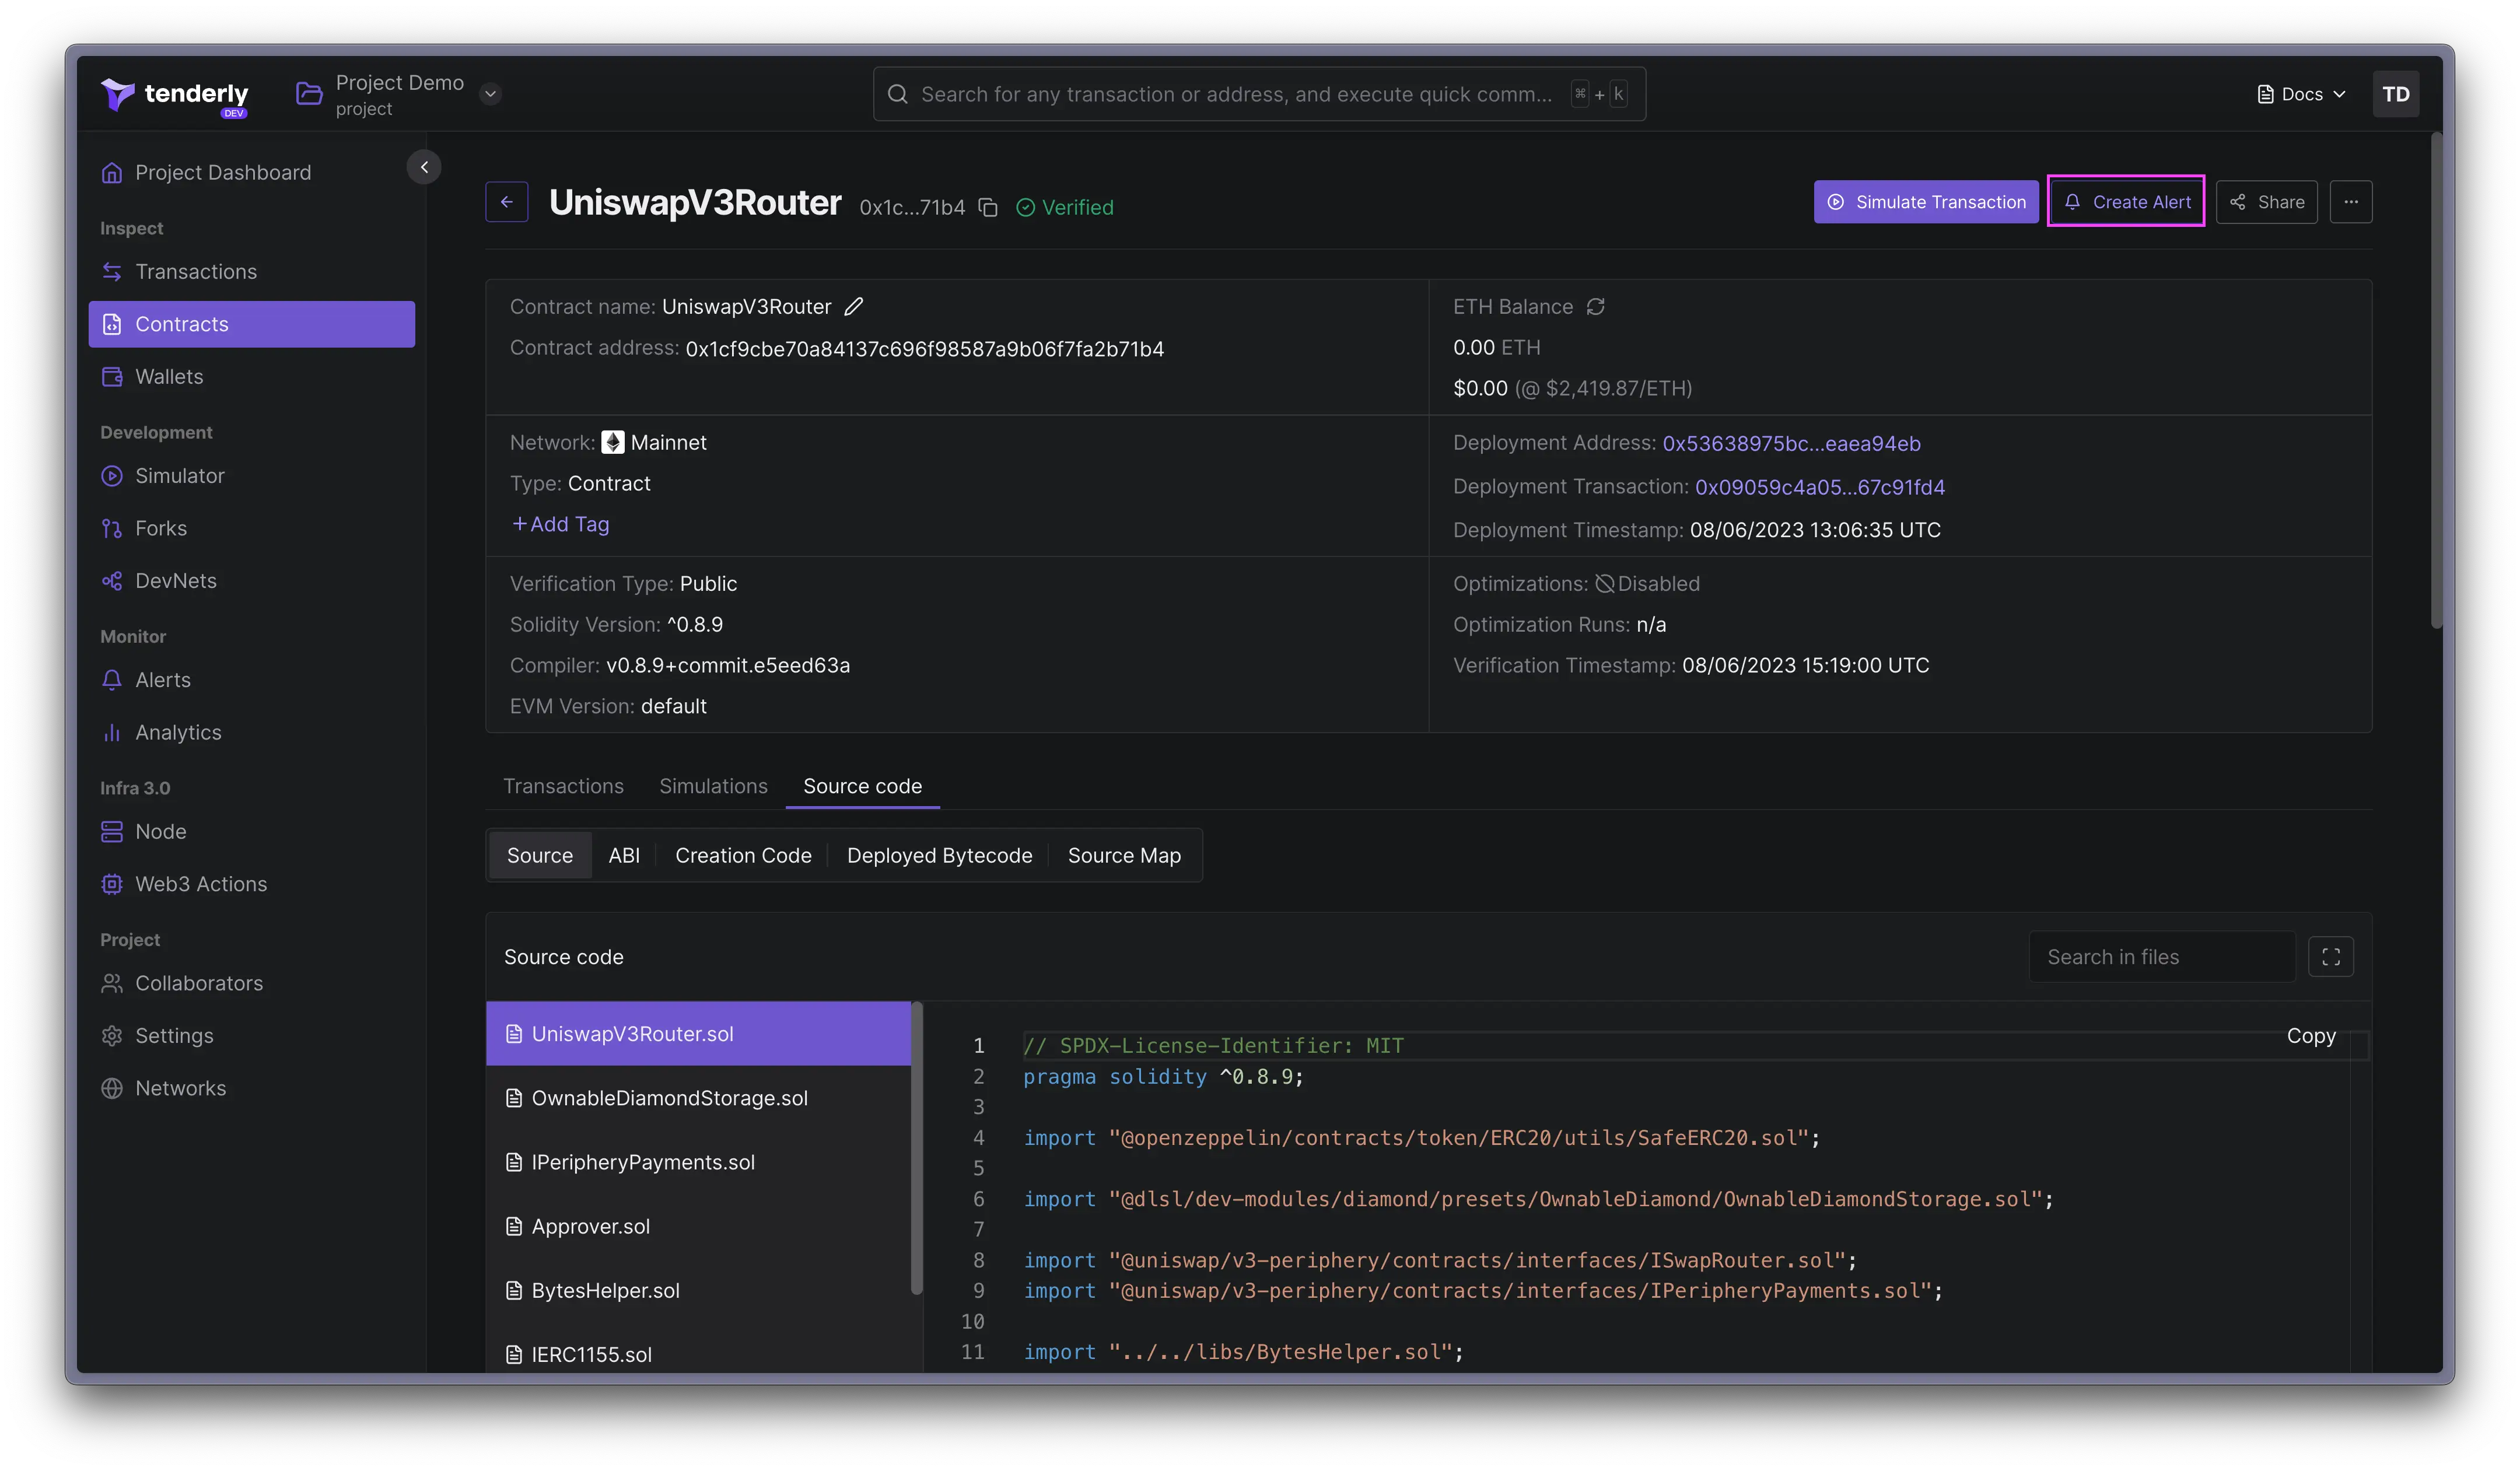
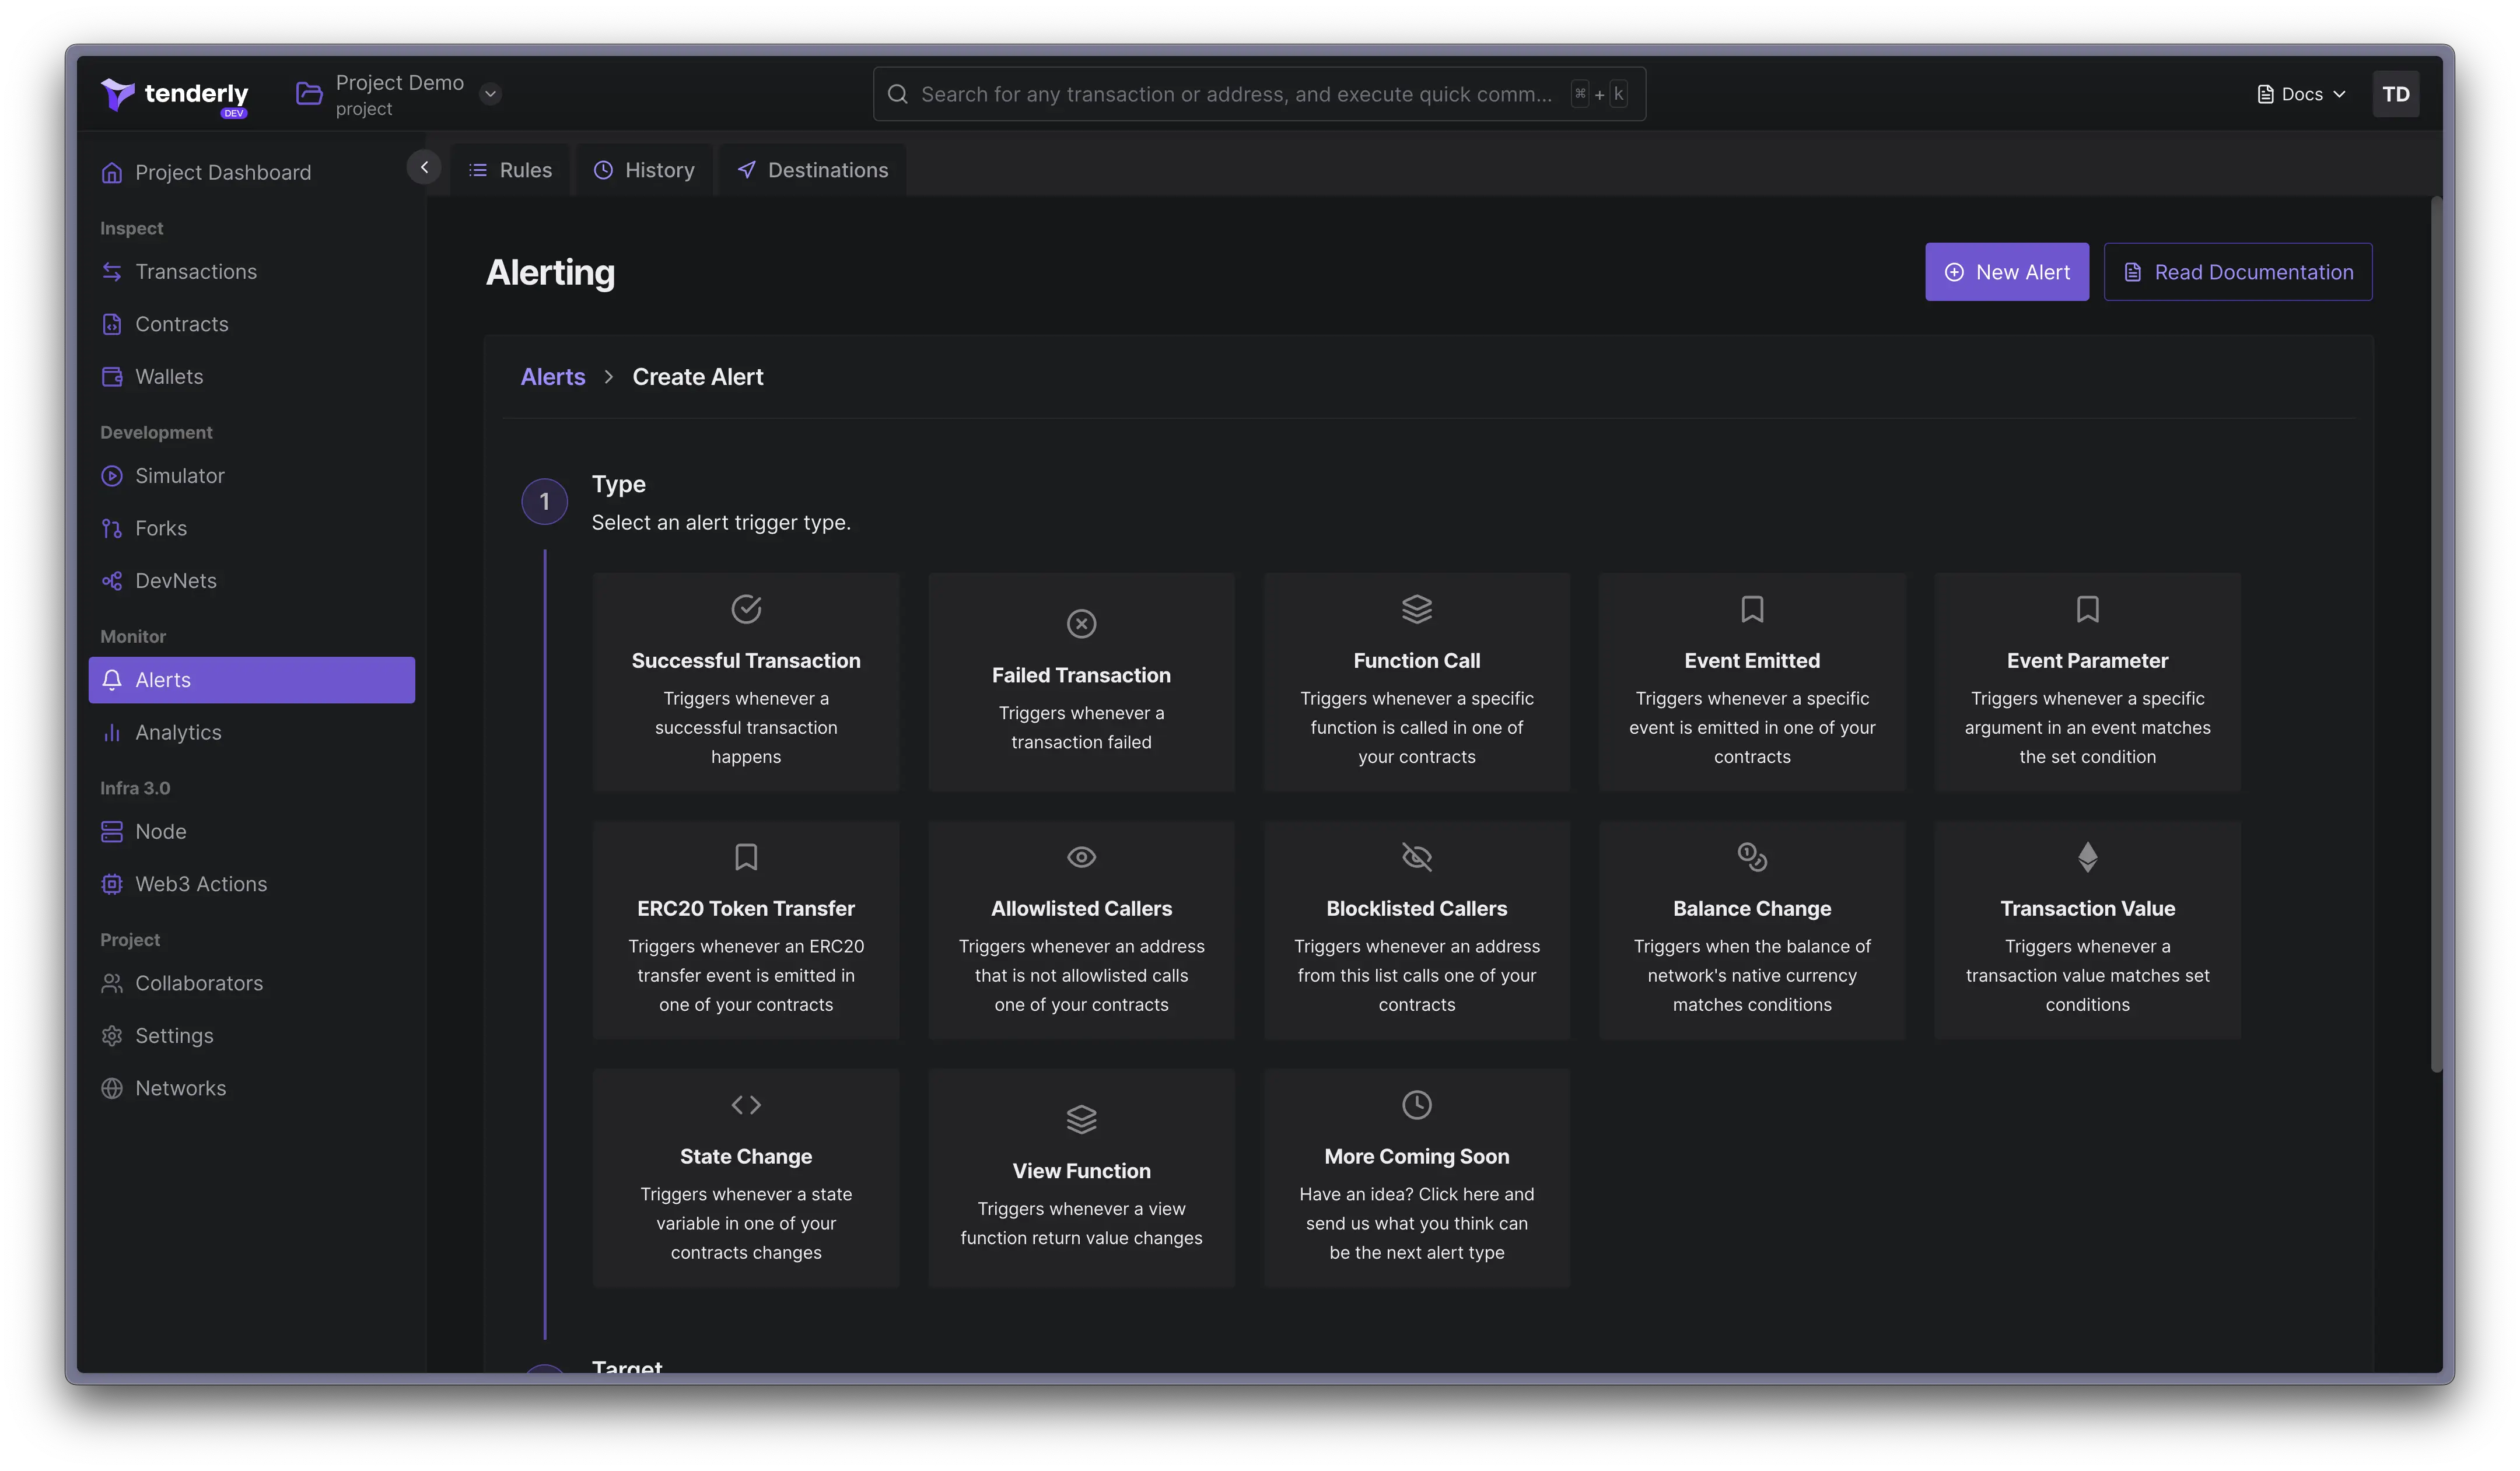
How to Create and Manage Smart Contract Alerts
Proxy contracts
Tenderly detects EIP-1967 and EIP-1167 proxies automatically. When the contract’s implementation changes, Tenderly picks this up automatically and displays the version history in the Dashboard. To access the implementation history, click on the clock icon.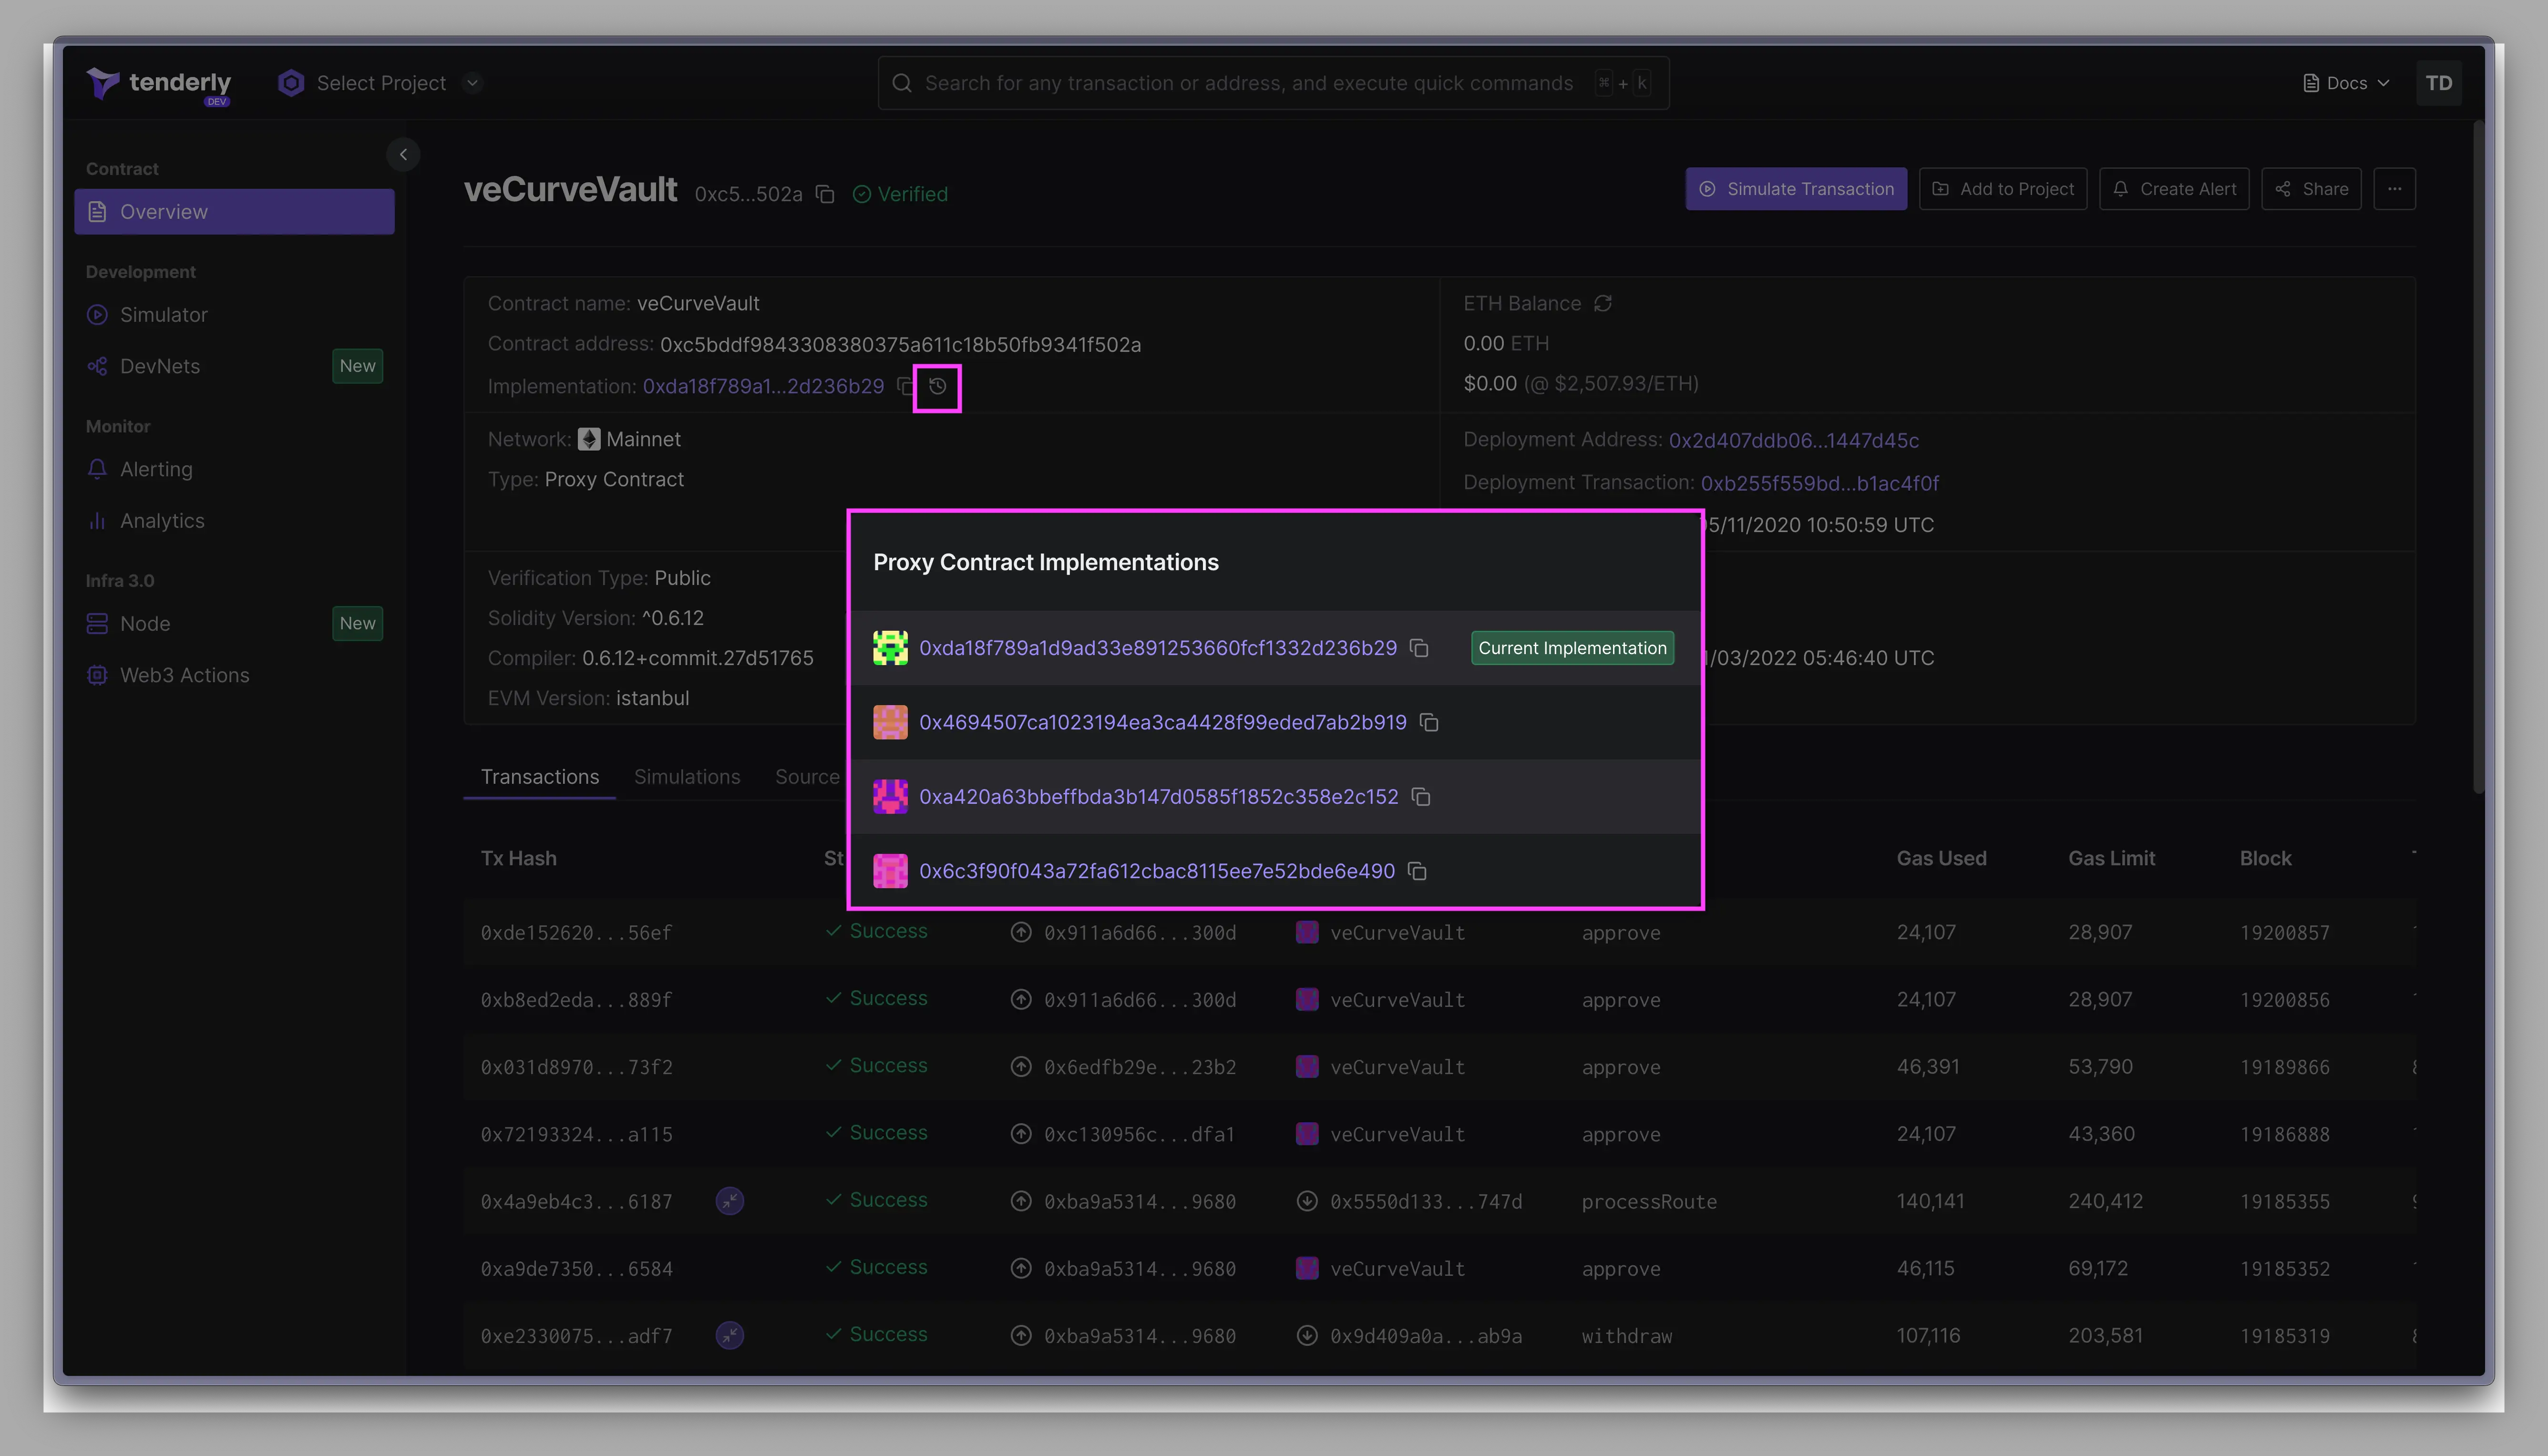
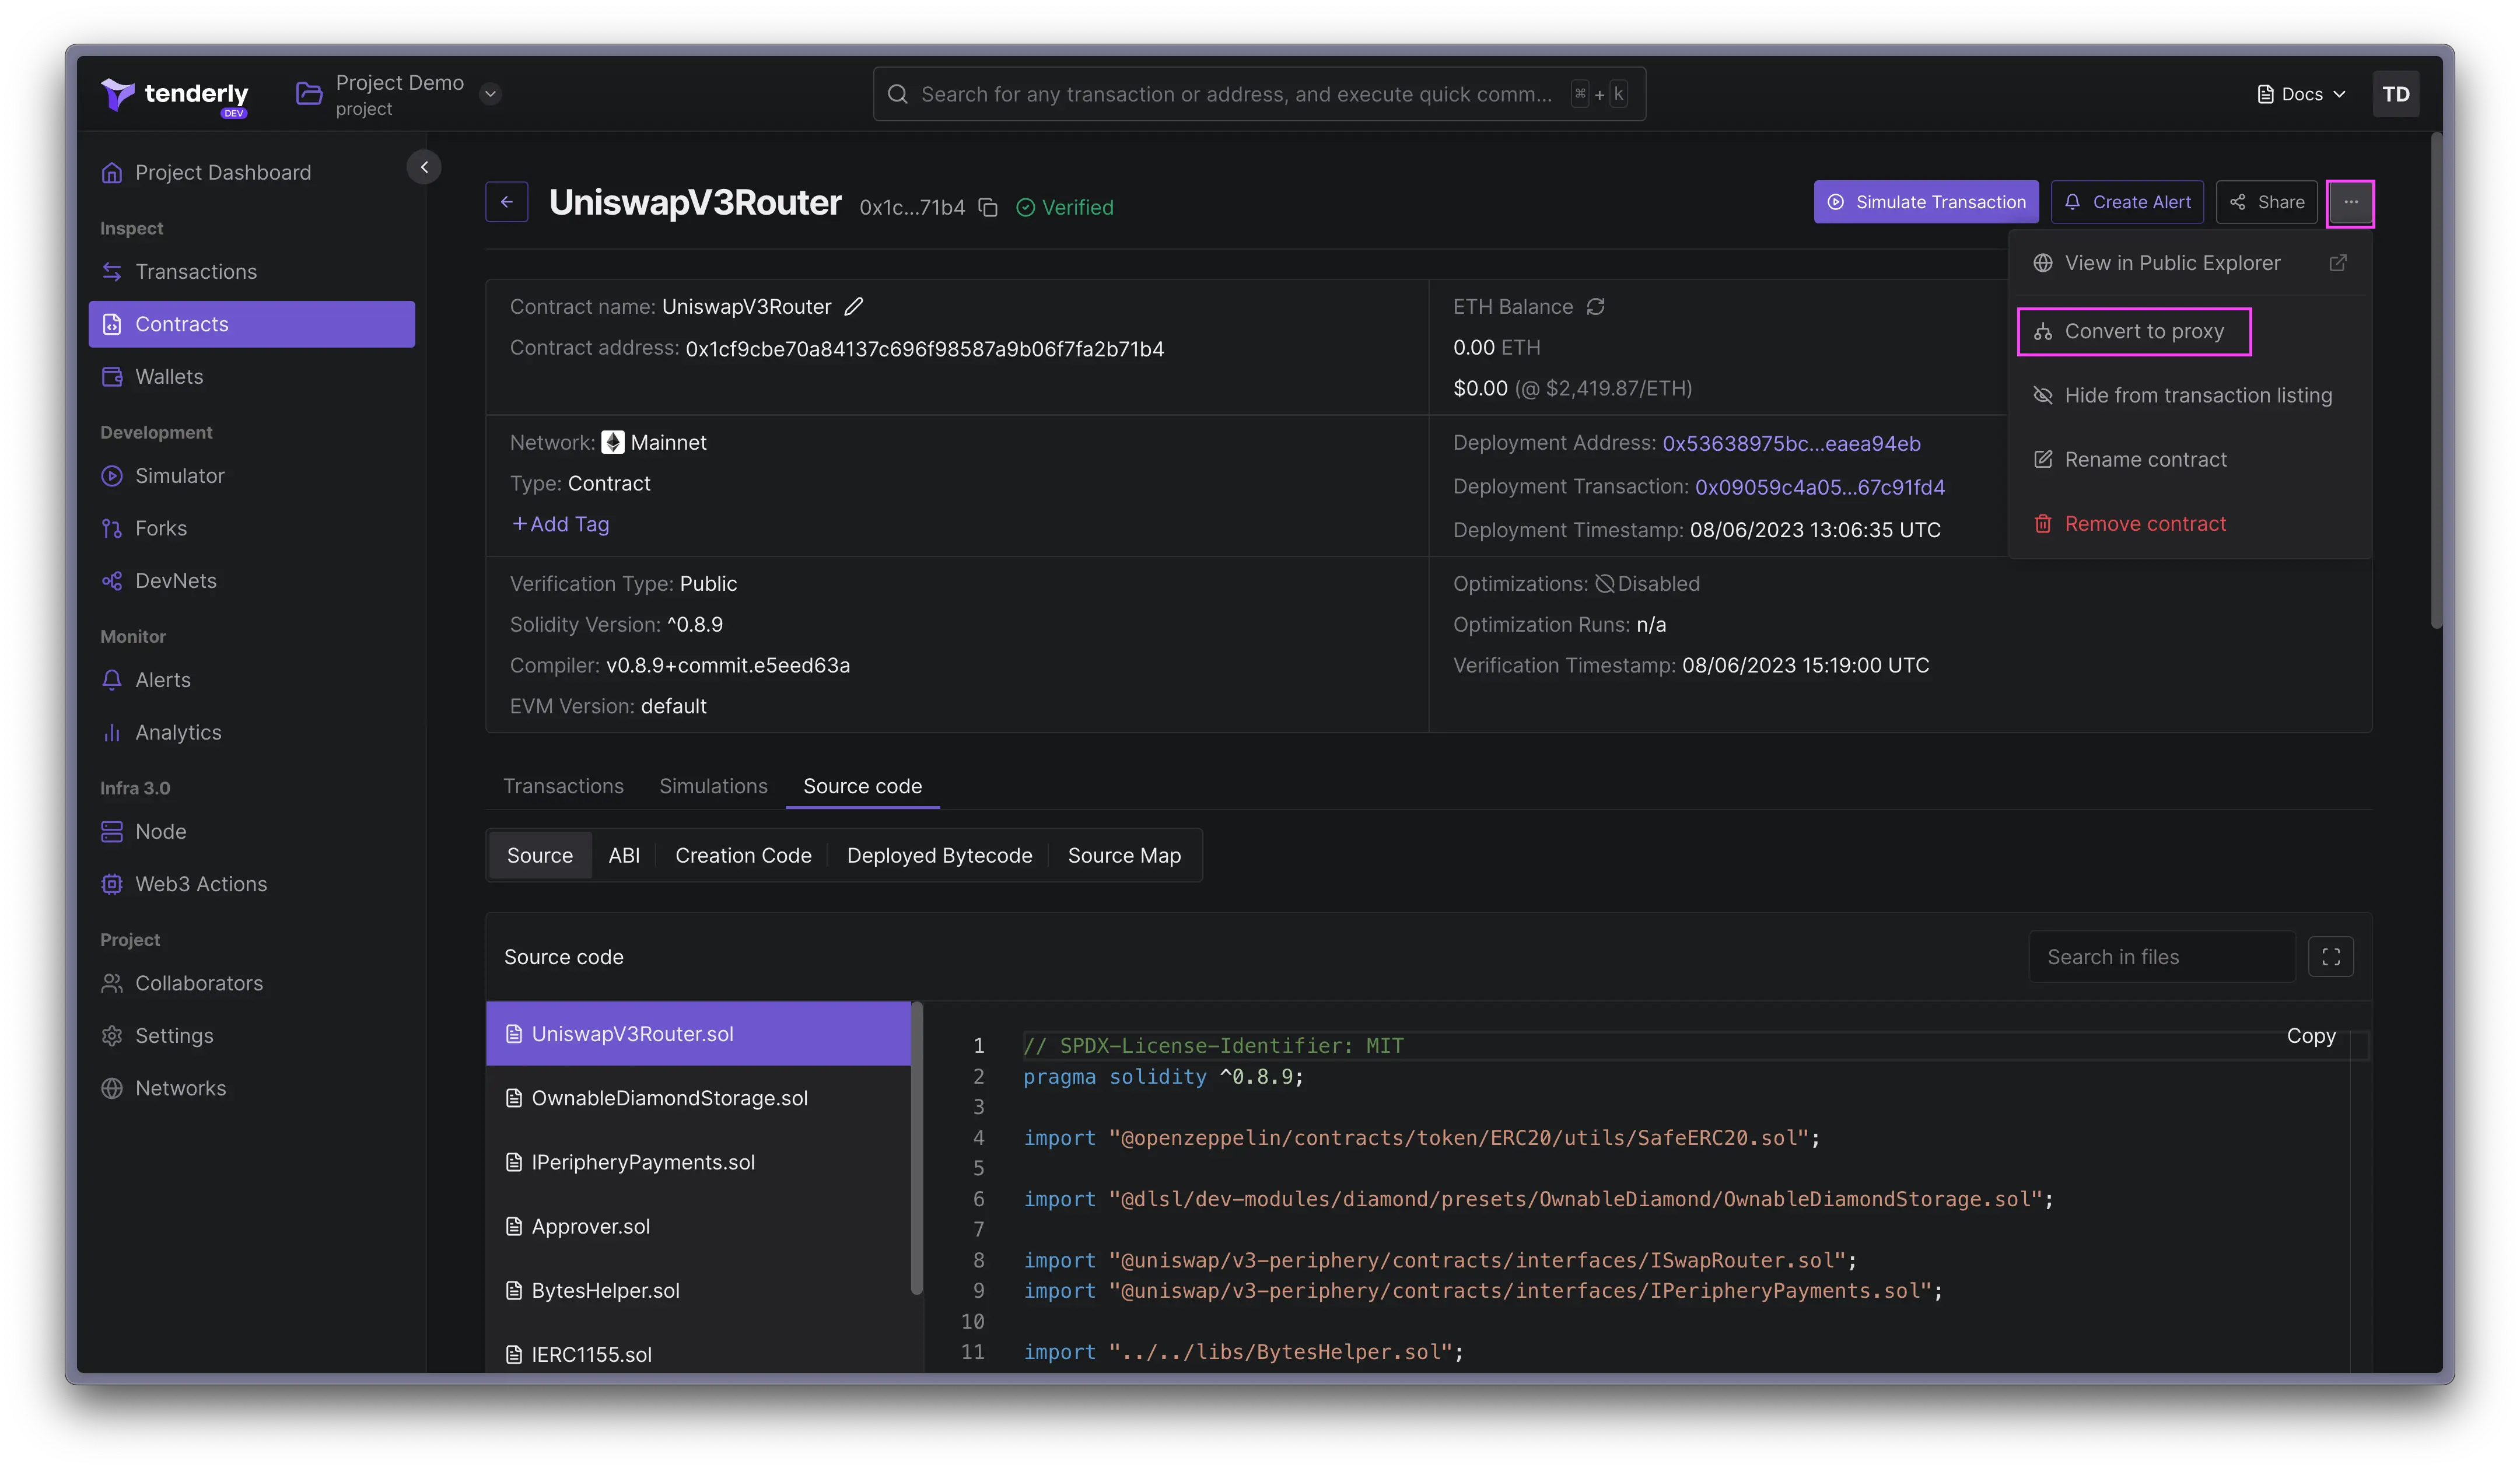
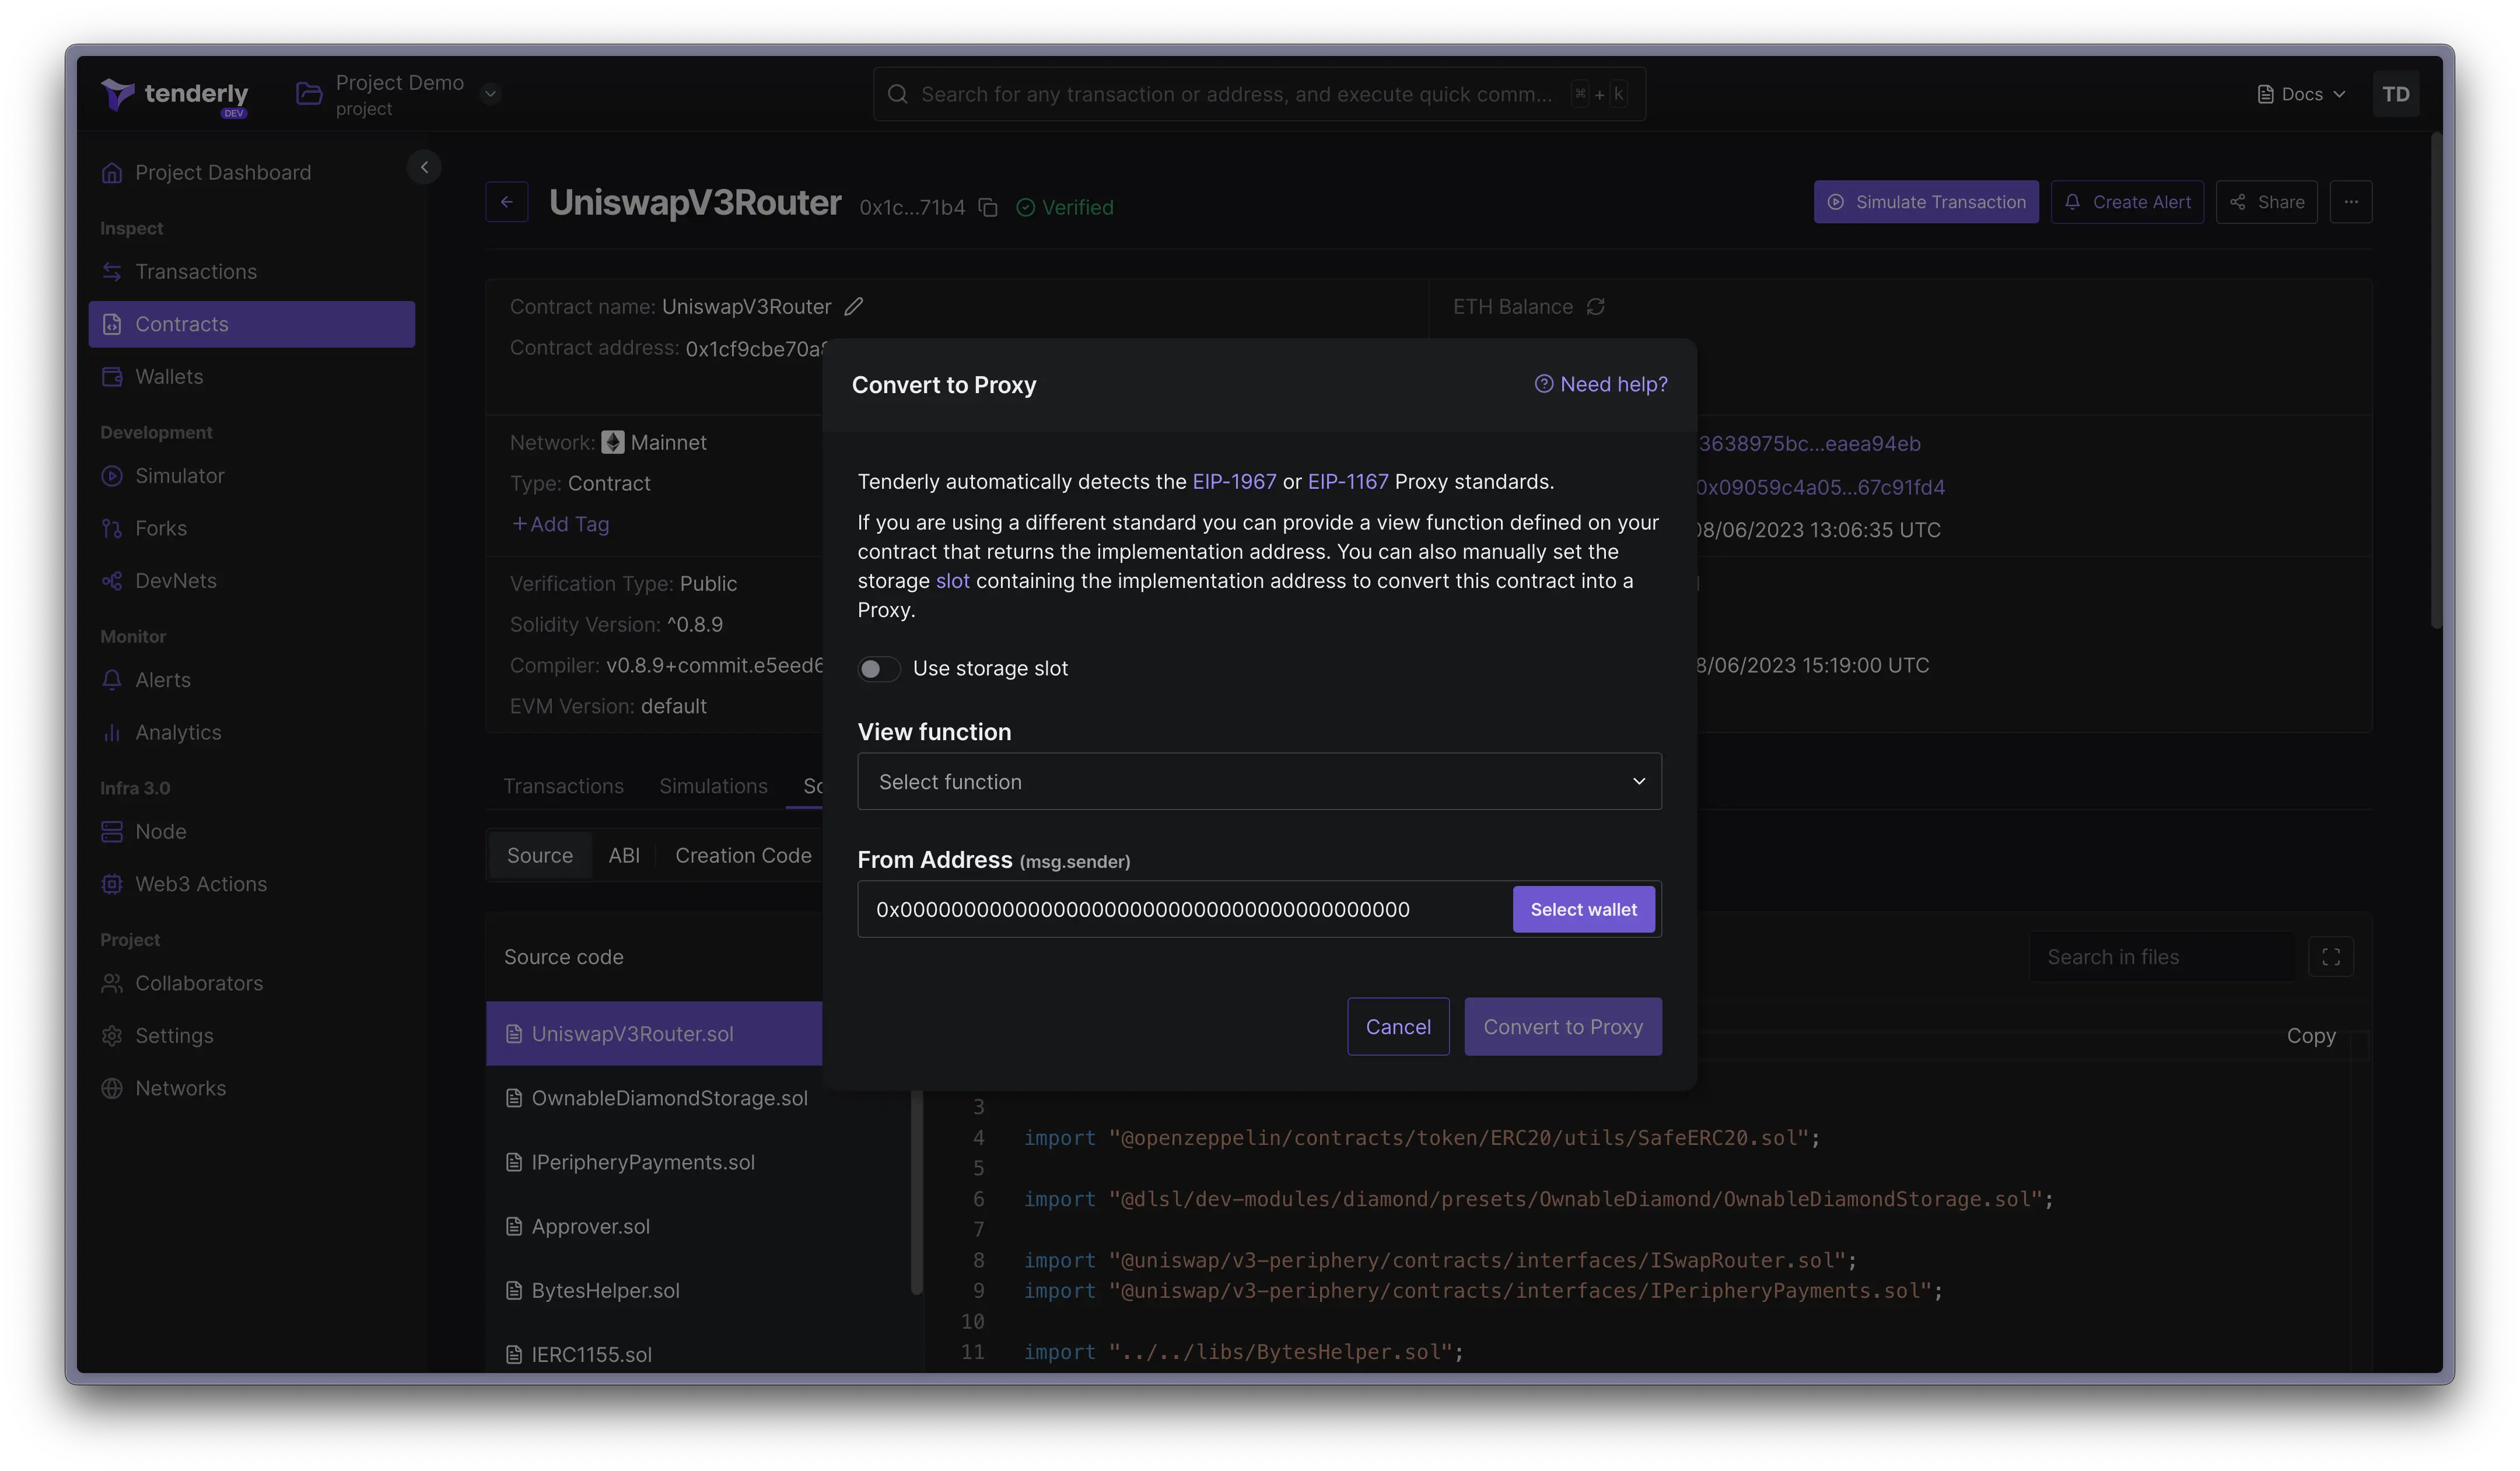
Non-standard proxy implementations
For non-standard solutions, you’ll need to manually convert the contract to a proxy. First, click on the three-dot icon on the top right of the contract’s page and select Convert to Proxy