Virtual TestNets Quickstart
Follow this guide to learn how to spin up a Virtual TestNet and start interacting with it.
Configure your Virtual TestNet
From the Dashboard, go to Virtual TestNets and click Create Virtual TestNet. Fill in the settings below:
Parent network and name: Choose which network you want to fork from the 109 supported networks and give it a unique name (e.g., Virtual Mainnet).
Chain ID: Specify a custom value such as 73571 or use the parent network’s original chain ID. It’s recommended to set a unique chain ID to prevent transaction replay attacks, and avoid issues when adding the Virtual TestNet to wallets.
Public Explorer: Leave disabled or enable to allow public transaction viewing. If enabled, set the contract verification visibility option to control whether or not smart contracts’ code is visible publicly.
State sync: Activate to keep your Virtual TestNet updated in real-time with the parent network. Learn more about how state sync works.
Click Create.
Add your Virtual TestNet to Metamask
Access your Virtual TestNet and click Add to Wallet to add the Virtual TestNet as a chain in Metamask. Follow Metamask’s instructions to change the network. Once confirmed, you can send and receive transactions on your Virtual TestNet through Metamask.
Follow this tutorial for more guidance.
Fund accounts
Every Virtual TestNet has an unlimited faucet that allows you to top up or set a new balance for any account on the Virtual TestNet instantly.
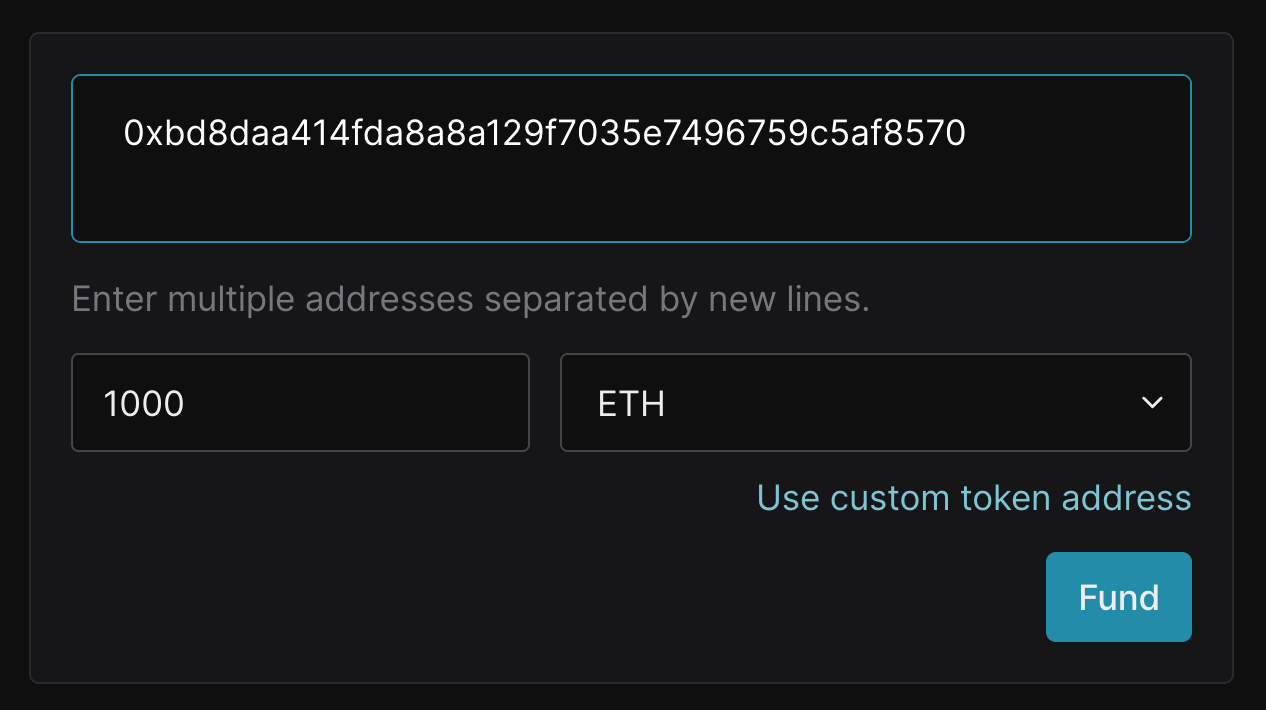
From the Dashboard
- Navigate to Faucet
- Input your address (
0xBd8DaA414Fda8a8A129F7035e7496759C5aF8570) and the amount you wish to add (e.g., 1000) in ETH (not wei). - Click Fund

Using RPC
Copy the Virtual Testnet RPC link and call the tenderly_setBalance method to set a new balance specified in wei in hexadecimal form.
curl $TENDERLY_VIRTUAL_TESTNET_RPC \
-X POST \
-H "Content-Type: application/json" \
-d '{
    "jsonrpc": "2.0",
    "method": "tenderly_setBalance",
    "params": [["0xE58b9ee93700A616b50509C8292977FA7a0f8ce1"], "0xDE0B6B3A7640000"],
    "id": "1234"
}'
Next steps
- Send transactions: Start sending transactions on your Virtual TestNets
- Simulate transactions: Run transaction simulations from the Dashboard or via RPC
- Deploy smart contracts: Start deploying and monitoring smart contracts on your Virtual TestNet
- Virtual TestNets API: Create and manage Virtual TestNets via REST API
- Use cases: Explore further use-cases of Virtual TestNets
- FAQ: Get answers to frequently asked questions about Virtual TestNets