Creating a Web3 Action
To continue, log into your account or create a free
account if you don’t have one.

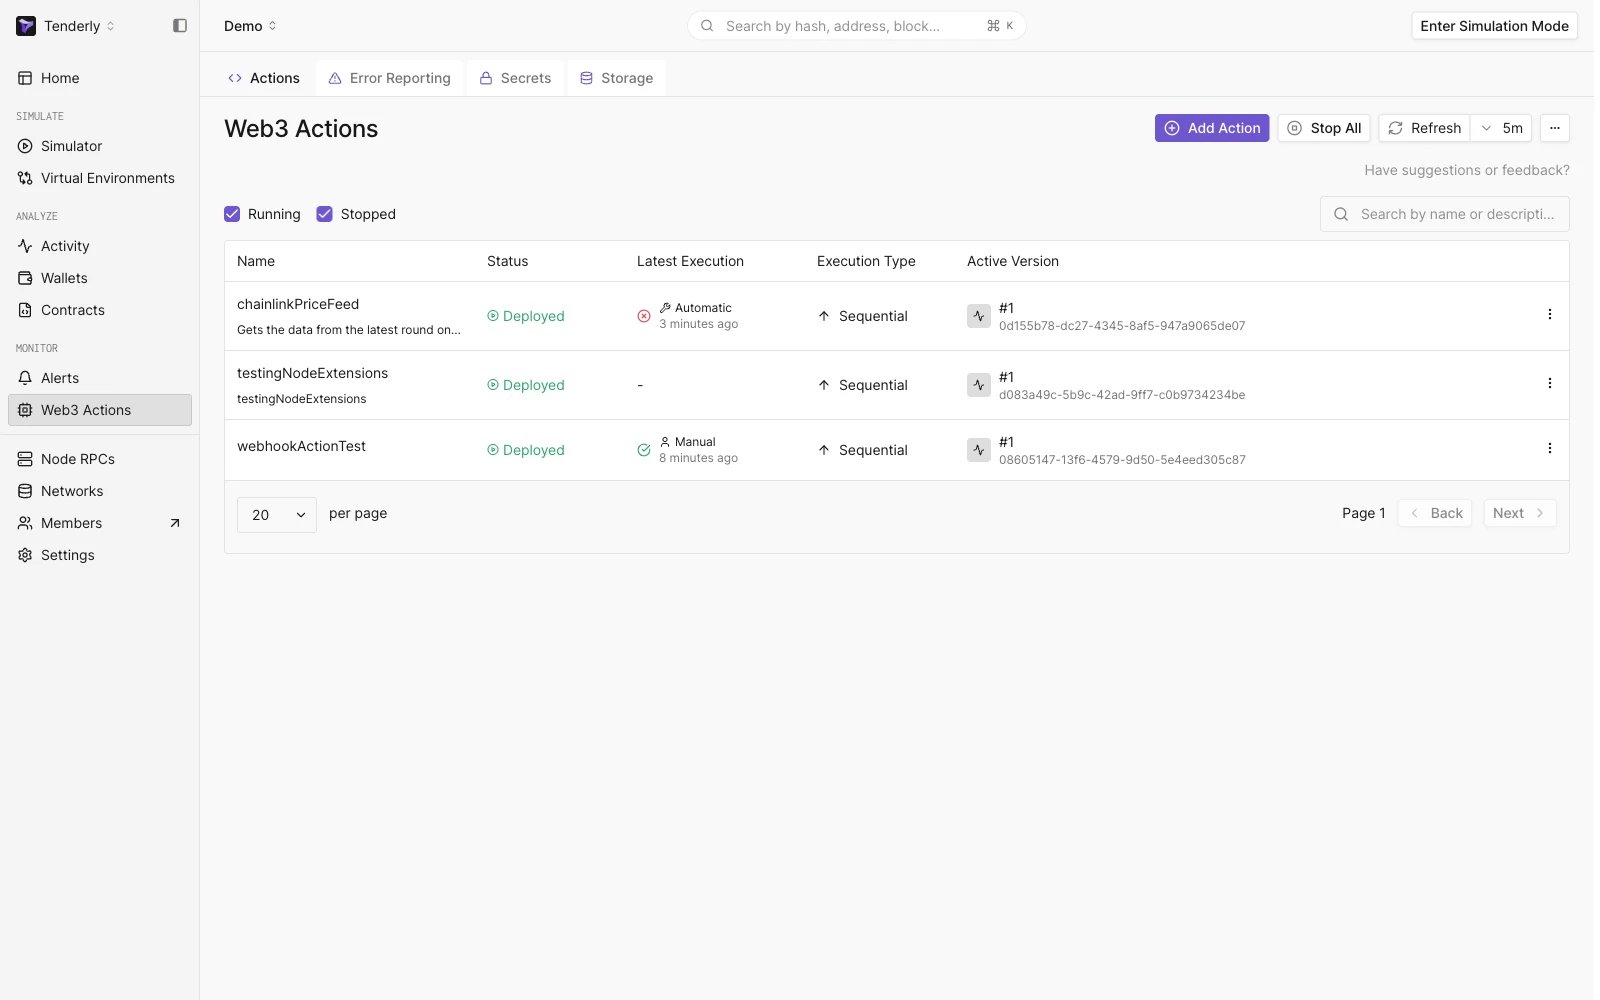
Navigating to the Actions section
Creating a Web3 Action
- Select a trigger type: Choose an on-chain or off-chain event that will trigger the execution of your custom code.
- Write or add your custom code (functions): Your application logic written in JavaScript or TypeScript to be executed when the event occurs.
- Specify trigger details: Each pre-defined trigger (event) has its settings. The last step is to configure the trigger itself. For example, for the Block event, you can choose the network to be monitored and the number of blocks to be mined for the event to get triggered.
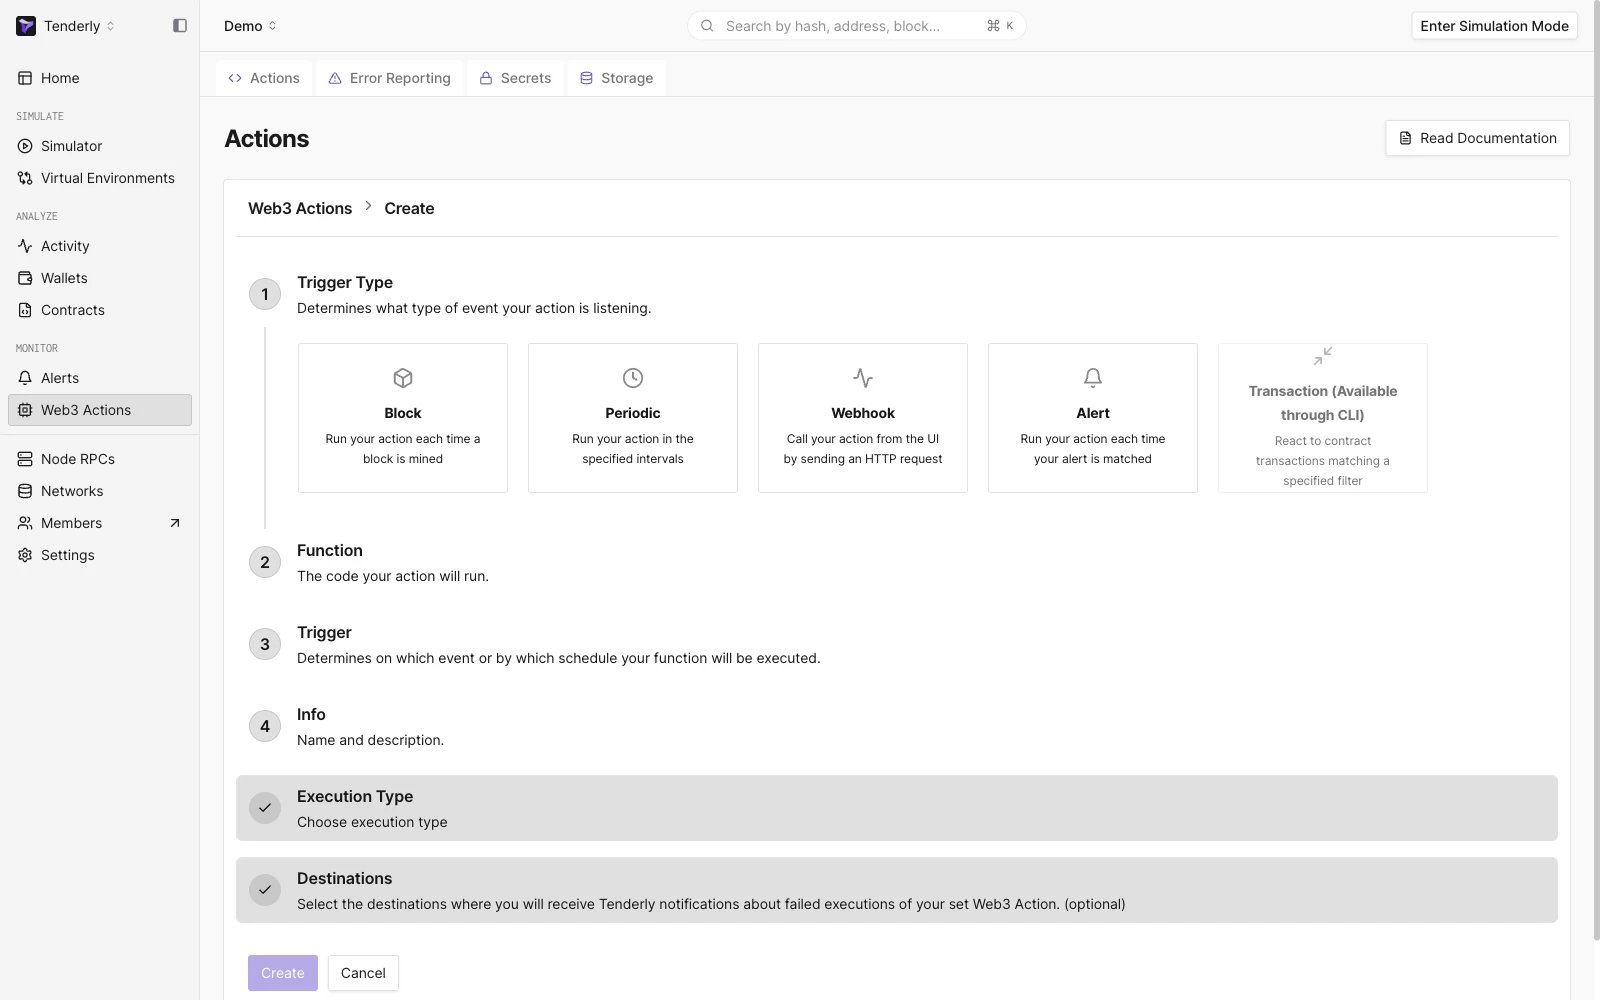
Configuring a new Web3 Action
Step 1: Choose the trigger type
Choose the event you want the Web3 Action to listen for (the event that will trigger your custom code to run). For example, run your custom code (outlined in the next step) every time a block is mined on the Mainnet network.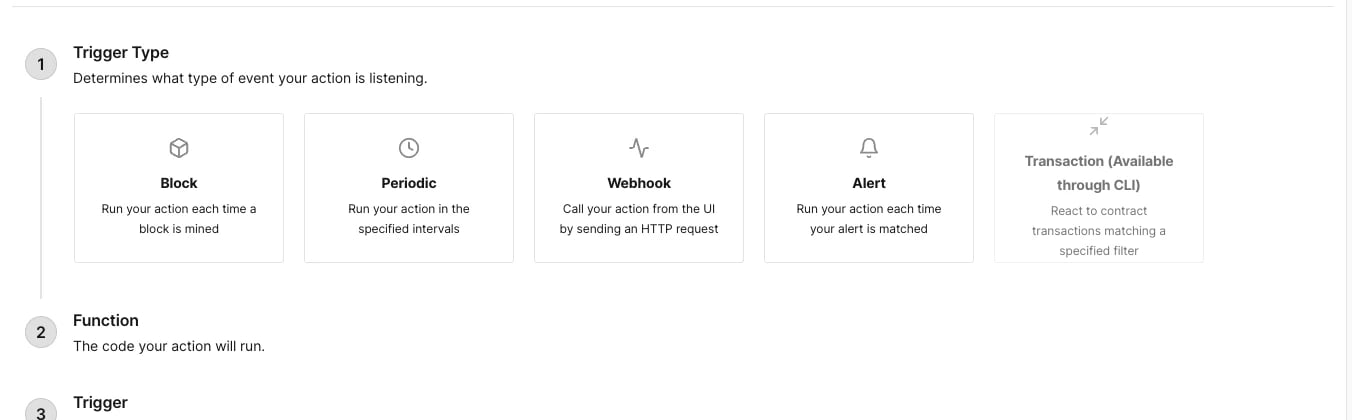
Choosing a trigger type for your Web3 Action
Step 2: Add your custom code
Under the Functions section, paste or write your custom JavaScript or TypeScript code directly. This is the custom logic that will be executed once a block is mined. Learn more about Web3 Actions functions. For example, log the message “Action triggered” to the console once a block is mined.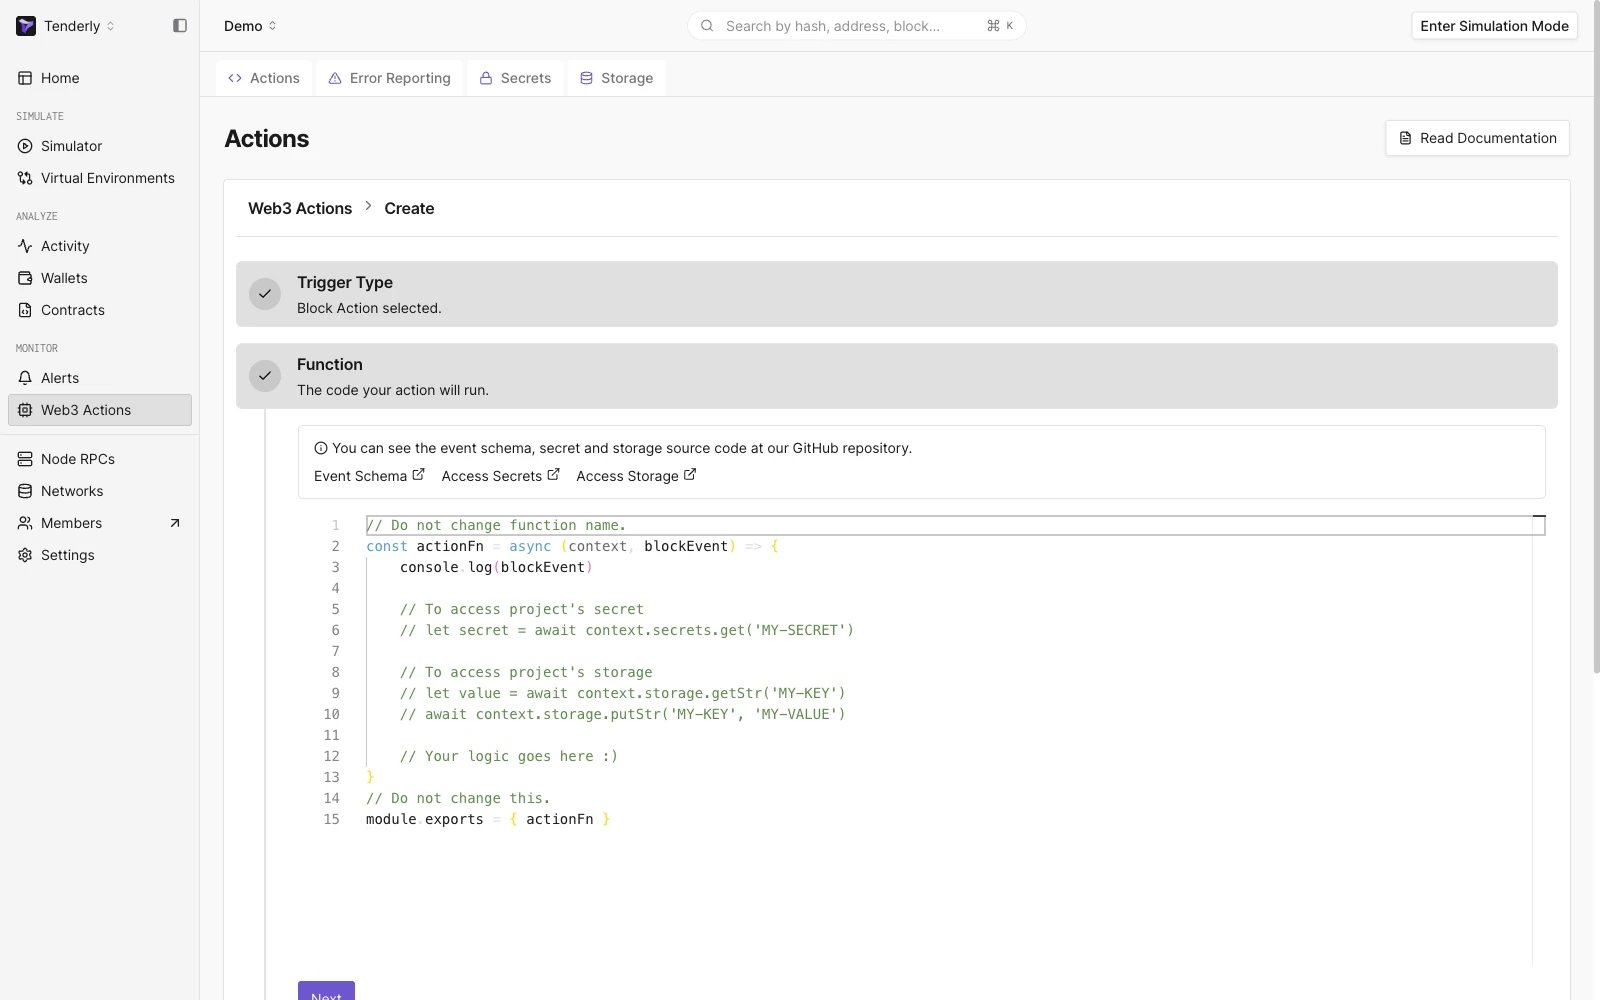
Adding your custom Web3 Action code
Tenderly provides several JavaScript
libraries
for the functions created using the Dashboard.
Step 3: Specify trigger settings
Specify the trigger-specific configurations. Each trigger type has different settings. Learn more about Web3 Actions Events and how to configure them. For the Block trigger type, you need to define two additional parameters: the network (Mainnet) and the block period (10). This means that our code will get executed every 10th block mined on the Mainnet network.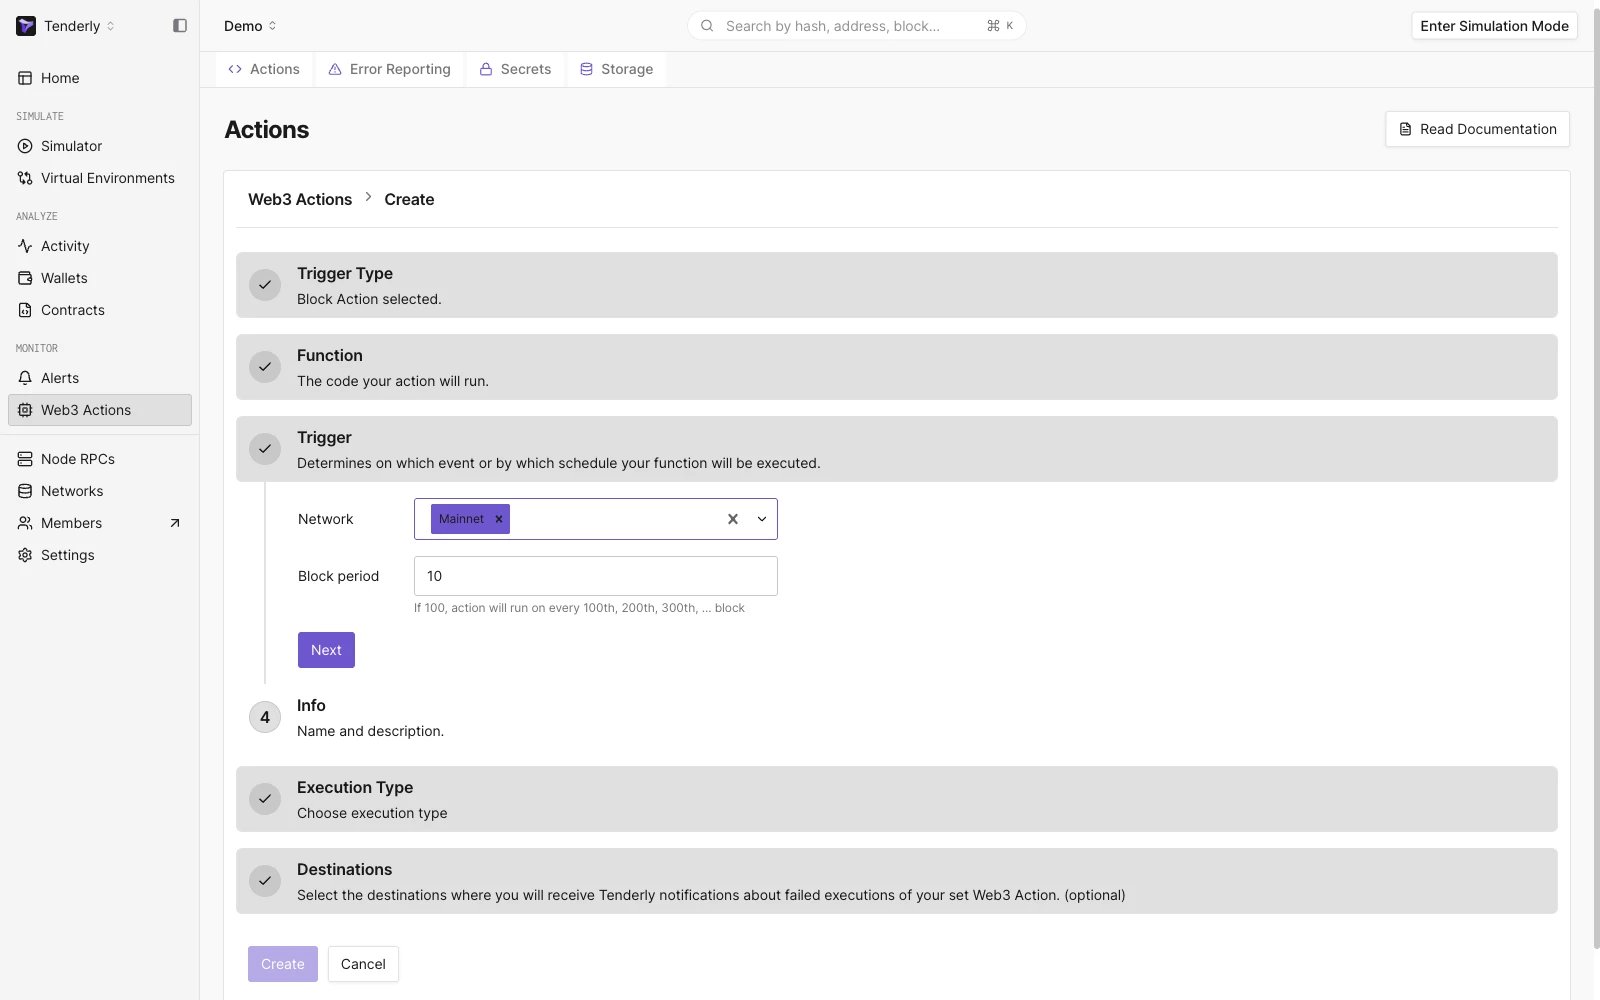
Specifying trigger settings
Step 4: Add the title and description
In the Info section, add the Web3 Action and title and description. The title and description don’t influence the behavior of your Web3 Actions.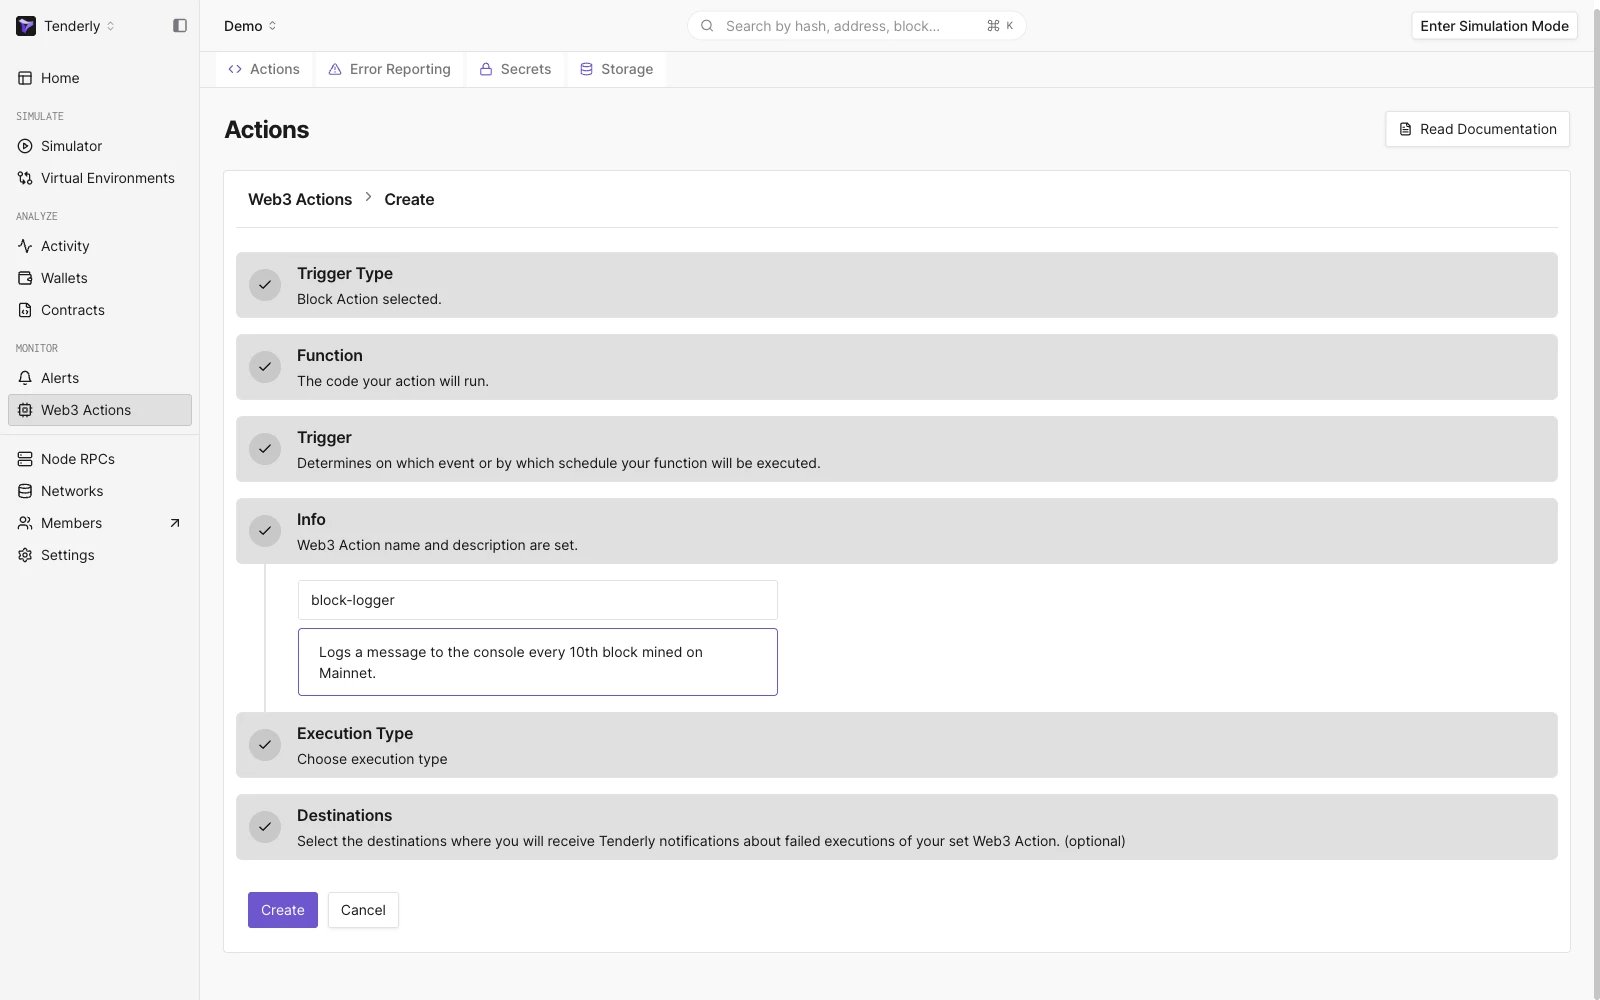
Adding a title and a description for your Web3 Action
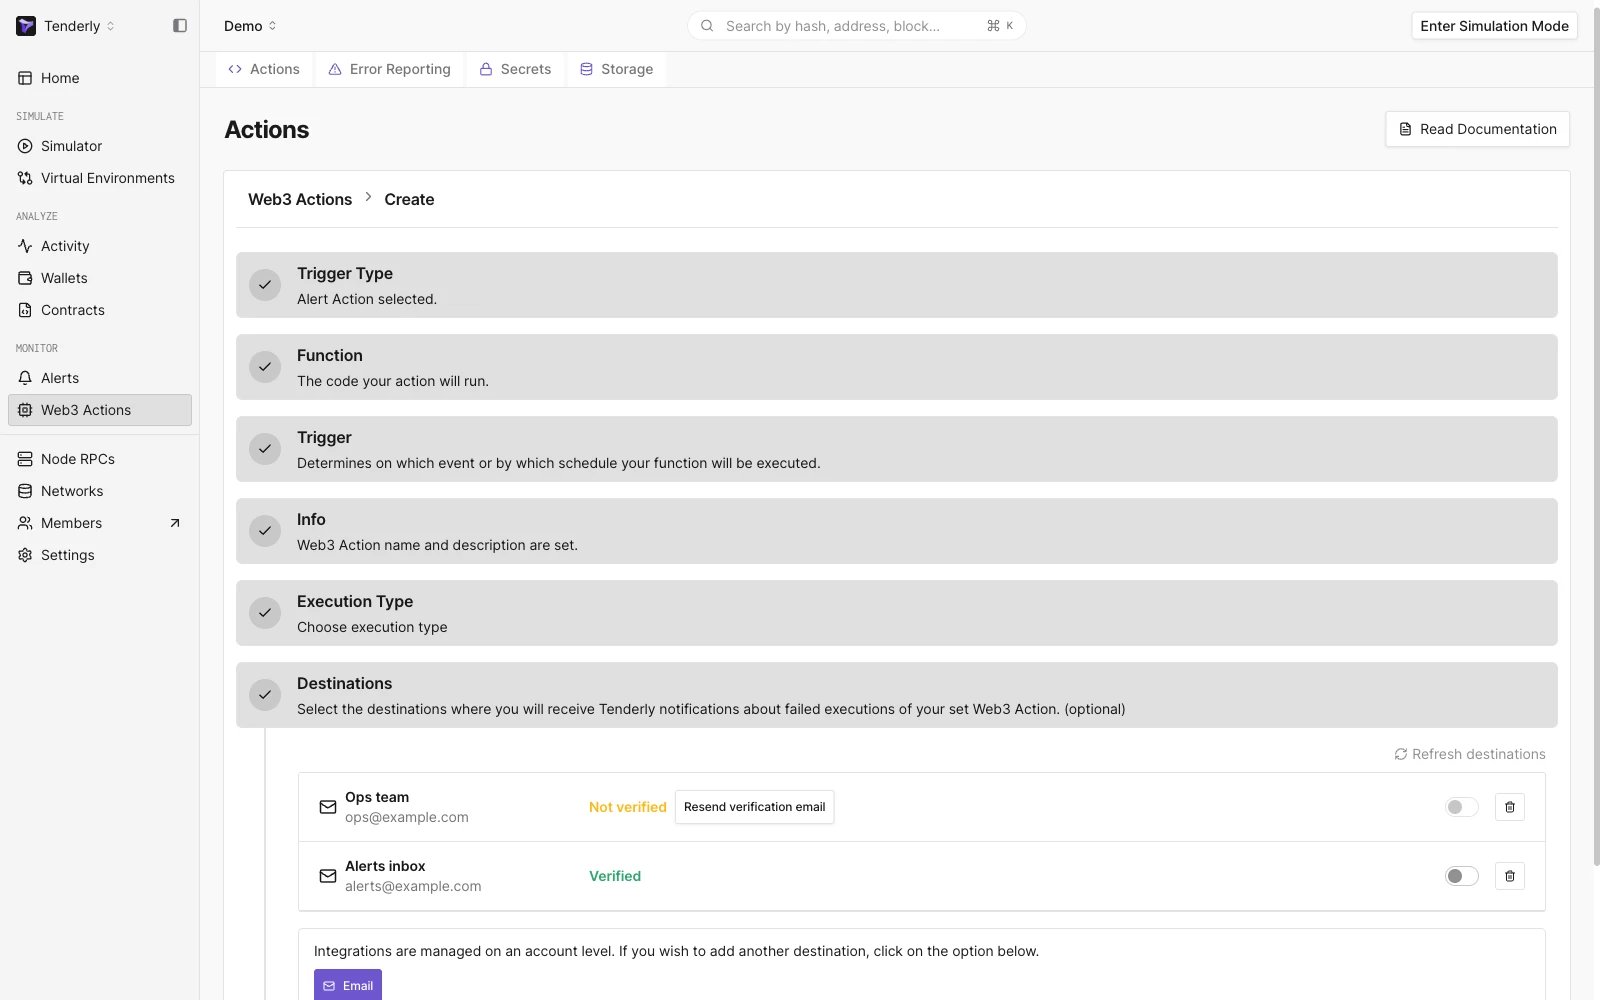
Activating email notifications for possible Web3 Action failure
Step 5: Deploy your Web3 Action
When finished, click the Create button to build and deploy your Web3 Action. Once deployed, you’ll be forwarded to the Overview page, where you can stop, upgrade, and delete your Web3 Action.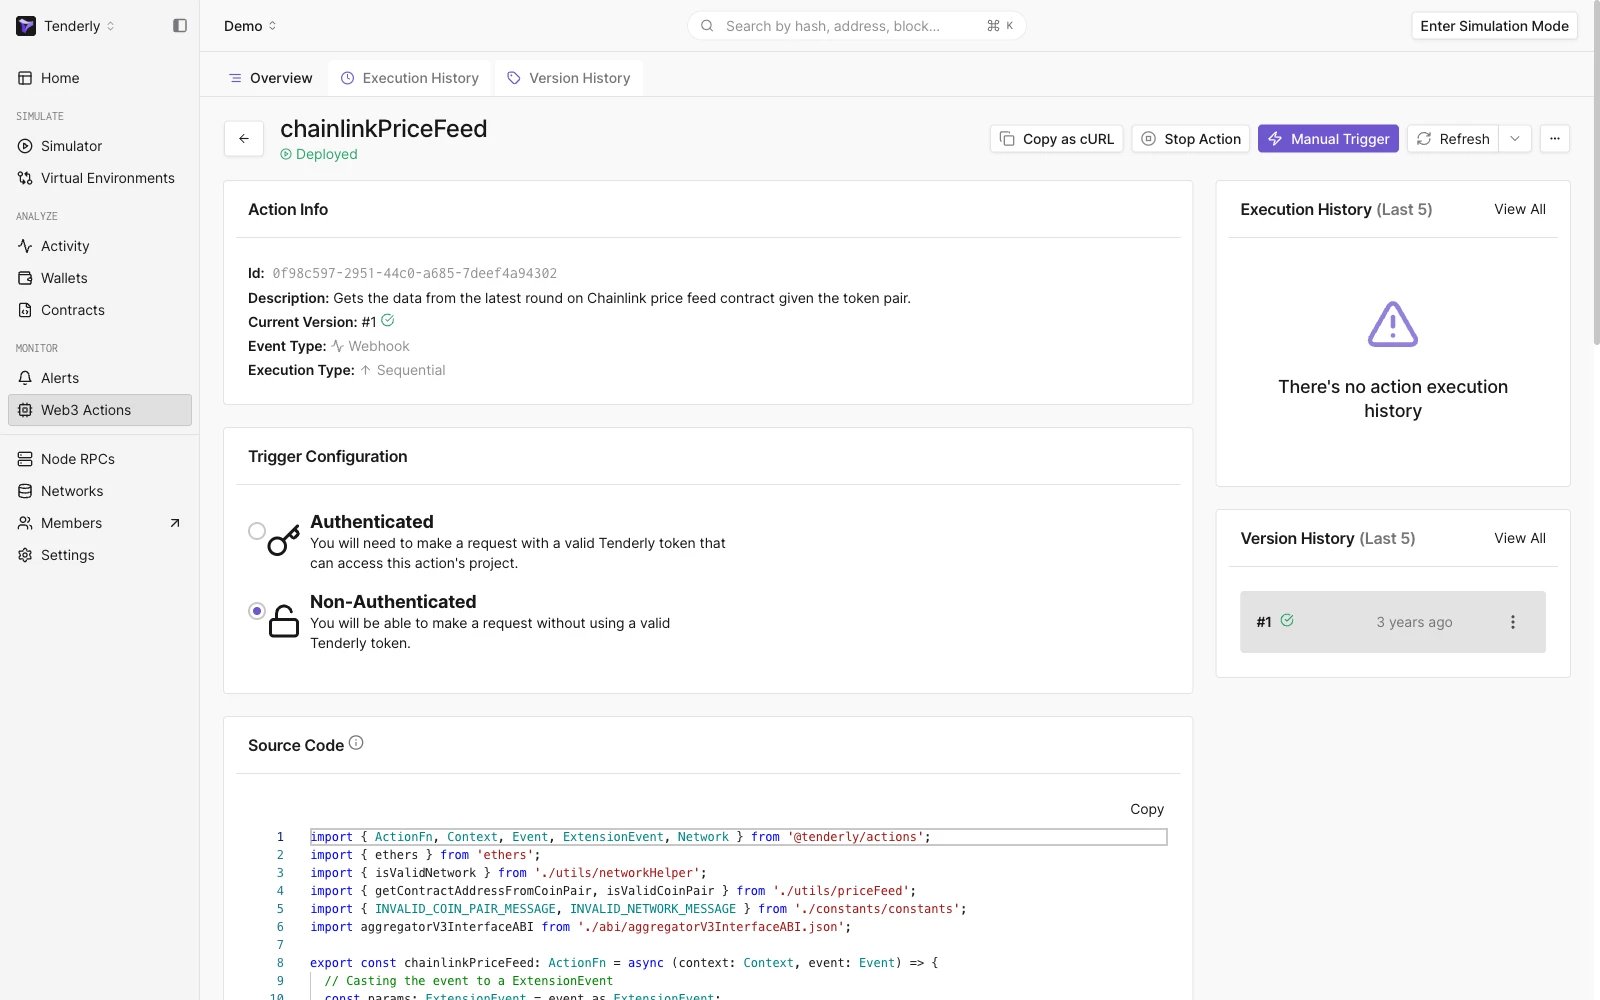
An overview of your Web3 Action
Step 6: Monitor your Web3 Action
Monitor the execution of your Web3 Actions by clicking the Execution History tag from the top page menu. This is where you’ll see a log entry for every execution instance of your Web3 Action.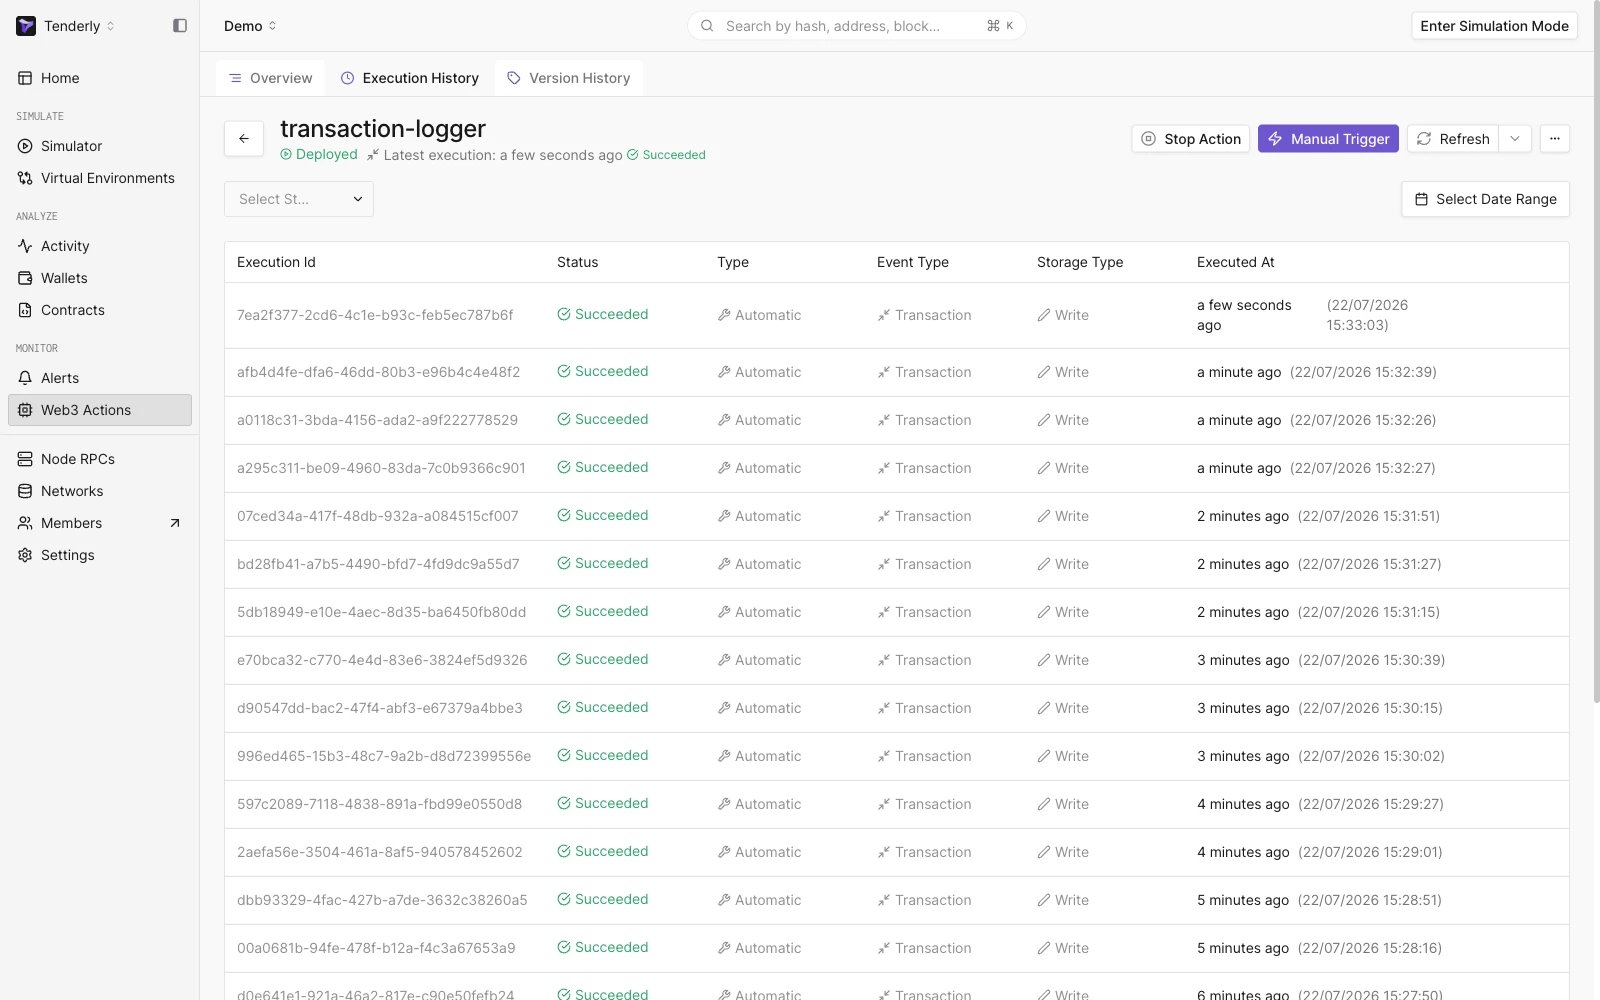
Monitoring the execution of your Web3 Action
Deploy and manage Web3 Actions programmatically
If you prefer to specify action triggers through YAML configuration and have your action functions in your project’s code-base, follow the Quickstart on building and deploying a Web3 Action using CLI.Transaction-triggered Web3 Actions can be built only using the CLI approach.
Resources
- Learn more about Web3 Actions Functions, Events, and Triggers.
- Learn more about Context, Storage, and Secrets available to action functions.
- Learn more about Project Structure and tenderly.yaml configuration.