Adding a wallet to your project
Navigate to the Wallets section from the side menu and click on Add Wallet.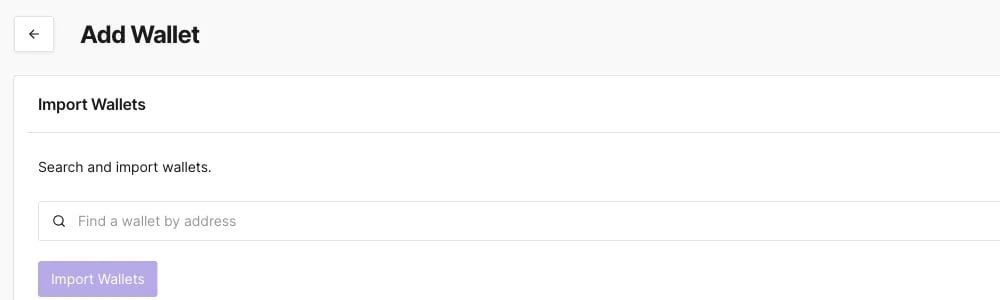
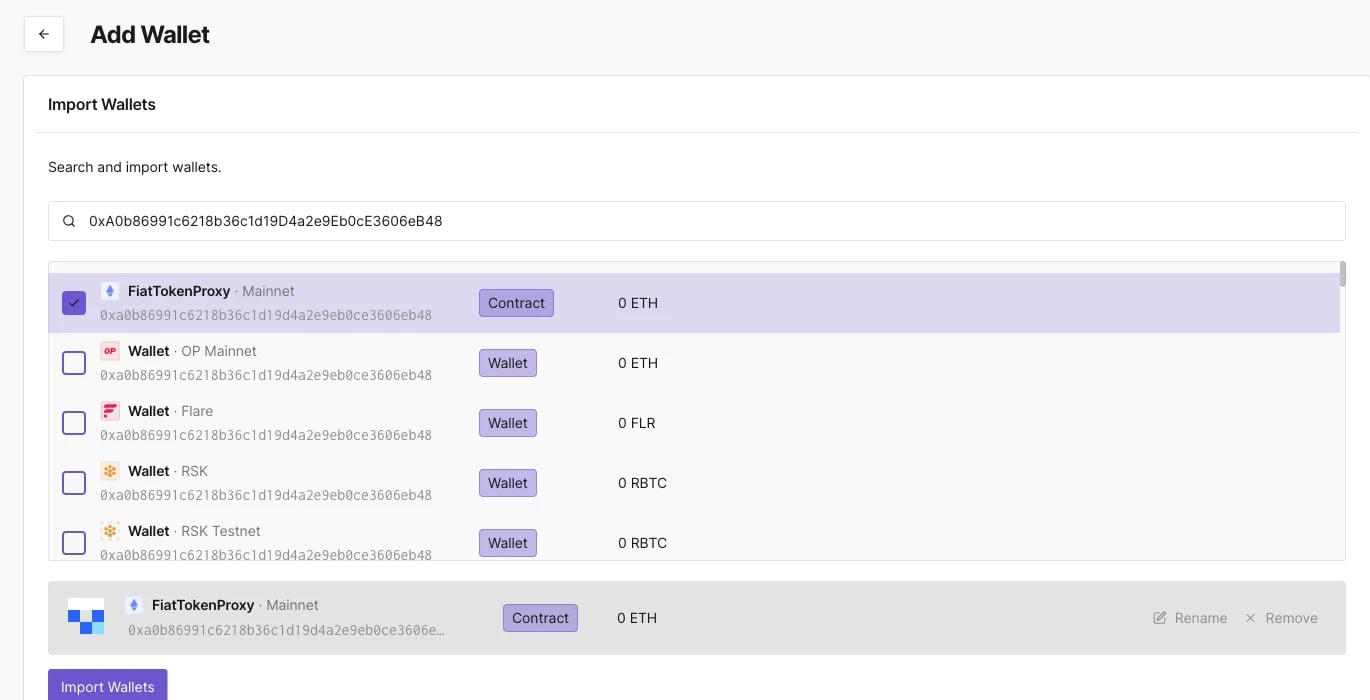
Looking up any wallet
The Dashboard’s search functionality allows you to find any wallet on any of the 104 supported networks, whether or not it’s in one of your projects.- Enter the wallet’s address in the top menu search bar.
- Select the wallet from the search results.
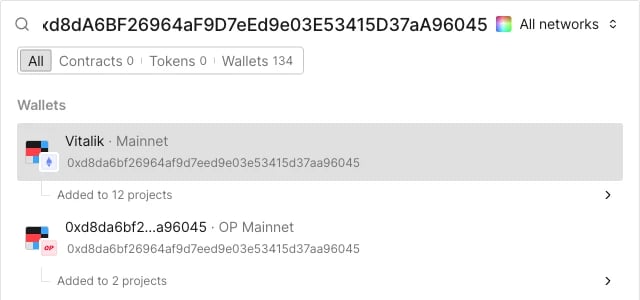
/wallet/<network>/<address> URL instead of a project path. The header gains an Add to Project button alongside Share, Create Alert, Impersonate, and Simulate, and the ... menu only has View in Public Explorer. The Transactions tab also drops the Success/Failed checkboxes and Columns/Filters controls, using simple numbered pagination instead of the project view’s continuous list.
Wallet details
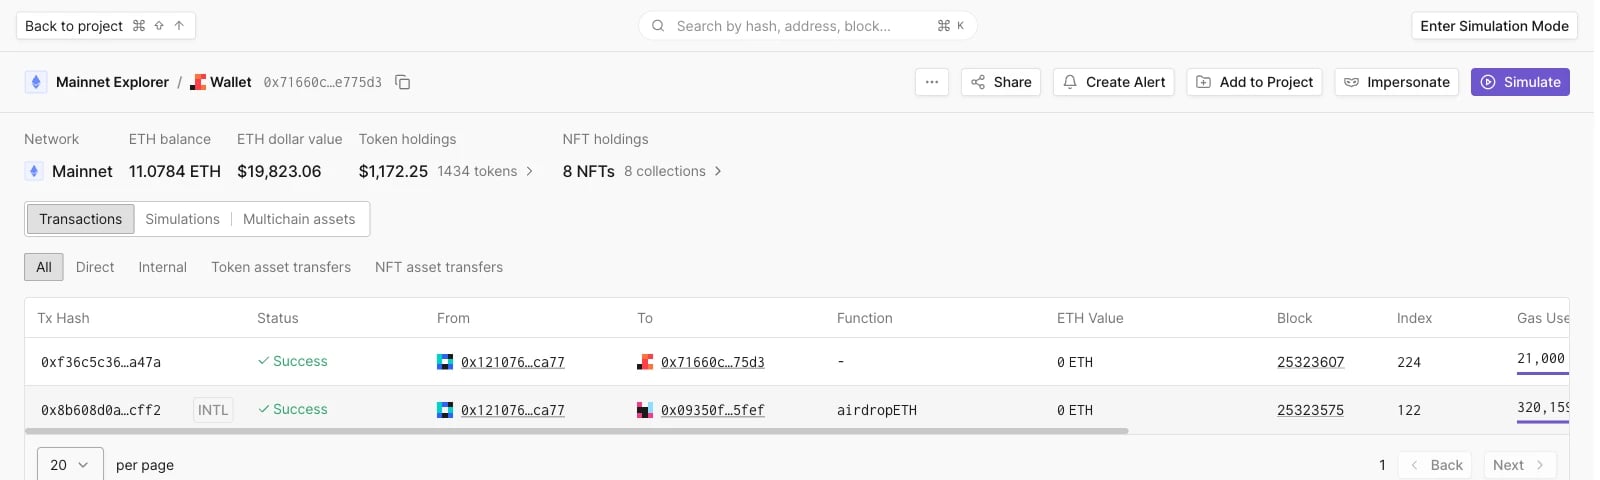
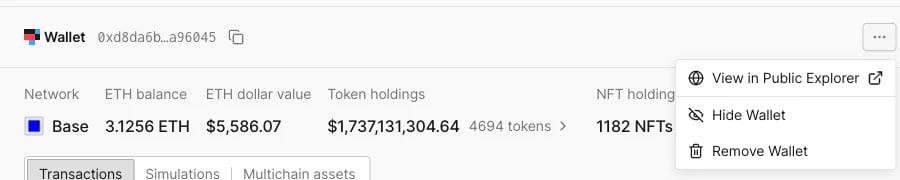
Opening a wallet, whether from your project’s Wallets page or from a lookup, shows a header info panel followed by three tabs: Transactions, Simulations, and Multichain assets. The header info panel shows the network, ETH balance and dollar value, token holdings, and NFT holdings. Unlike contracts, a wallet’s info panel has no Tags field: tagging lives on the Wallets list page instead (see Adding tags to wallets below). The... menu next to the wallet address has View in Public Explorer, Hide Wallet, and Remove Wallet.
Transactions
Lists every direct and internal transaction involving the wallet, with the same filters as a contract’s transaction list: All, Direct, Internal, Token asset transfers, and NFT asset transfers, plus Columns and Filters controls.Simulations
Shows the wallet’s simulated transaction history, and lets you launch a new simulation directly against it.Multichain assets
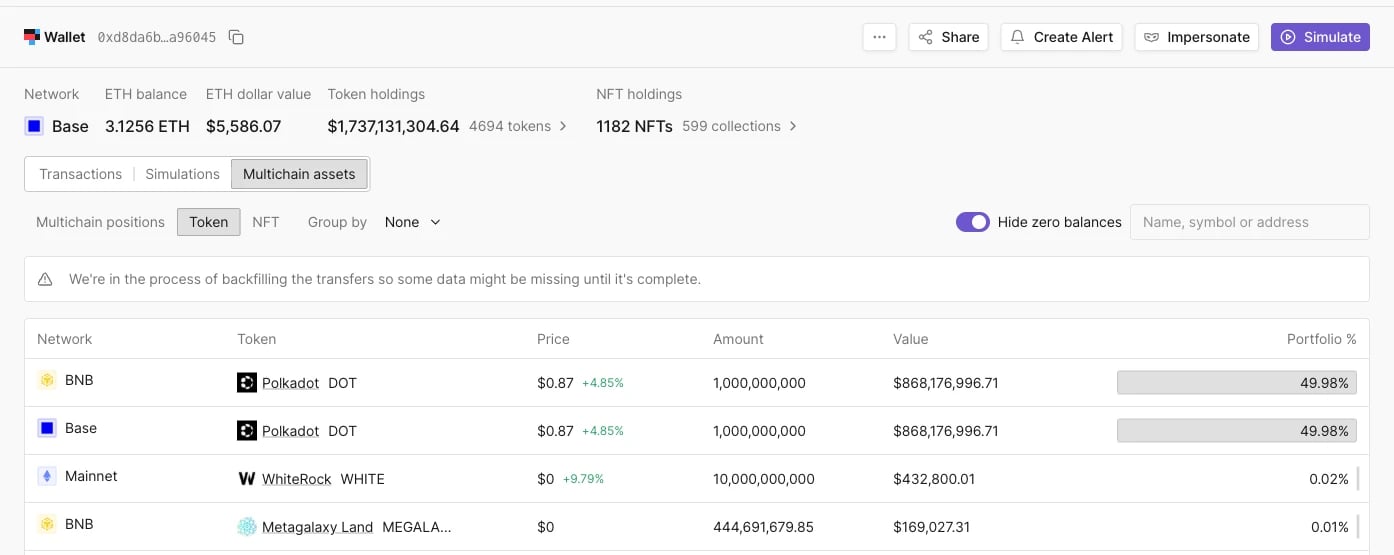
Shows the wallet’s holdings across networks over three sub-tabs: Multichain positions, Token, and NFT. Multichain positions is wallet-specific: a net-worth bar broken down by DeFi protocol (for example Uniswap v3 or Aave v3), with each protocol expandable to its individual positions.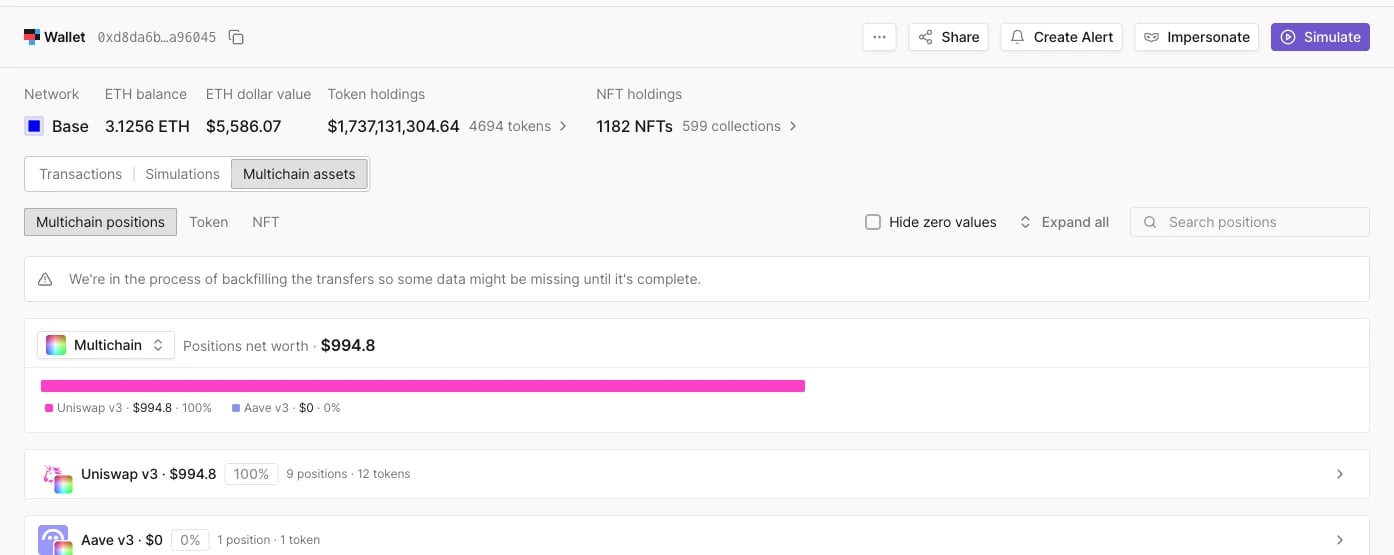
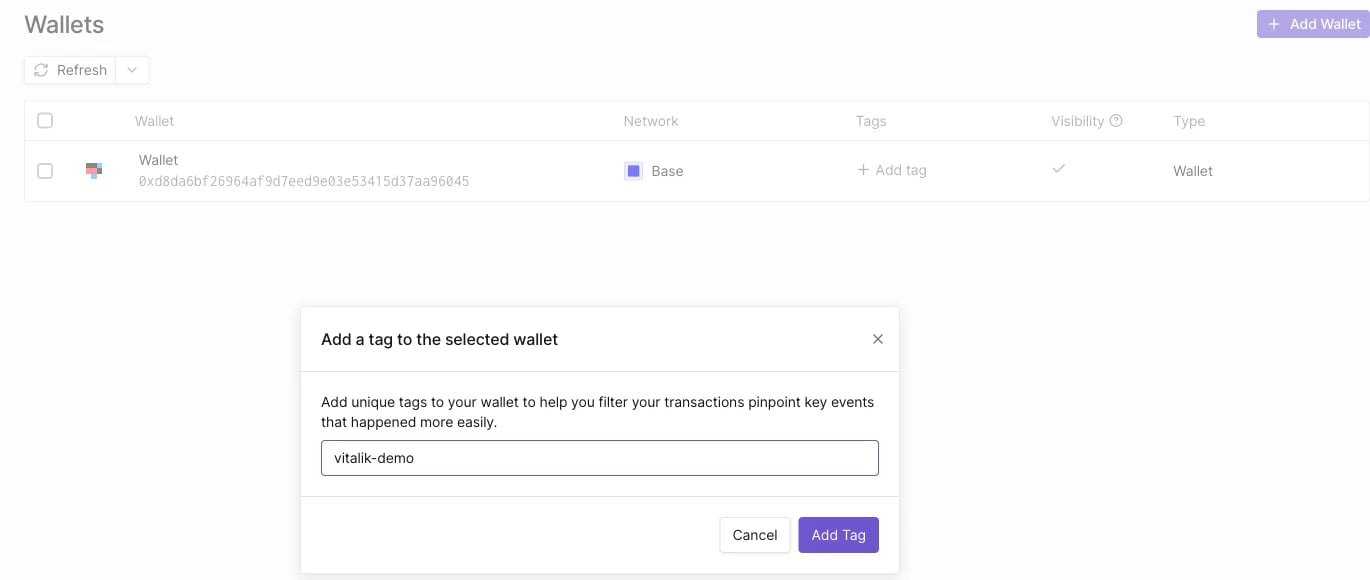
Adding tags to wallets
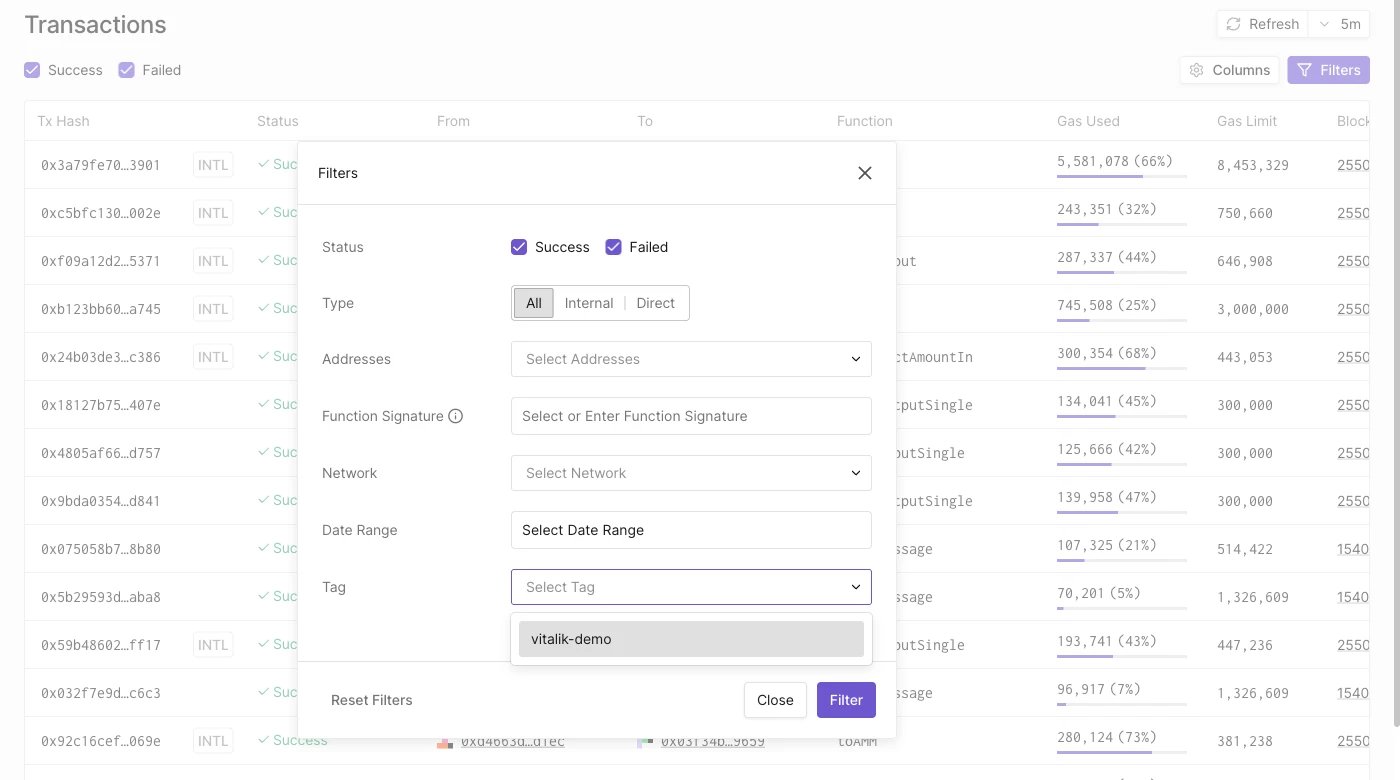
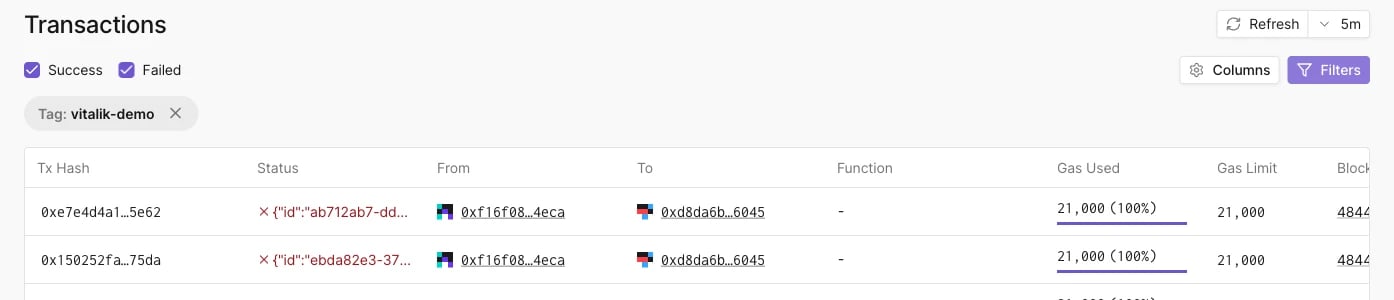
When working with multiple wallets, you need a way to keep them organized. On the Wallets list page, click Add tag on a wallet’s row to open the tagging dialog.