

Web3 Actions
This type of alert destination means your action will be used as a destination for the alert.example.yaml
Webhooks
This alert destination allows for execution of your webhook when an alert is triggered. Your webhook will receive a signed payload, containing the transaction object that triggered the alert.After adding a Webhook as an alert destination, you can use it as destination for other alerts.
How to use Webhooks for Alerting
The webhook requirements:
- It must be reachable at the webhook URL: when you add the webhook, Tenderly sends a GET request to verify reachability. Any HTTP response passes verification; verification fails only on transport errors (DNS, TCP, TLS, or no response within 2 seconds).
- It must expose a POST method with the same webhook URI. The webhook will receive a payload described below.
- Deliveries are considered failed unless the webhook responds with a
2xxstatus within 10 seconds. - Using HTTPS for the webhook URL is strongly recommended.
- Success - indicates that the webhook was successfully executed and the event was delivered to the specified URL
- Failed - indicates that the webhook was unable to be executed due to an error, such as a connectivity issue, a problem with the URL, or something else (check the response content to see what caused the error or contact our support)
- Pending - indicates that the webhook is in the process of being executed and has not yet been completed
- Retry - indicates that the webhook execution failed and will be retried; an event is delivered in at most 5 total attempts before the status settles at Success or Failed
- Skipped - indicates that the webhook was not executed because it was disabled
Webhook payload
The webhook will receive the payload representing the alerting event. The payload consists of four fields:- id:
String- ID unique across all delivered alert events (UUID). - event_type:
TEST|ALERT- the type of webhook event type. - alert_id:
String- the ID of the alert whose rule triggered this event. Empty forTESTevents. - transaction:
Object- an object representing an un-decoded transaction that triggered the alert and the webhook execution.
TEST alert event type.
Use the
id field to ensure your webhook processes each alert event exactly once, by keeping
track of processed IDs.Securing the Webhook
You can enhance security of your webhooks using the signature validation method. This way, you can verify that the request to webhook originates from Tenderly, before proceeding with the execution. Thex-tenderly-signature header contains a cryptographic signature: an HMAC-SHA256 digest computed with the signing secret as the key, over the request payload followed by the timestamp. The timestamp is delivered in the Date HTTP header of the request.
Step 1. Obtain the Secret Signing Secret.
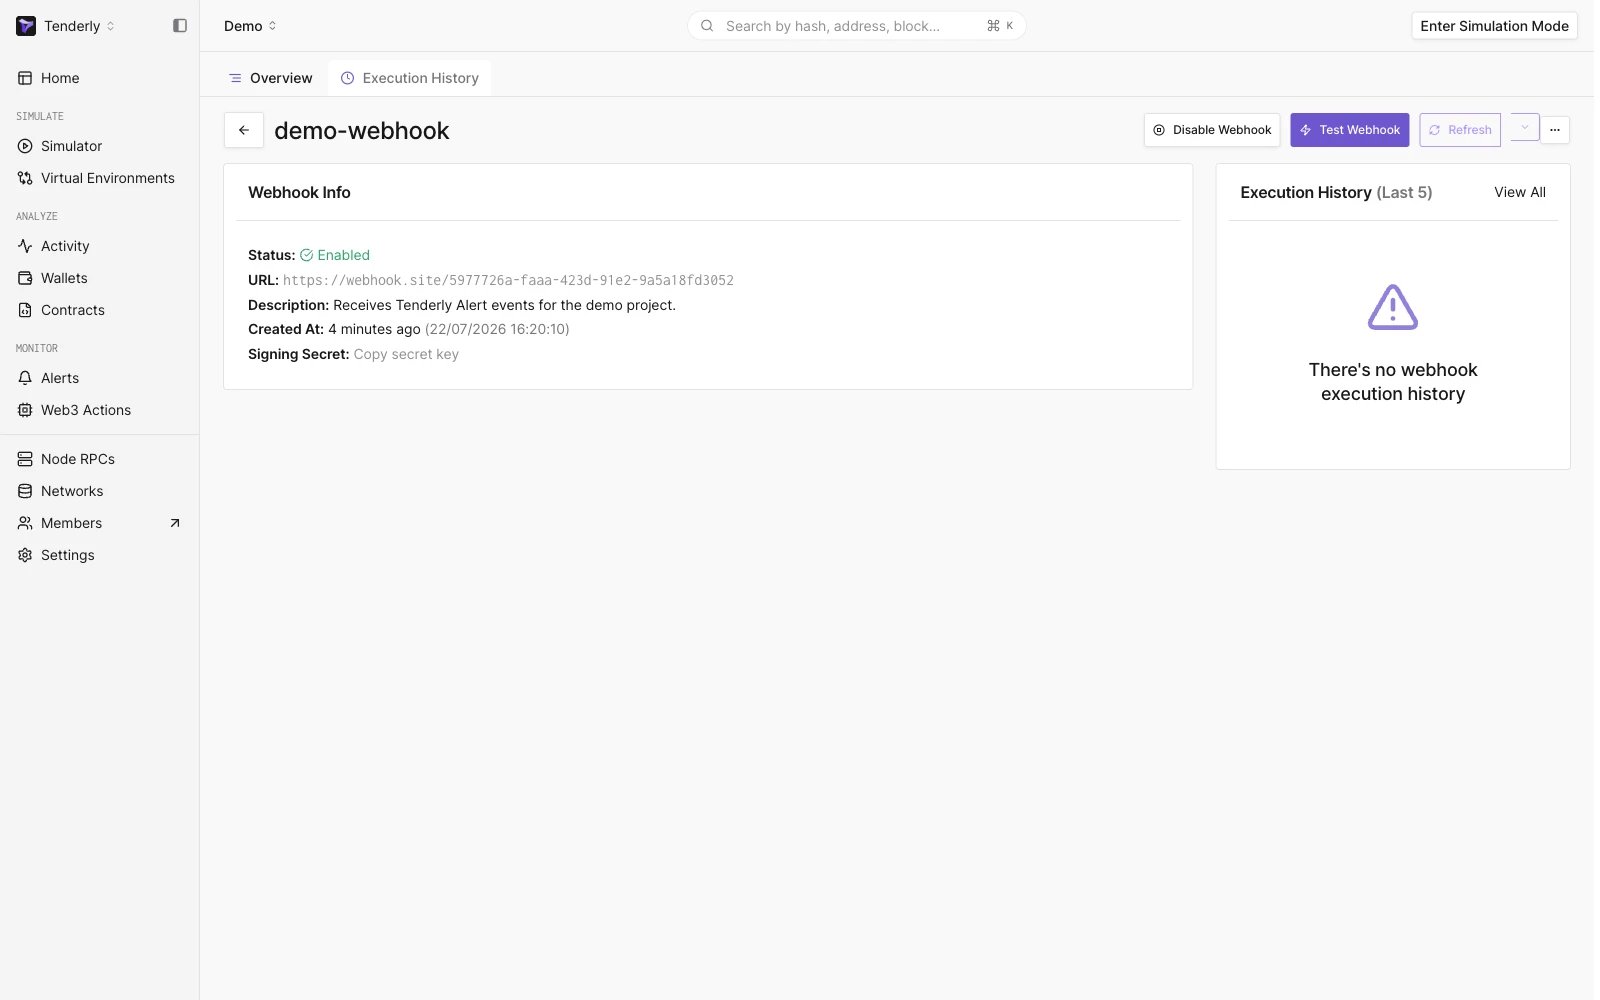
Copying secret signing key
- the entire webhook request payload,
- the timestamp (from the
Dateheader of the request).
x-tenderly-signature header.
- example.go
- example.js
- example.py
example.go
Debugging Webhook executions
To support debugging of webhook malfunctions, you can manually sendTEST events, based on existing transactions from any network
Step 1. Click “Test Webhook” in the header of the webhook page.
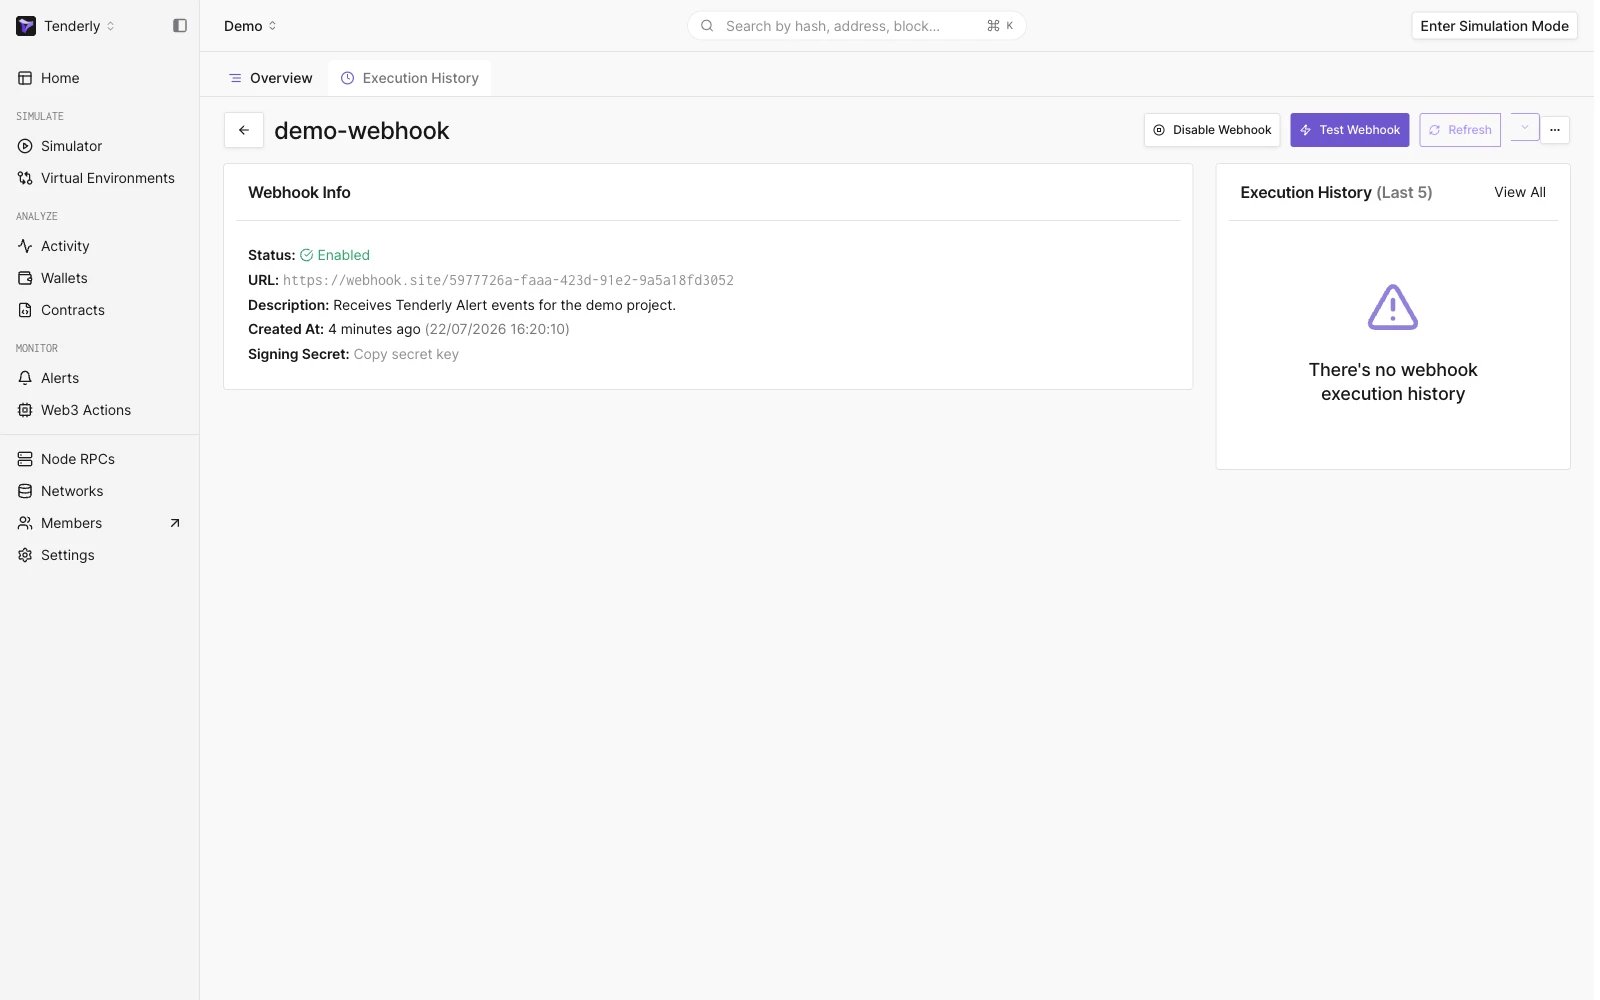
Webhook overview
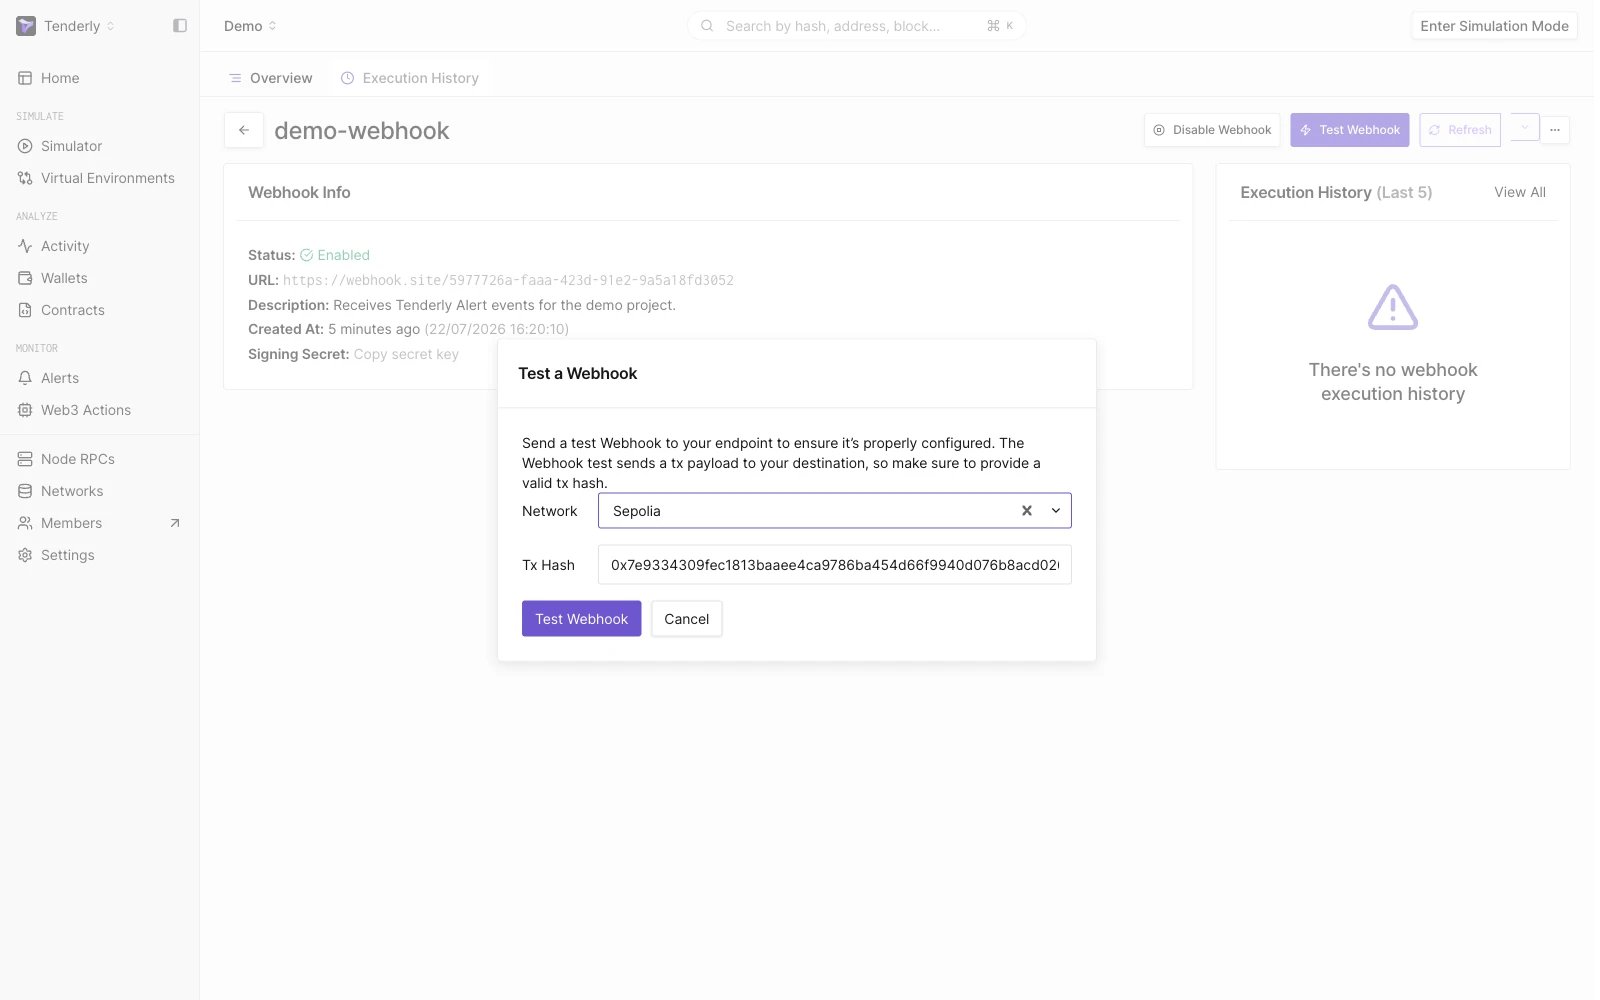
Testing webhook: paste the transaction hash
TEST. You’ll be presented with overview of that execution.
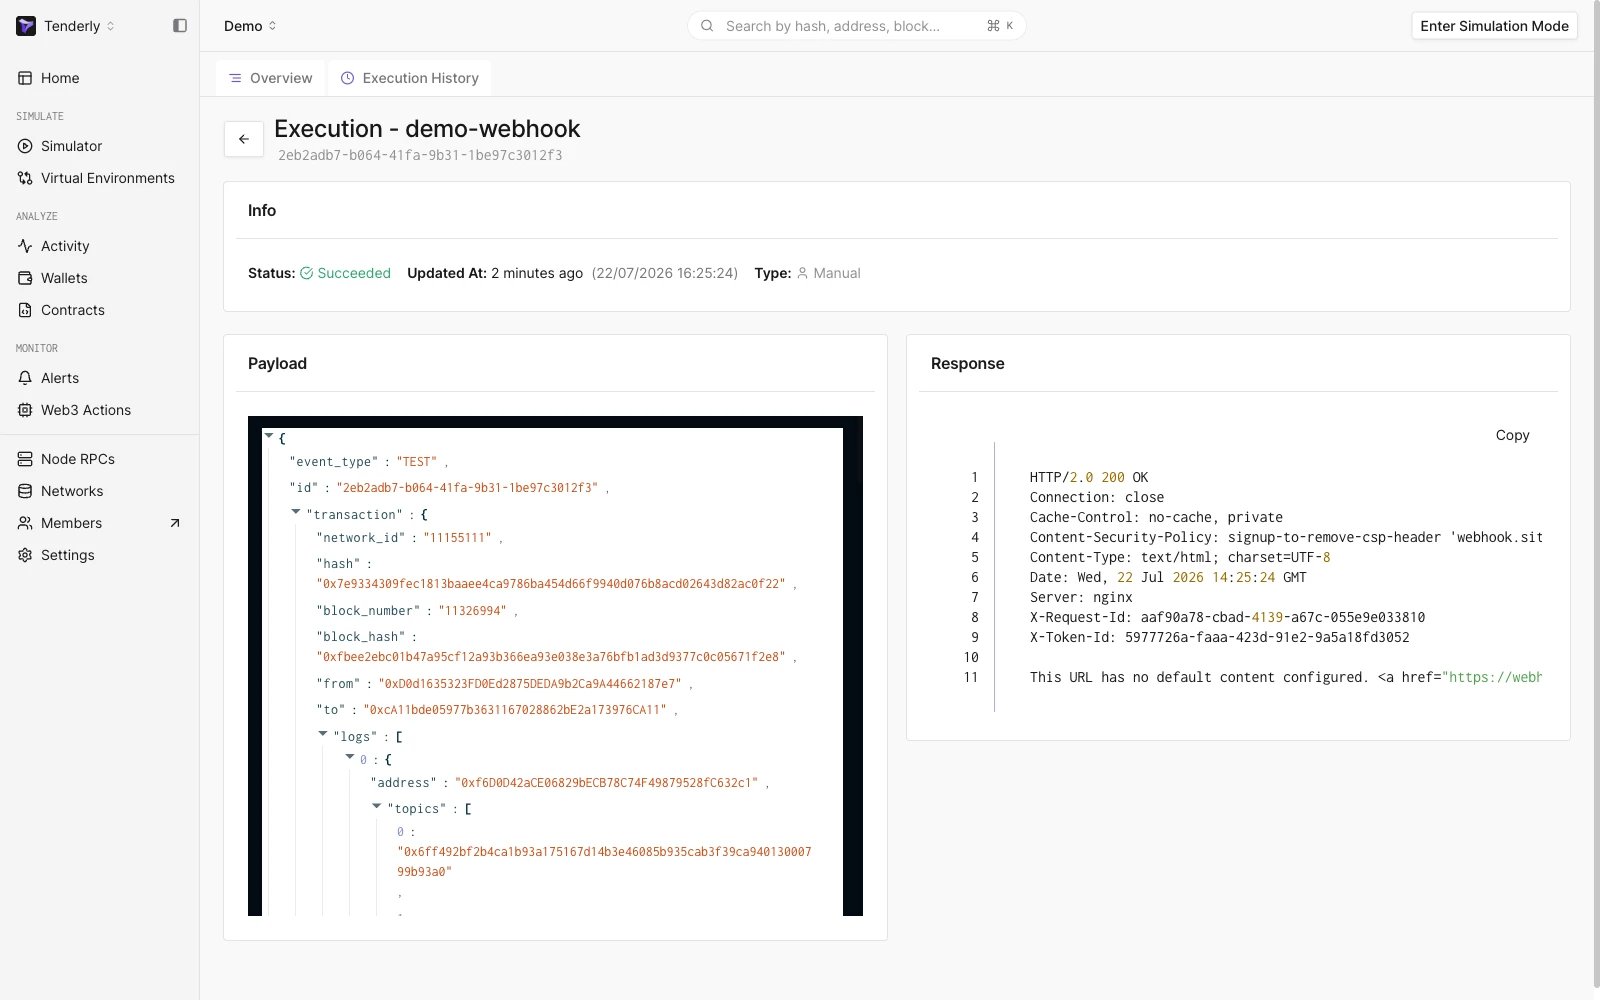
Result of a manual (test) execution of a webhook