How to add a contract to a project
- Navigate to Contracts in the side menu.
- Click Add Contract.
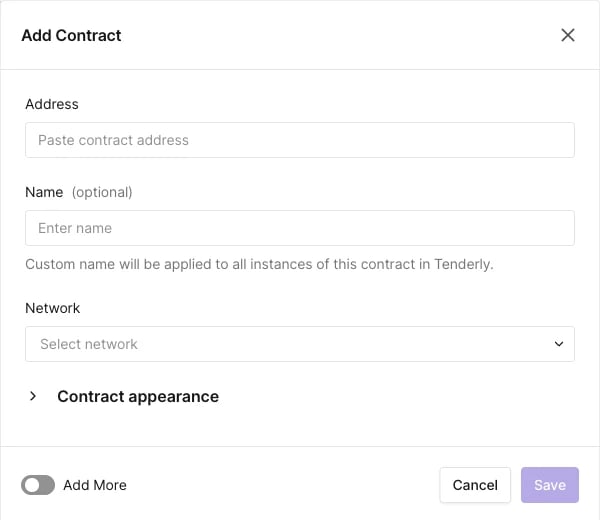
- Enter the contract address, select its deployment network, assign a name, and click Add Contract.
- Uniswap Router:
0x1cf9cbe70a84137c696f98587a9b06f7fa2b71b4 - veCurveVault proxy:
0xc5bddf9843308380375a611c18b50fb9341f502a
Looking up any verified contract
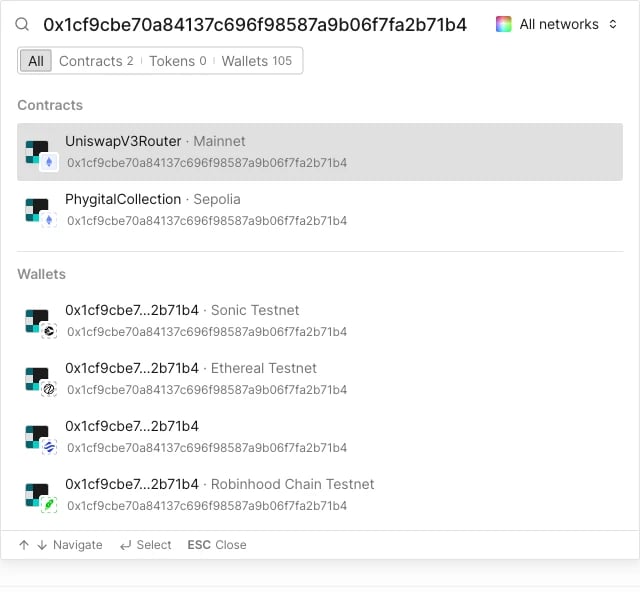
The Dashboard’s search functionality allows you to locate any verified contract deployed on any of the 98 supported networks, whether or not it’s in one of your projects.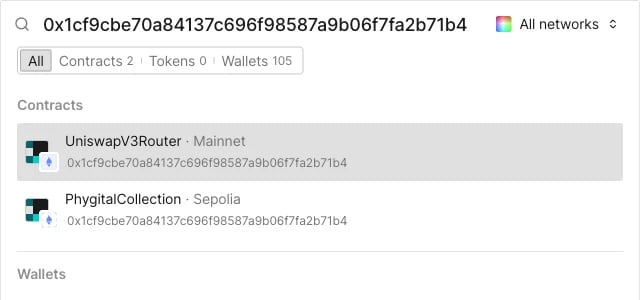
- Paste the contract’s address or name in the top menu search bar.
- Select the contract from the search results.
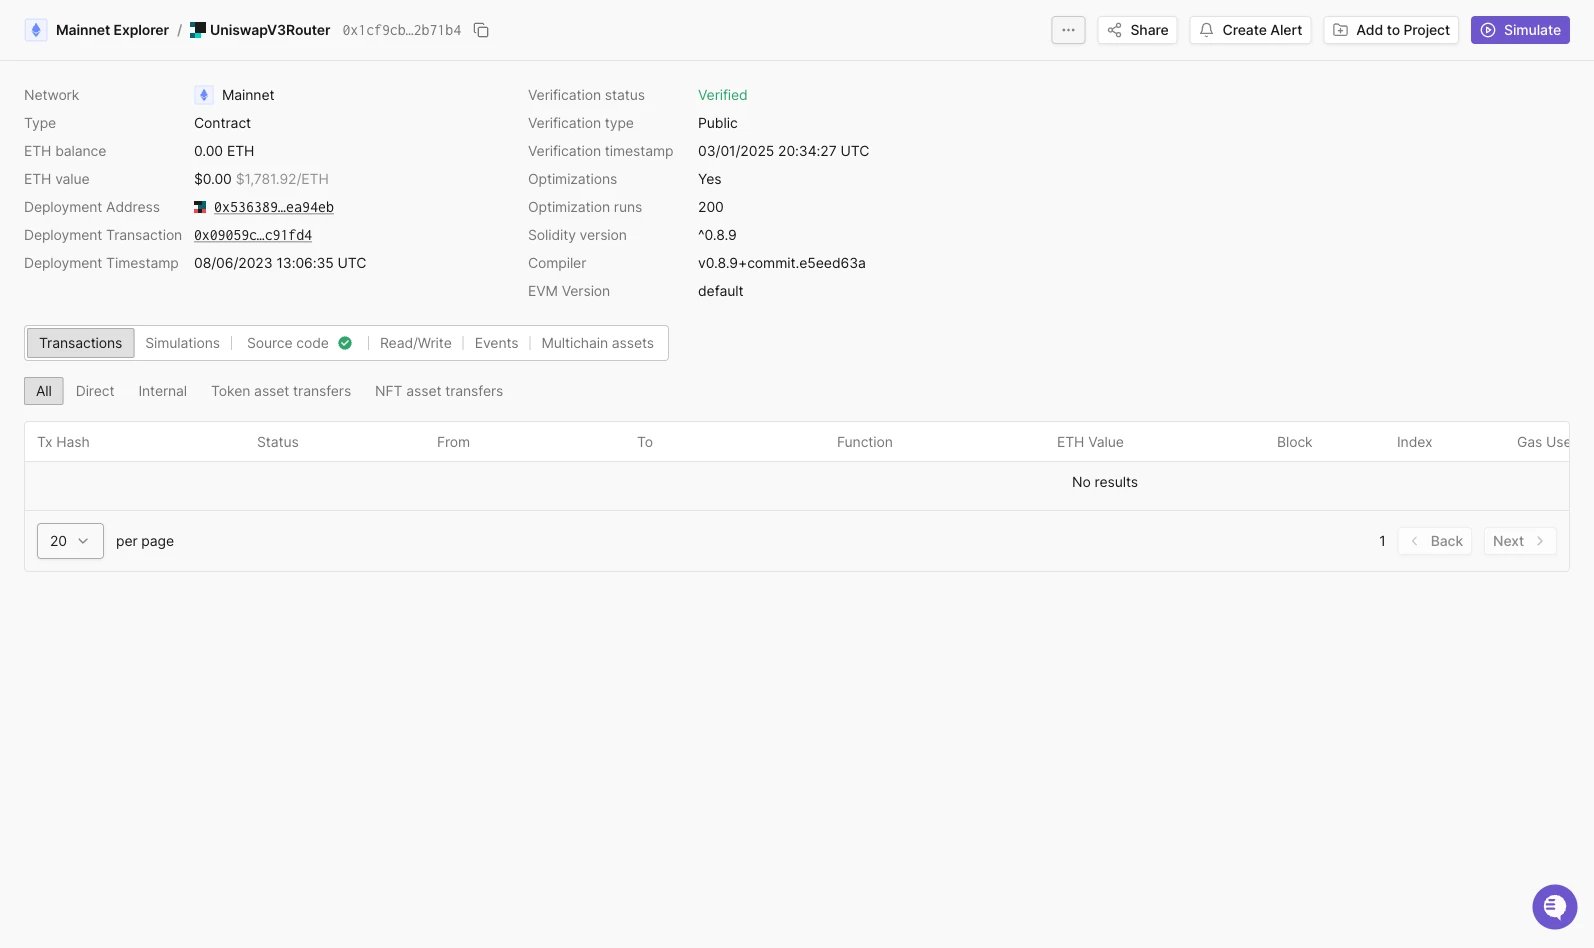
/contract/<network>/<address> URL instead of a project path. A handful of project-only elements are missing since the contract isn’t in a project yet: there’s no Tags field, the ... menu only has View in Public Explorer, and the header shows Add to Project instead of Convert to Proxy.
Contract details
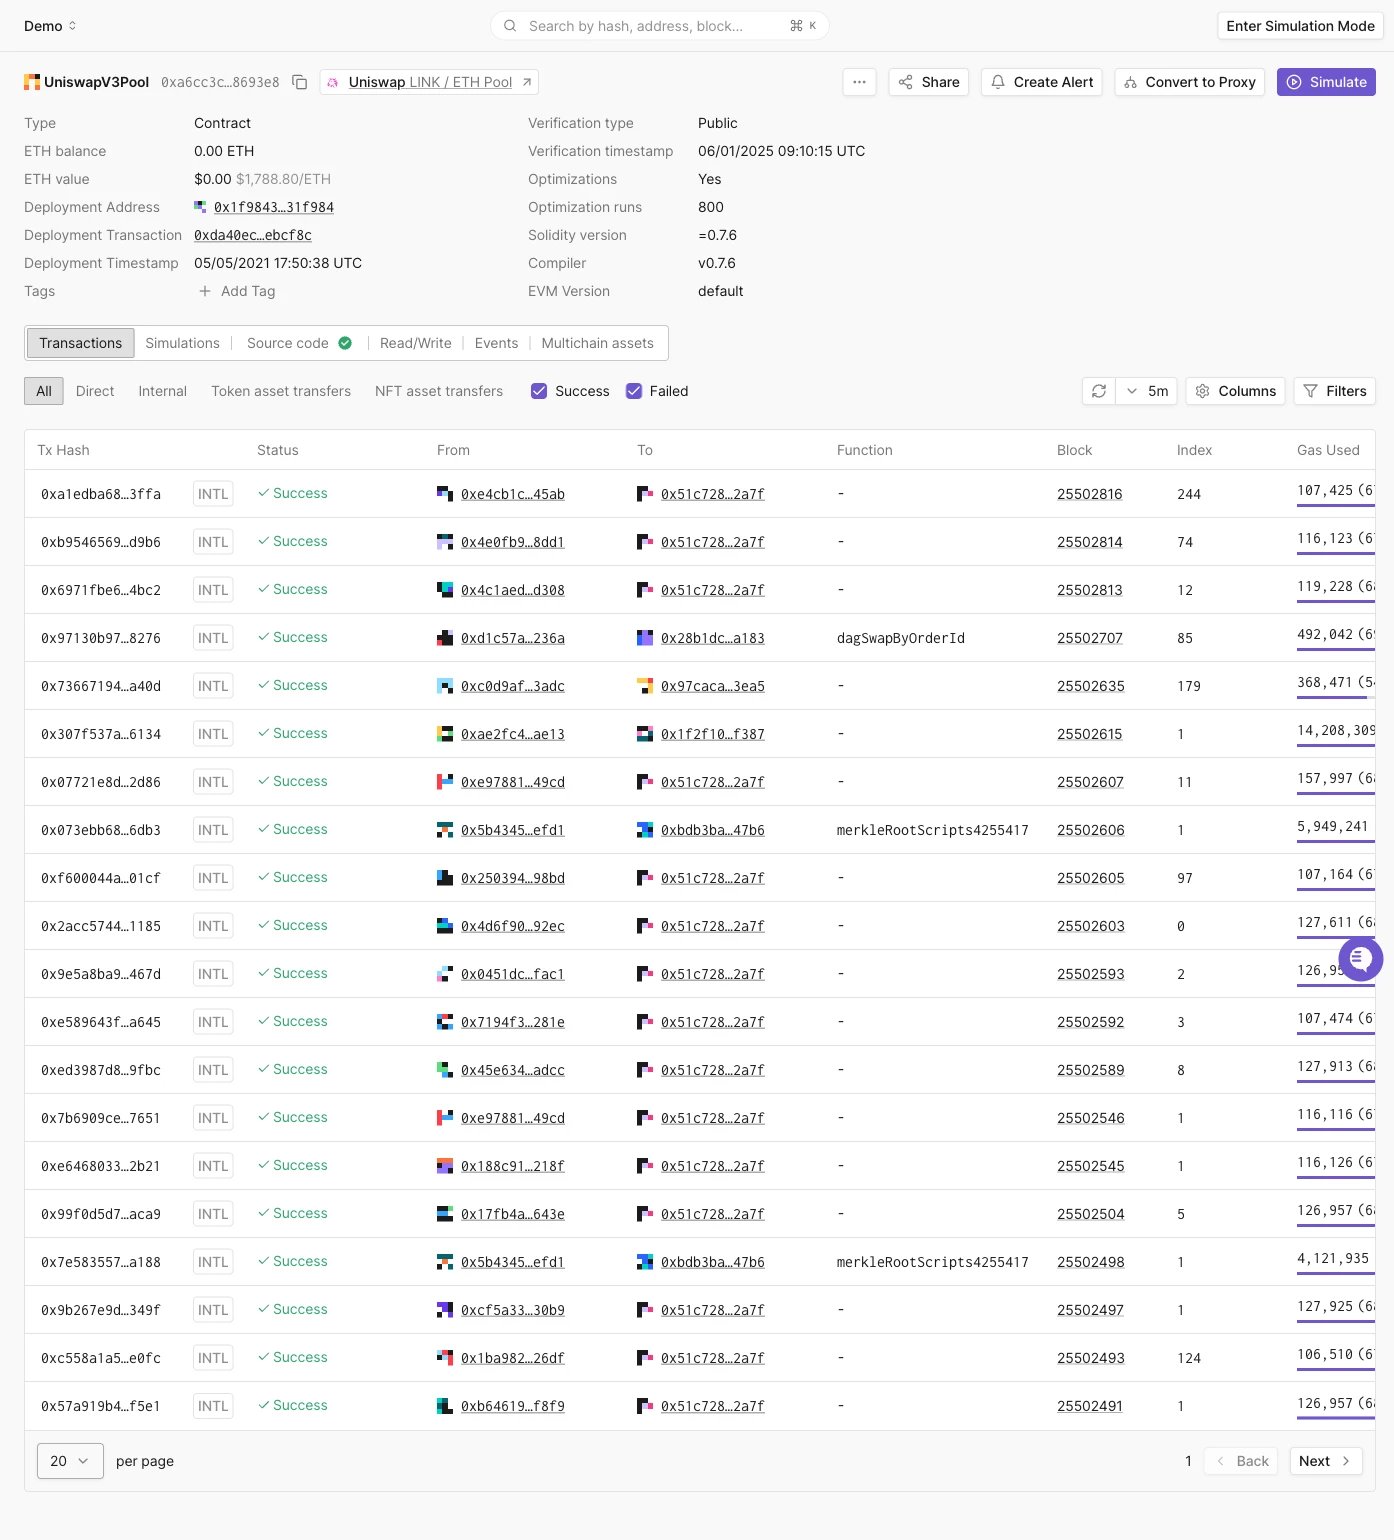
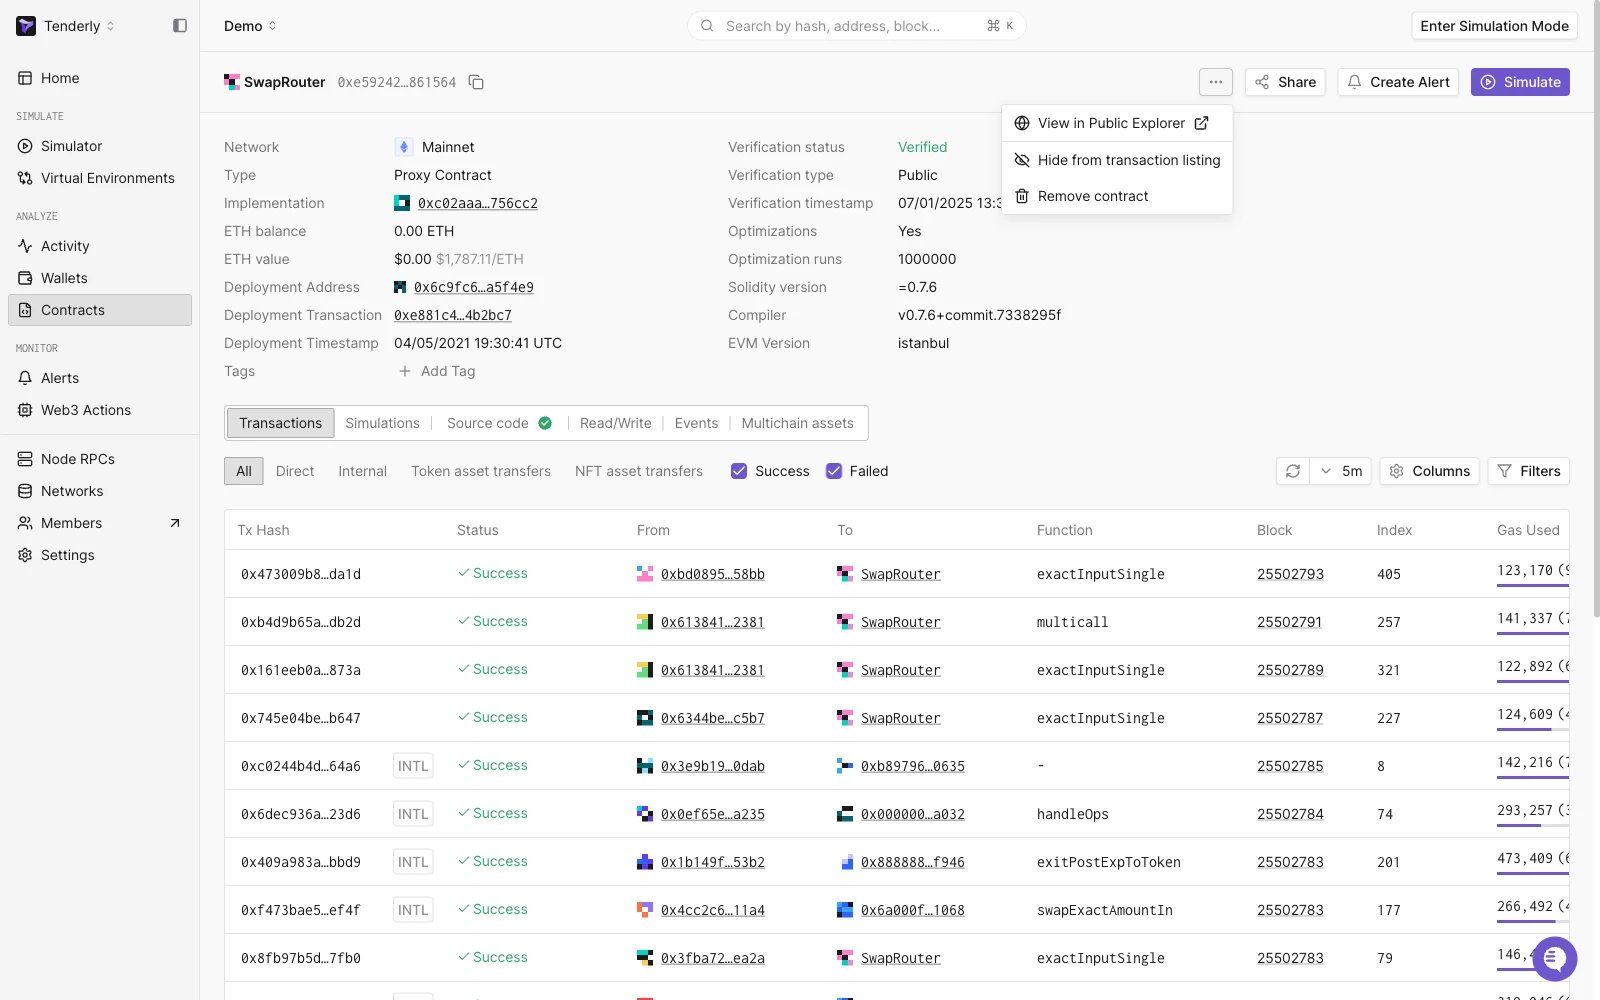
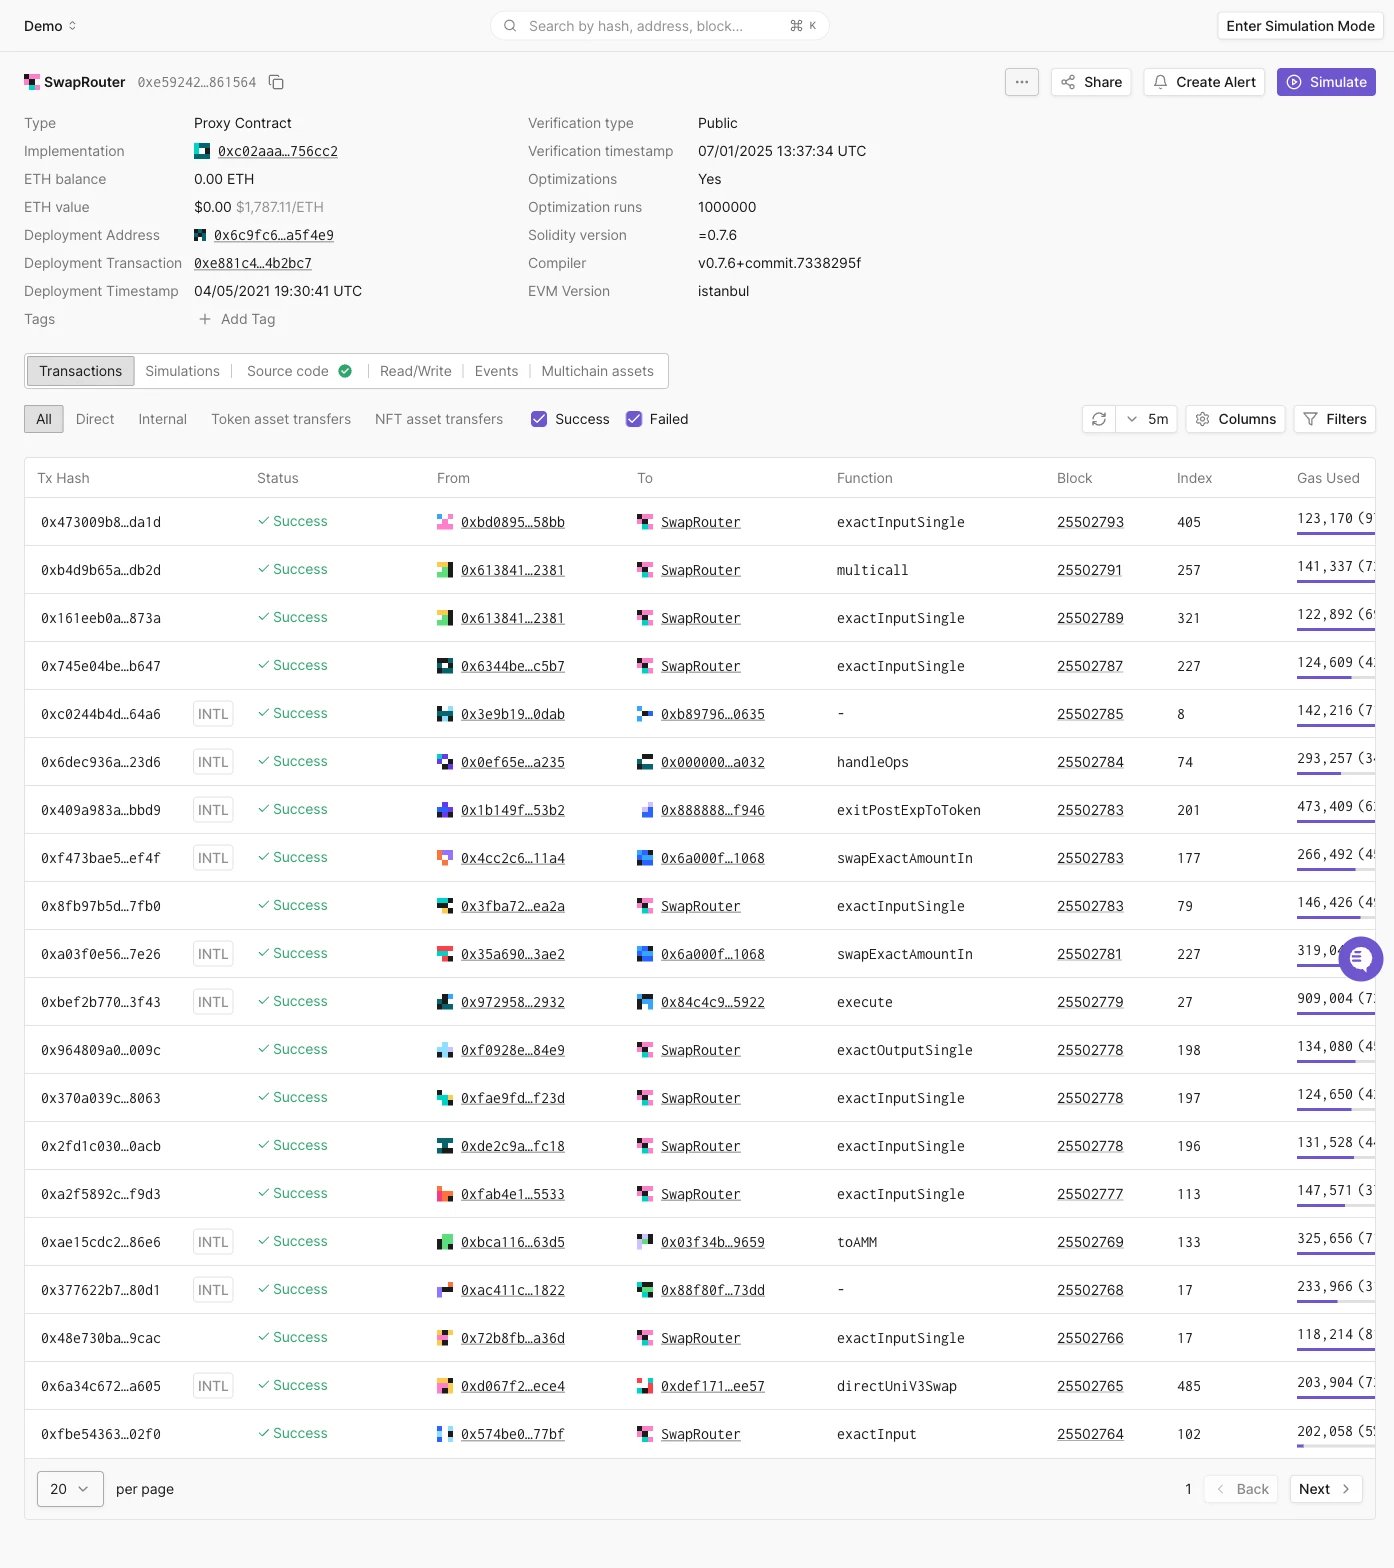
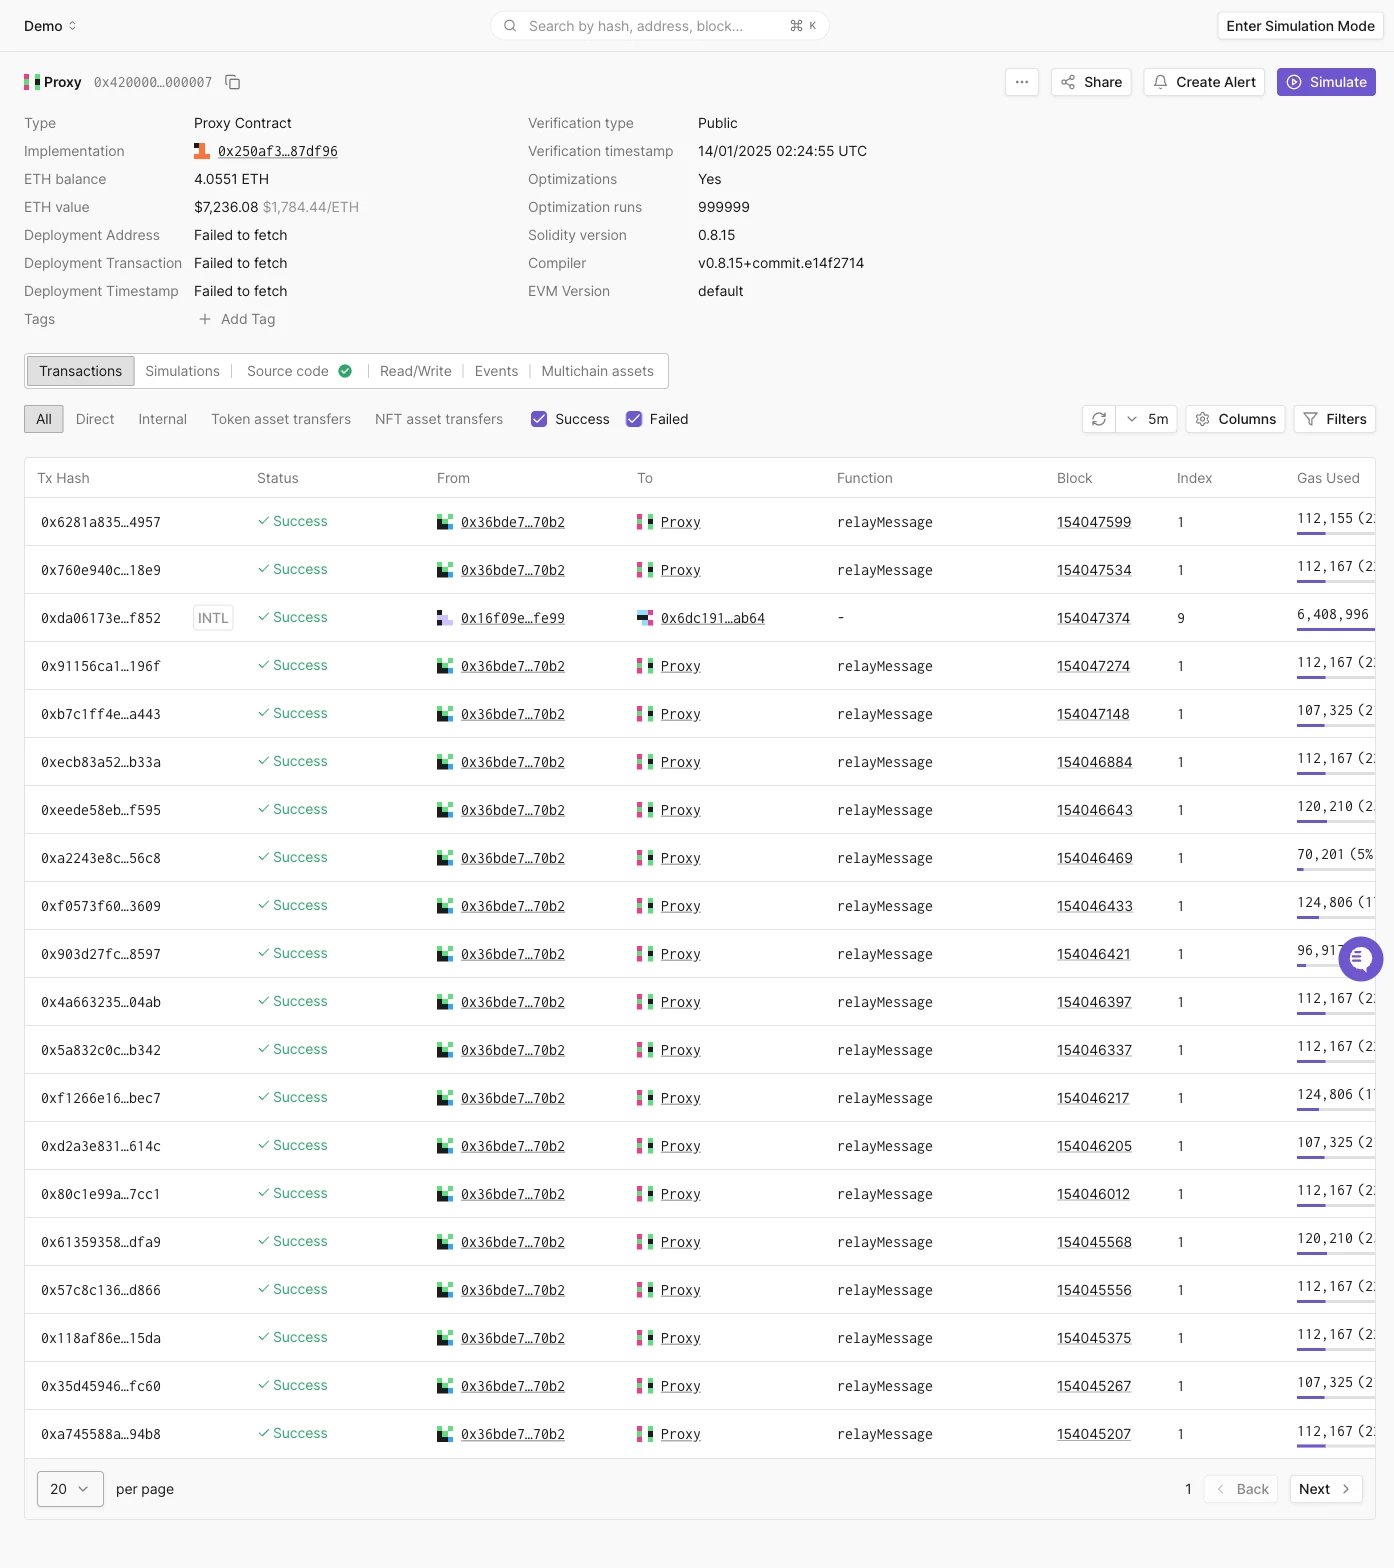
Opening a contract, whether from your project’s Contracts page or from a lookup, shows a header info panel followed by six tabs: Transactions, Simulations, Source code, Read/Write, Events, and Multichain assets. The header info panel shows the network, contract type (Contract or Proxy Contract), ETH balance and value, deployment address and transaction, deployment timestamp, tags, verification status and type, optimizations and optimization runs, Solidity version, compiler, and EVM version. The ... menu next to the contract name has View in Public Explorer, Hide from transaction listing, and Remove contract.
Transactions
Lists every direct and internal transaction involving the contract, with the same filters as a wallet’s transaction list: All, Direct, Internal, Token asset transfers, and NFT asset transfers, plus Columns and Filters controls.
Simulations
Shows the contract’s simulated transaction history, and lets you launch a new simulation directly against the contract.Source code
Shows the verified source across six sub-tabs: Source Code, Compiler Settings, Contract ABI, Contract Creation Code, Deployed Bytecode, and Contract Source Map.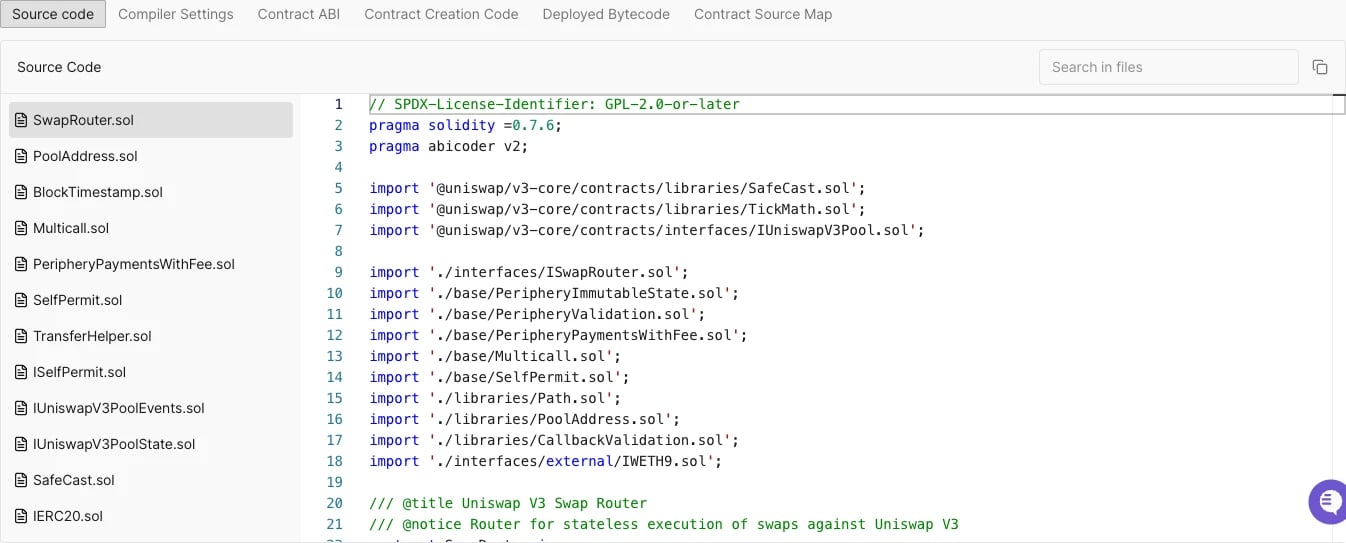
Read/Write
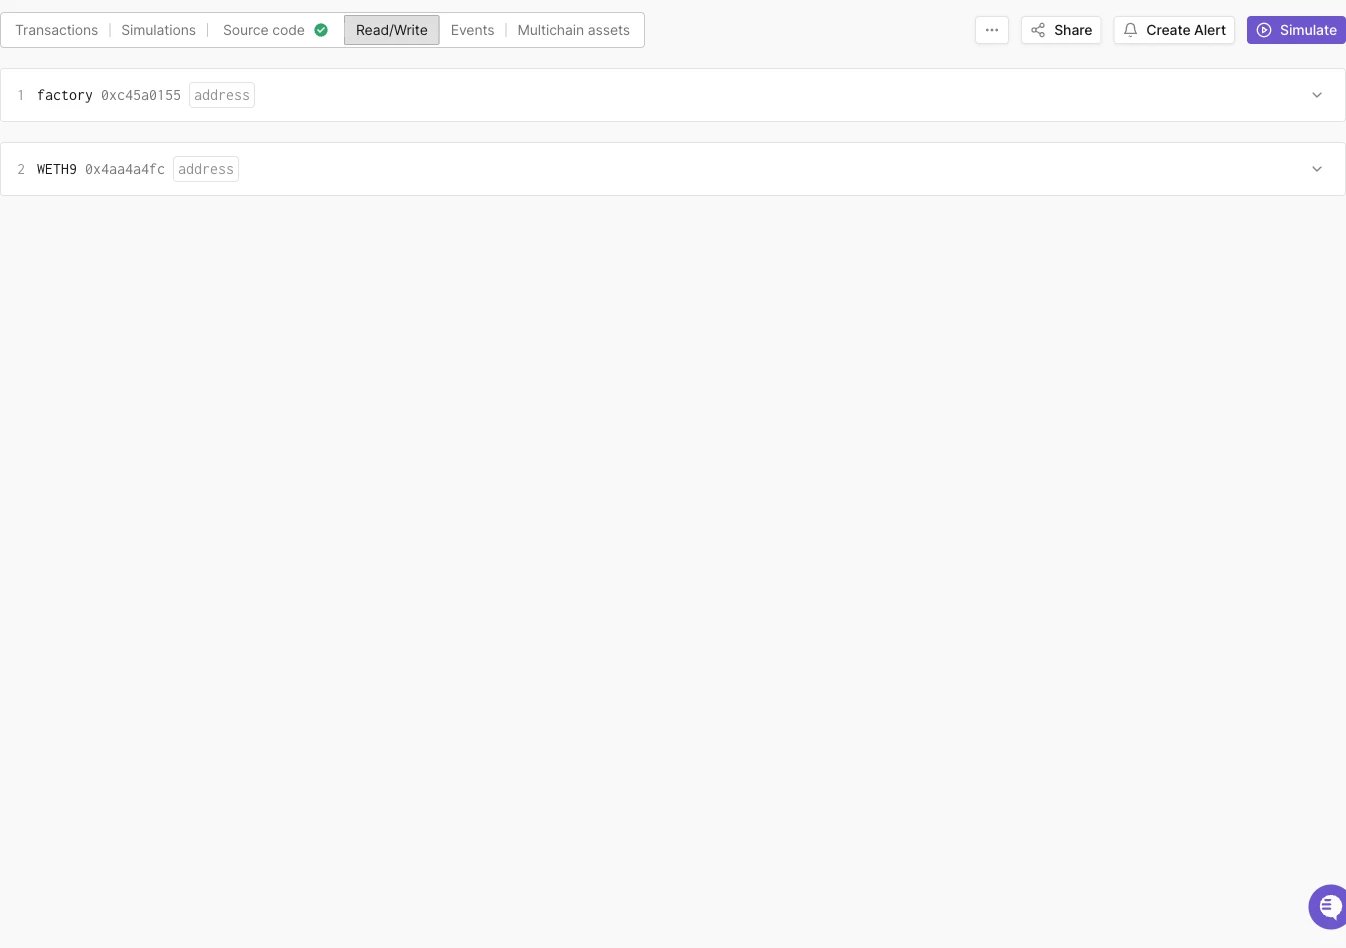
Lists every contract function, grouped into Read and Write sub-tabs, with a Connect Wallet button, a function search box, and per-function actions: run it, copy as cURL, read at a specific block, open in Simulator, share, or view in source.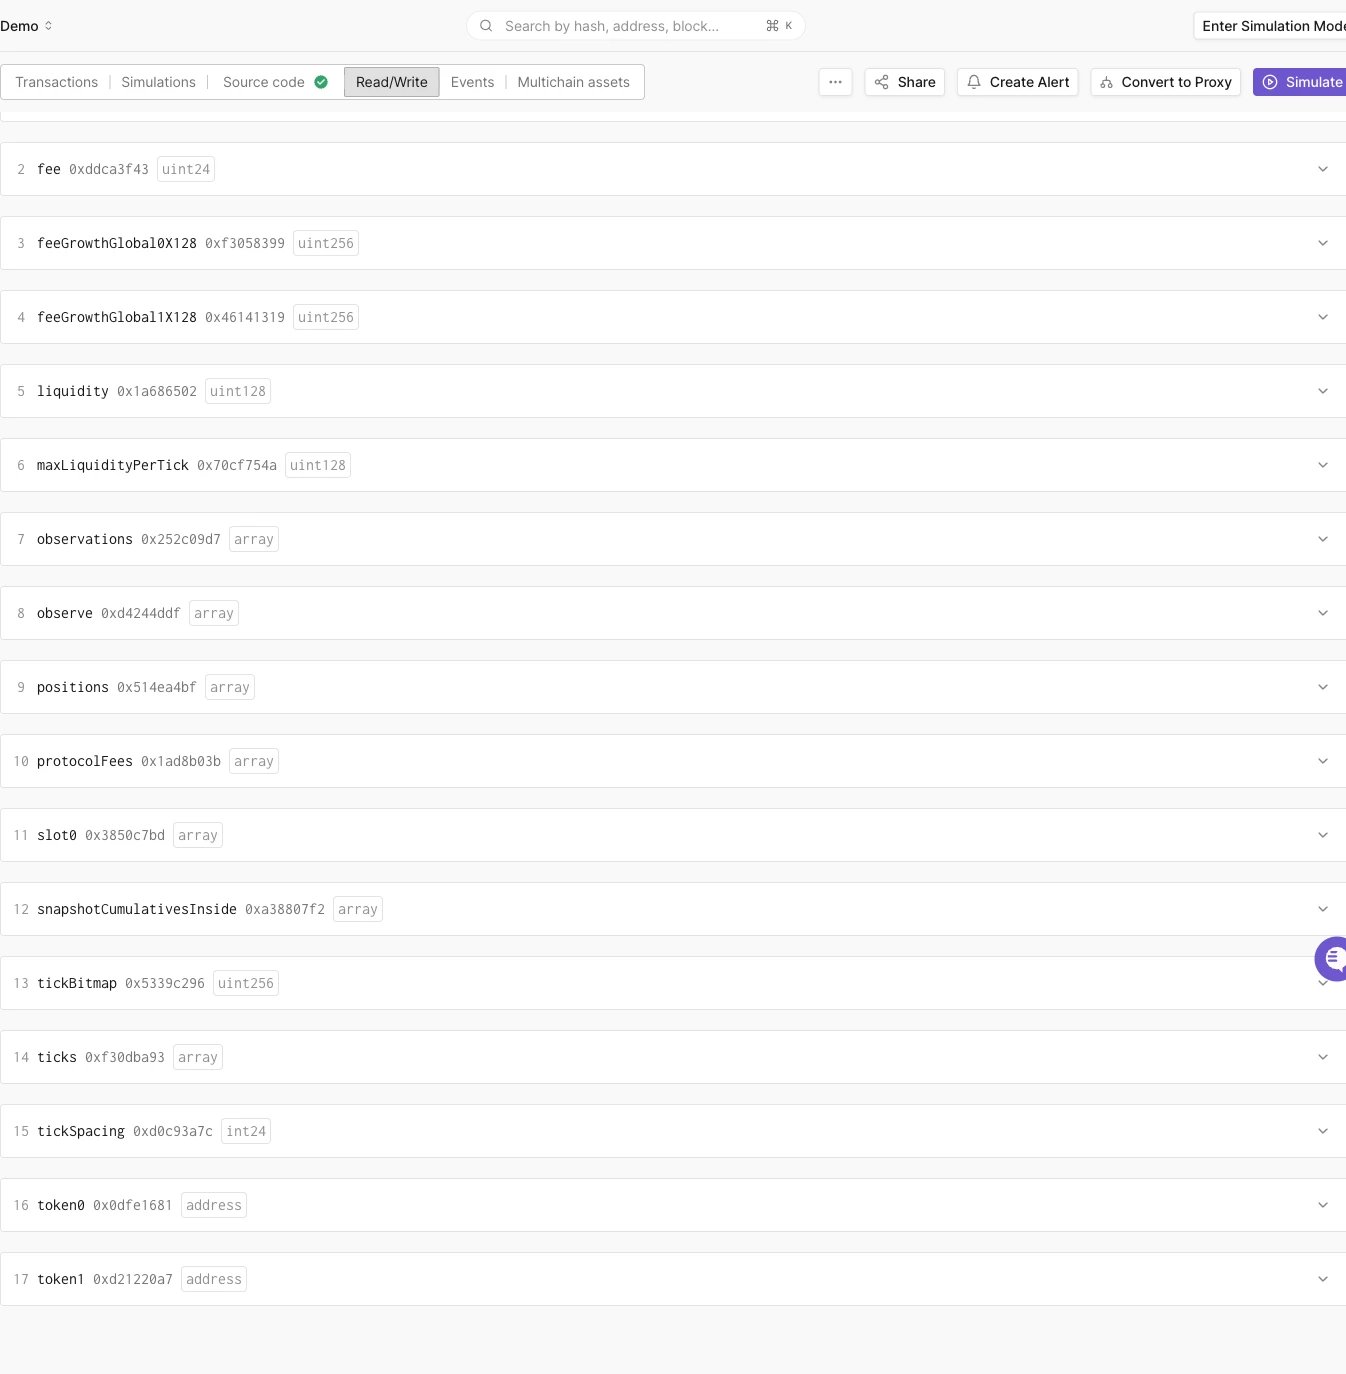
Events
Lists decoded events emitted by the contract, with an event type filter, a block range filter, a “Hide zero values” switch, and an expand-all option.Multichain assets
Shows the contract’s token and NFT balances across networks, with Token/NFT sub-tabs, a group-by option, a “Hide zero balances” switch, and a search box.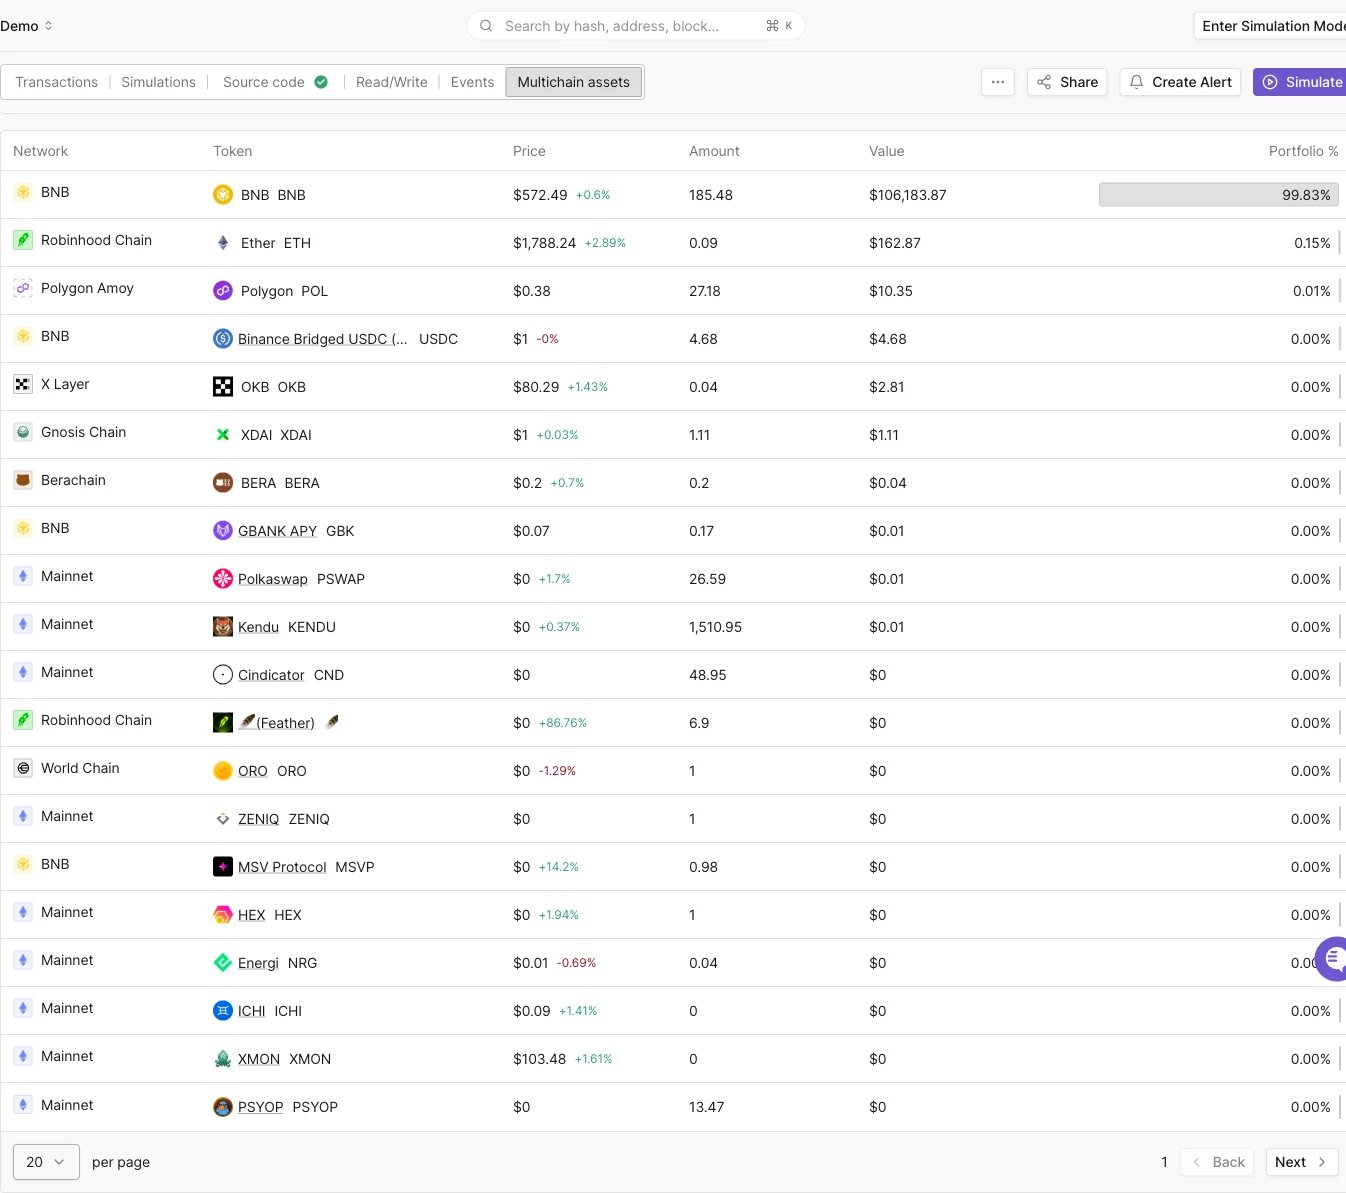
Adding tags to contracts
When working with multiple contracts, you need a way to keep them organized. This is where tags come in handy. You can add a tag to a contract by clicking the Add Tag link. Tags also enable you to monitor multiple contracts or wallets grouped under a single tag using Alerts.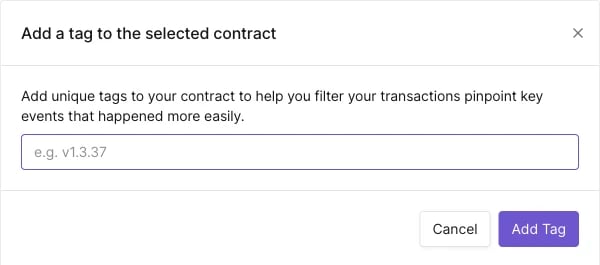
Monitoring contracts with Alerts
Click Create Alert from a contract’s page to set up an Alert for it. See the Alerting Quickstart Guide for the full setup flow and Alert Types, Targets, and Parameters for the available triggers. Alerts are evaluated only for transactions involving your project’s contracts and wallets, so the address an Alert targets must be added to the project first.Hide a contract from the transaction listing
Every contract you add to a project has its transactions included in the project-wide Transactions view. For high-traffic contracts added only as Alert targets, such as an ERC-20 token contract you monitor for transfers, this can make the Transactions view noisy. To exclude a contract’s transactions from the project-wide view, open the contract, click the... menu in the upper right corner, and select Hide from transaction listing. To include it again, select Show in transaction listing from the same menu. You can also hide or show multiple contracts at once by selecting them on the project’s Contracts page and using the Disable transaction listing and Enable transaction listing toolbar actions.
Hiding a contract only affects the project-wide Transactions view:
- The contract’s own Transactions tab still lists all of its transactions.
- Alerts and Web3 Actions targeting the contract keep working; hiding has no effect on monitoring.
... menu (see Wallets).
Proxy contracts
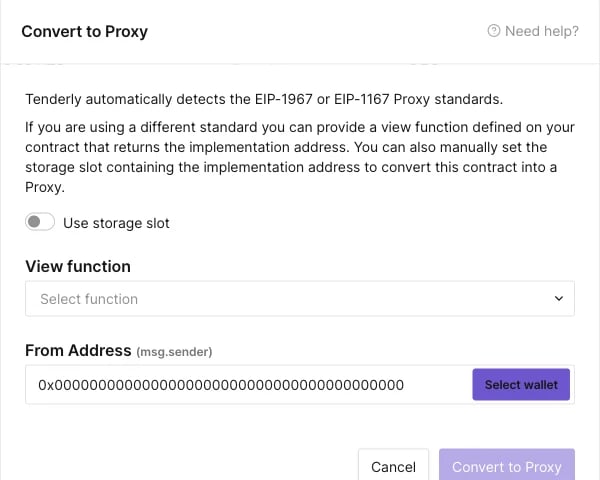
Tenderly detects EIP-1967 and EIP-1167 proxies automatically. A detected proxy showsType: Proxy Contract and an Implementation field with the current delegate address.

Non-standard proxy implementations
For non-standard solutions, you’ll need to manually convert the contract to a proxy. Click the Convert to Proxy button on the top right of the contract’s page.